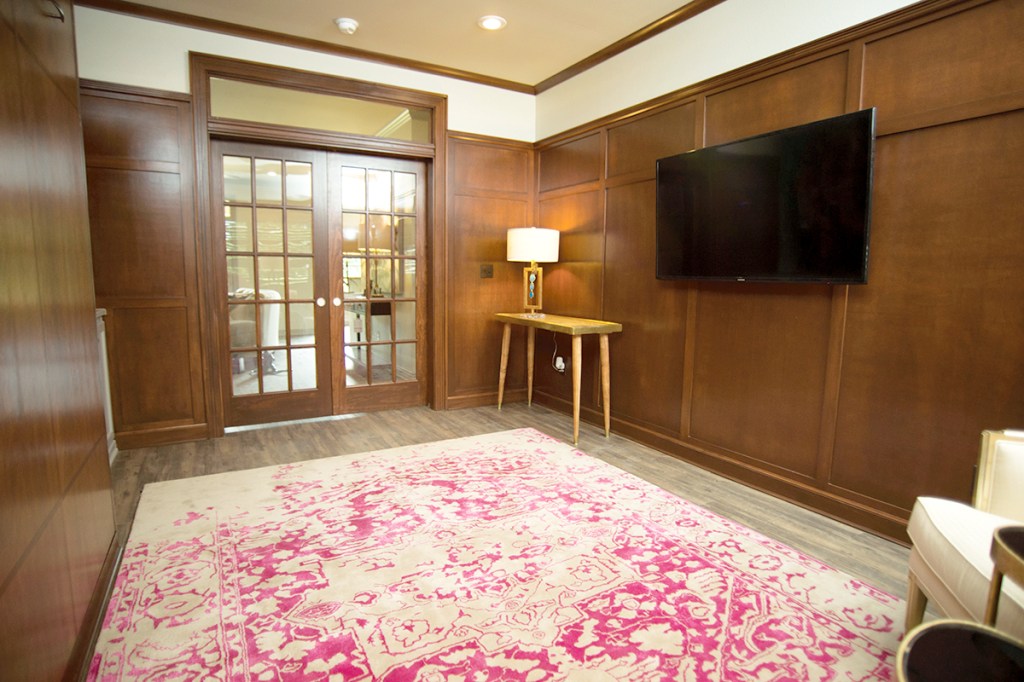
Recently, a client shared a picture of what I call Craftsman wainscot, which, according to Gary Katz (“Correct Height for Chair Rail and Wainscot” Aug/17), isn’t wainscot at all but rather wall paneling. I have done a lot of raised-panel and flat-panel wainscot at the much lower and more traditional heights. Typically, the panels in classic wainscot are horizontally oriented. The wall treatment in my client’s photos, however, featured a short, upper panel above a much taller, lower panel, with a cap rail that lined up roughly with the tops of the door and window casing. Classic wainscot usually dies into any built-in cabinetry, but the extra height of these panels meant that they would step up and over any built-ins. To complicate matters, these wall panels would be stained.
Careful Layout
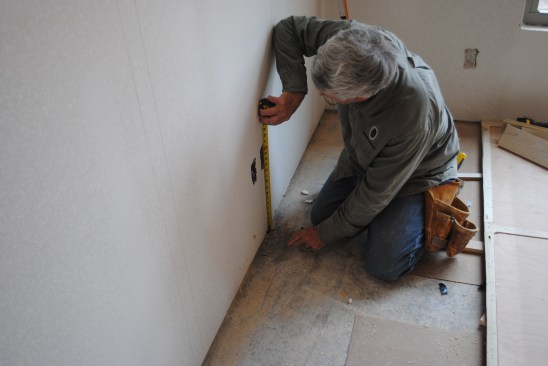
As with any other finish carpentry project, I needed to start with a careful layout for a successful finished product. I knew for certain that the paneled sections would be vertically oriented, and I also knew that they needed to be fairly wide.
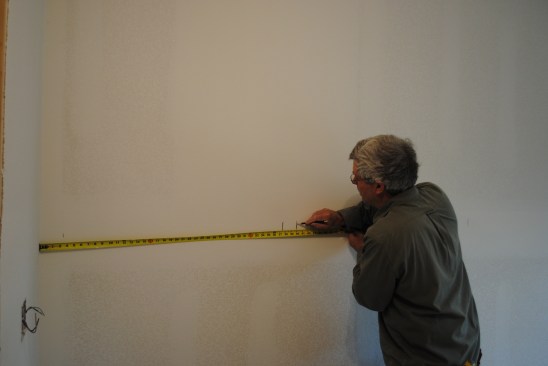
The author first draws a full-scale layout of the wall panels, g…
I began the layout on the longest wall, aiming for panels that would be at least 30 inches wide. Because the 1/4-inch-thick plywood panels would be rabbeted into the backs of the frames, I allowed for 3/4 inch of overlap at each inside corner.
I decided on 2 1/2-inch-wide stiles with a 3-inch top rail, 2 1/2-inch intermediate rail, and 4 1/2-inch bottom rail. The height of the panels would be set to leave 2 inches of the bottom rail exposed with the baseboard installed. Another factor in the layout was to make sure any electric outlets and switches fell in the field of the plywood panels. On larger walls like this one, I always do a full-scale drawing on the wall to make sure the proportions look right.
Building the Panels
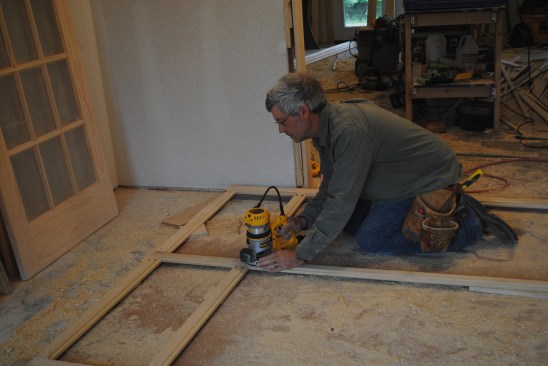
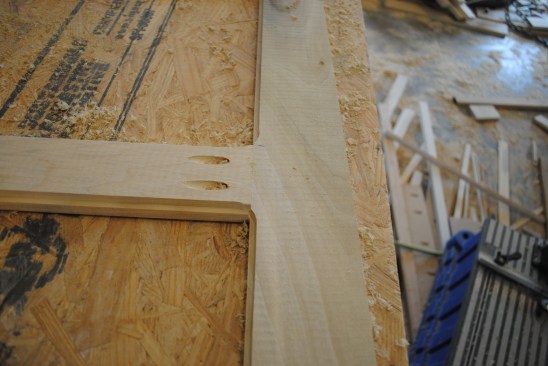
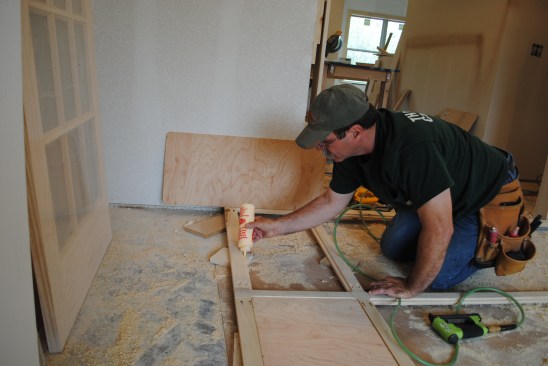
After finishing the layout, my partner and I tackled the panels for the longest wall. Building a frame this large was easiest to do on the floor directly in front of the wall we would install it on. We cut all the stiles and rails from poplar stock that we purchased at 13/16-inch-thick (the extra thickness gives the pocket-screwed joints a lot more strength). Pocket screws let me assemble the frame one joint at a time without having to use long clamps. My biggest concern was keeping the screws far enough back from the edge to stay clear of the rabbet, which we cut after assembling the frame.
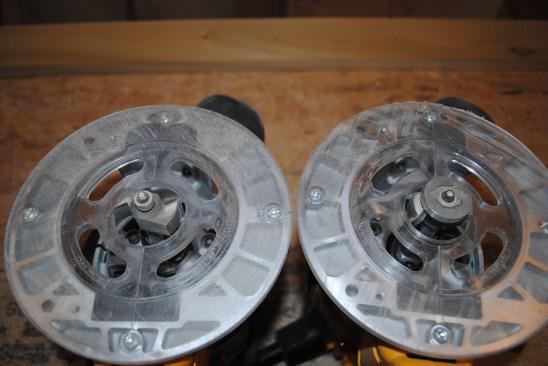
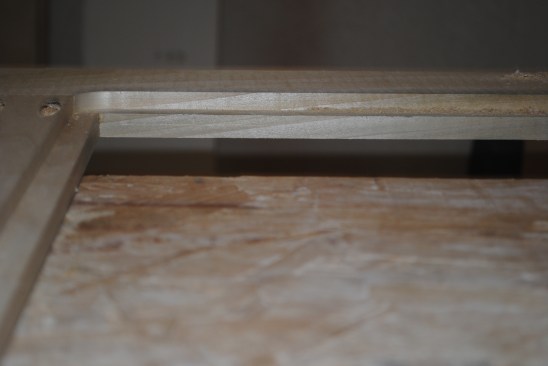
This type of wainscot has very clean lines with no panel molding, so the rabbet cuts had to be crisp with no tear out. I decided to cut the rabbets in two passes with two routers. The first pass cut a 1/4-inch-wide rabbet 3/8 inch deep, establishing the clean, crisp line on the inside edge of the frame. The second router hogged out the rest of the material, taking the rabbet to its full, 1/2-inch width. As I routed the panels, I did my best to stay focused: One slip of the router could ruin the frame.
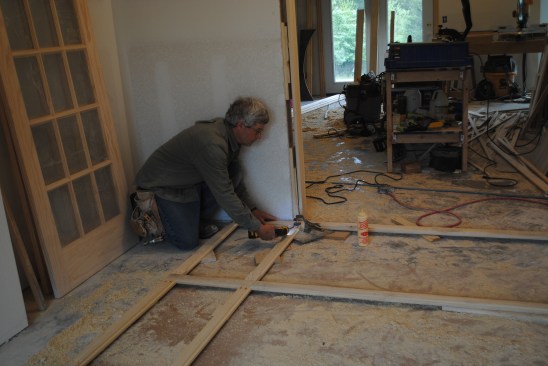
To provide electrical-box locations after the panel is raised, t…
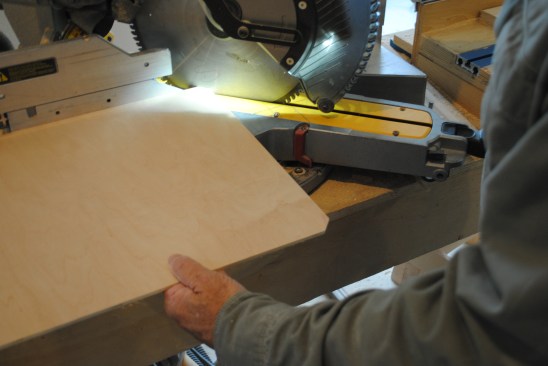
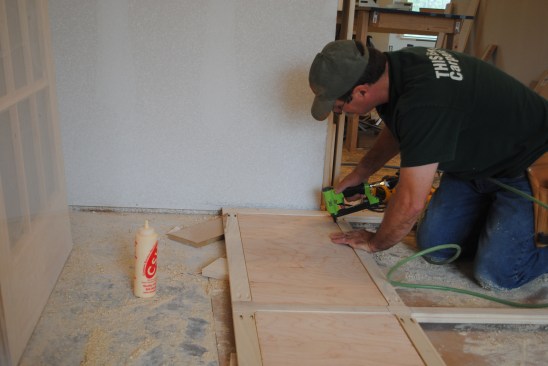
Next, we cut the birch plywood panels to size using both a track saw and a table saw. The routers left the rabbets with rounded corners, so we clipped the corners of each plywood panel on a miter saw to let them drop in. Because the paneling would be stained, we tried to match the grain pattern from the lower panel to the upper one. We lightly sanded each panel, applied a light bead of glue to the rabbeted frame, and dropped the panel into place, using plenty of medium crown staples to hold it in position while the glue dried. To avoid squeeze out, we were careful not to use too much glue.
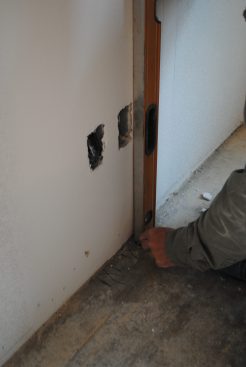
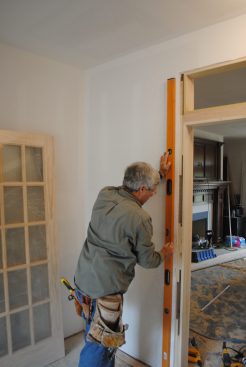
Because the plywood panels wouldn’t fully contact the drywall, we tacked thin shims to the wall around electrical boxes. Before lifting the panels into place, we plumbed down from the boxes and marked their locations on the floor, along with the vertical measurements to the top and bottom of the boxes.
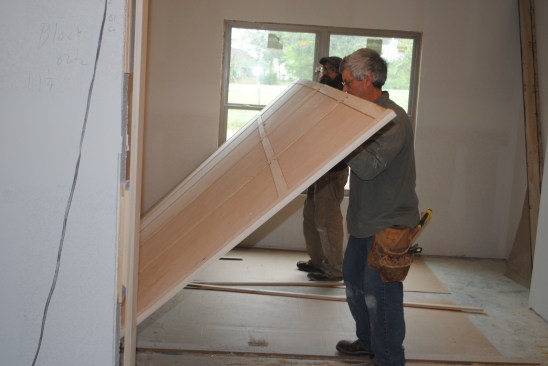
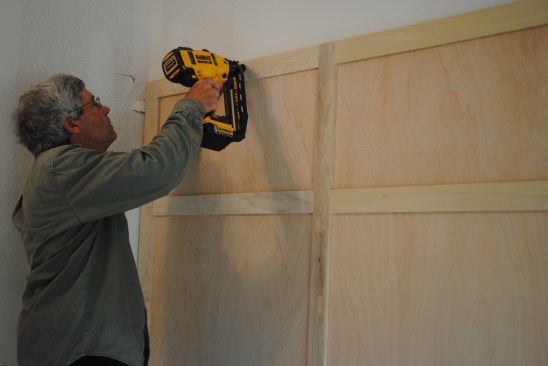
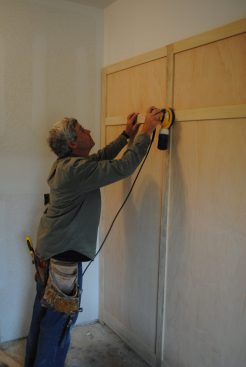
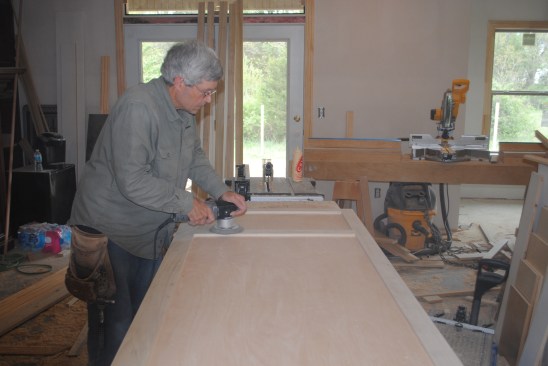
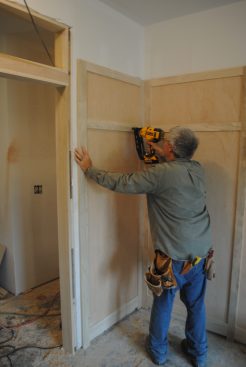
Instead of using a wide bottom rail and then covering it with baseboard, we nailed spacer blocks to the wall framing to hold the frame at the proper height. Lifting the frame was a two-person job. Once it was up and in place, we attached it to the wall framing with 2 1/2-inch finish nails, shooting a few extra nails in at the corners to pull the frame as tight to the wall as possible. Because we assembled the frame face down, we sanded it after it was installed.
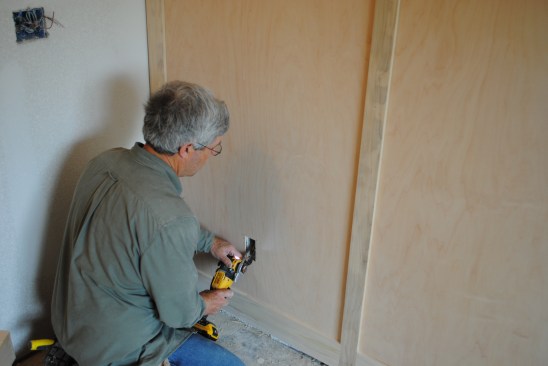
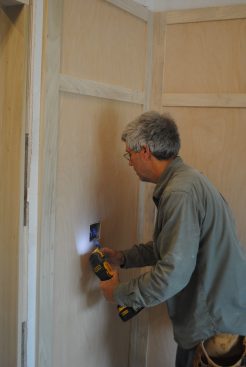
Once the frame was set, I laid out the electrical-box locations, plumbing up from the floor with a level and marking each box with a square scrap of plywood. Using a multi-tool, I cut a small hole in the middle to verify my measurements before carefully cutting out the whole box. The electrician would install box extenders to cover the exposed wood when he did his finish work.
The Rest of the Panels
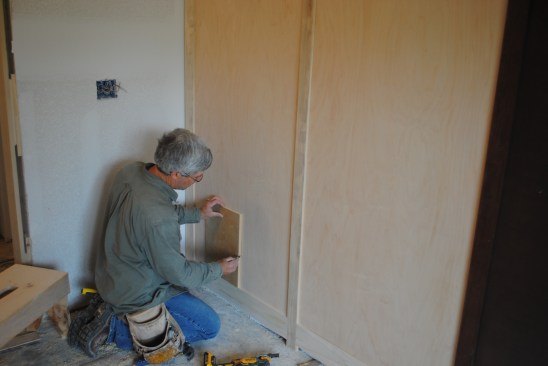
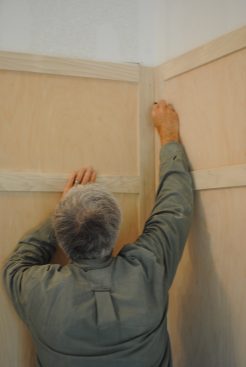
The other panels in the room were smaller, so after doing the wall layout, we built them on a worktable. I made these panels just a little wide so that I could scribe-fit the corners. After setting a panel in place, I marked the scribe by running a pencil flat against the adjacent frame. I then trimmed to the scribe line with a block plane, back beveling the cut slightly to ensure a tight corner. After nailing the panel in place, I located and cut out the electrical boxes using the same method as before.
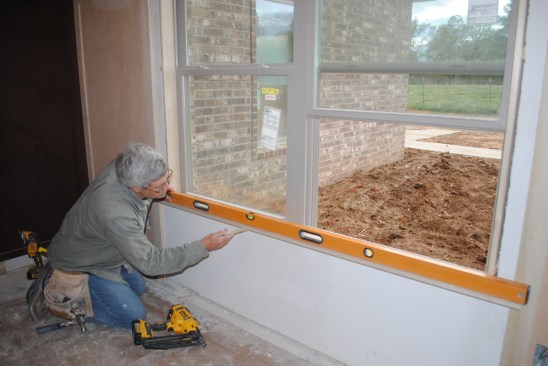
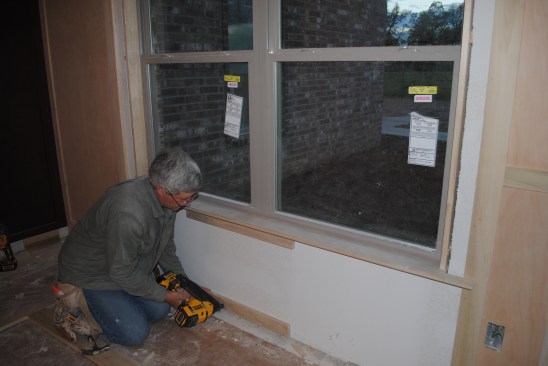
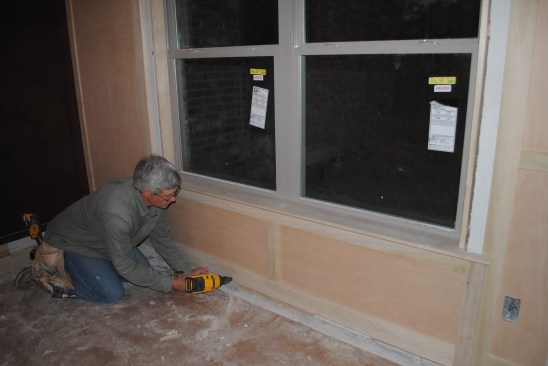
The double window in the room got its own treatment, and I waited to set the stool until both side panels were in place. The horns of the stool notched over the panels by 1 1/4 inches, and the panel under the window overlapped the side panels by 3/4 inch at each end. To support the panel under the window, I installed plenty of blocking, which let the panel step out from the side panels. This panel fit tight under the window stool, and the step out created some nice outside corner details for the baseboard molding.
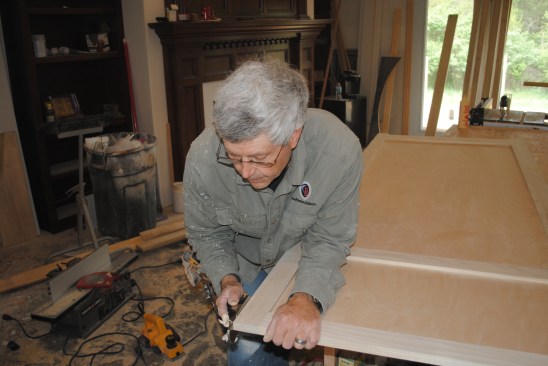
When all the panels were installed, I finished off the top edge with a three-step cap molding, using a rabbeting bit in my router to create the steps. This style of paneling is simpler and less ornate than the traditional frame-and-panel work that my clients typically ask for. Getting the proportions and little details right makes all the difference when creating a clean look—less really can be more.
Photos by Gary Striegler