Folks in the trades argue in jest all the time about which trade is the most important. We, of course, argue that it’s the painters because we get the last shot at making a house shine—literally and figuratively. Beautifully painted finishes on interior trim don’t happen by accident, but they aren’t rocket science either. These eye-popping finishes happen most efficiently when specific steps are followed with meticulous attention to detail.
Our company has been painting homes for decades, and we’re also out there helping to train the next generation of painters. For this article, we use our “classroom” mock-up to show the steps that are key to smooth and beautiful painted trim.


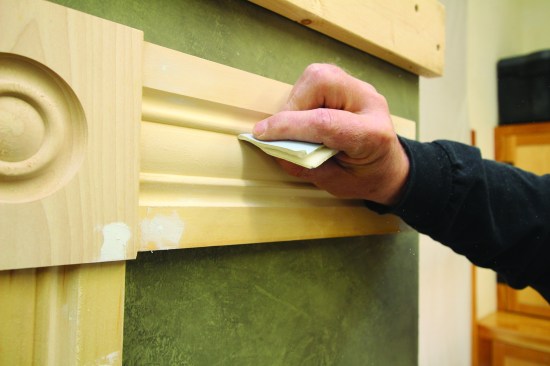
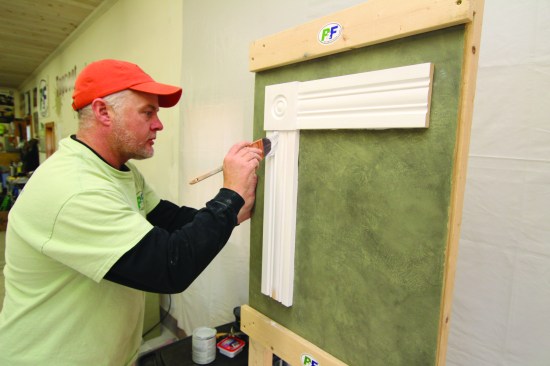
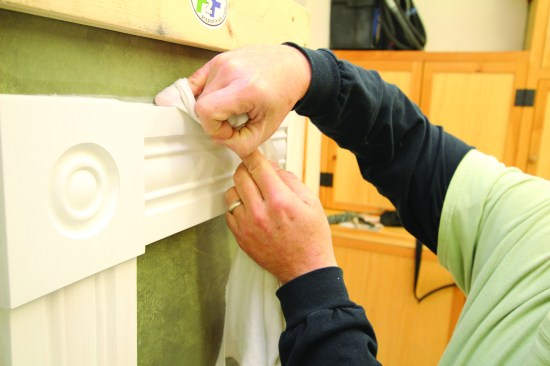
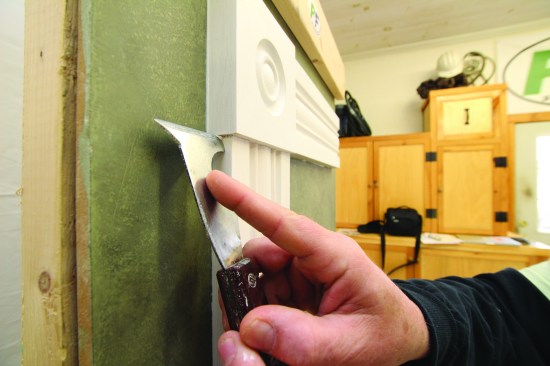
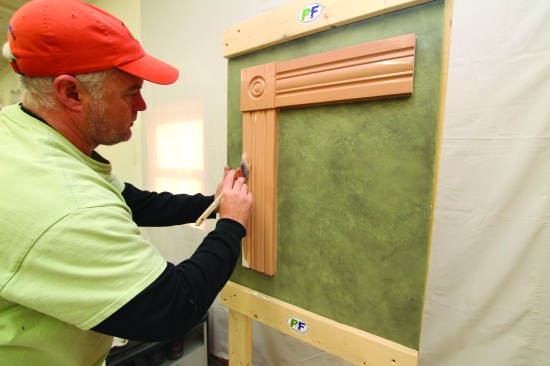
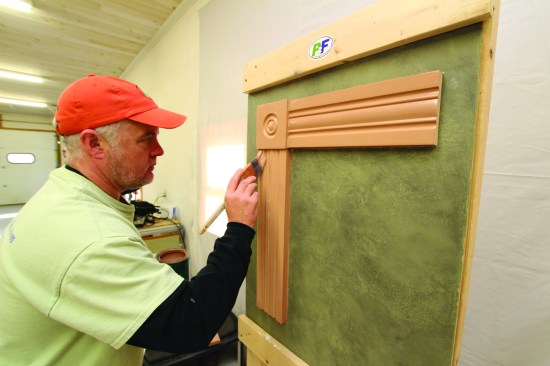
The author uses a flexible putty knife to fill the fastener hole…
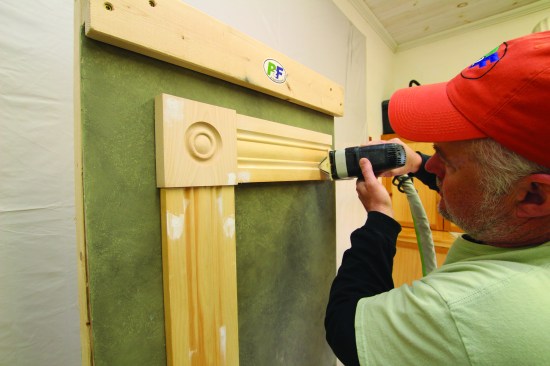
Start With The Nail Holes
Fastening trim is not usually the responsibility of the paint crew, but painting is quite often the job of finish carpenters, especially remodelers. I always recommend that carpenters set their nails to about 1/16 inch below the surface of the wood. That depth gives the nail good purchase to hold the trim in place while also being easy to fill in one pass of the putty knife, without having to pack filler in. The deeper the hole, the more filler it requires and the more times it will need to be skimmed to fill it completely.
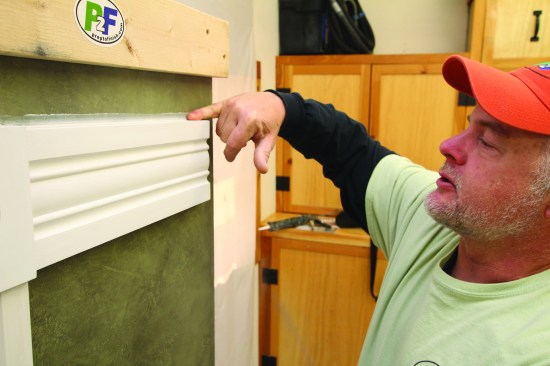
In addition to emphasizing the importance of the proper fastener depth, I try to school carpenters to stay away from driving fasteners into the architectural details of the molding profile. Nail holes on the flat or on gently curved sections of the molding are much easier to fill and sand smooth.
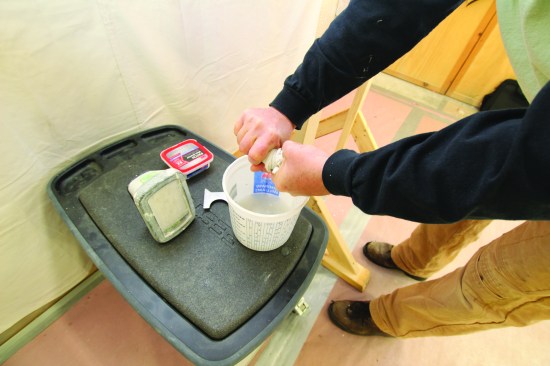
When filling holes, I use light- to medium-bodied fillers because they are easy to sand down evenly. My filler of choice is 3M Patch Plus Primer, which is good for interior and exterior applications. I shy away from hard fillers such as epoxy except in cases where the filler will be exposed to extreme weather conditions or wear. These hard fillers are difficult to sand smoothly.
On the flat sections of the molding, I use a narrow, flexible putty knife to fill fastener holes. I push the filler into the hole but then leave plenty on the surface; that way, the hole won’t need to be filled a second time when the filler shrinks. If there are a fastener holes in a grooved part of the molding, I use my little finger as a putty knife. For holes in tight grooves, such as next to an edge bead, the pointed end of a 5-in-1 tool works well.
Don’t try to be too neat when filling holes. If you try to scrape off all the excess filler, what’s left can dimple or shrink slightly as it dries and will require further skimming. Instead, I like to pack the hole until it bulges and leave a proud layer on top. Then I sand it down when the filler has dried—usually within about a half-hour.
Multi-Task Sanding
The old adage is that painting is 90% prep work, and much of that prep work involves sanding. It is important to do as much sanding as possible at one time to streamline the prep work. The first and most obvious things to sand are the nail holes that we just filled. Lightweight spackle sands down to the wood surface fairly quickly, but be sure to sand as much of the filler residue as possible from the wood. Any filler that remains will absorb the paint differently and cause flash or a difference in the sheen at that spot.
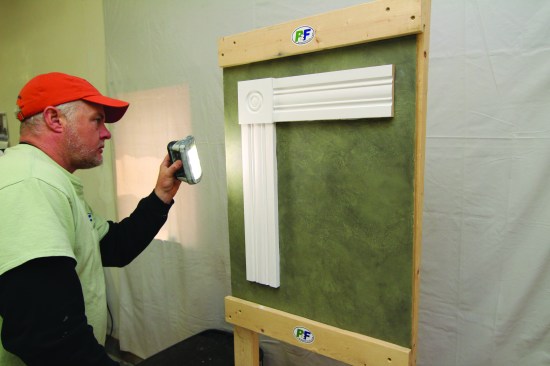
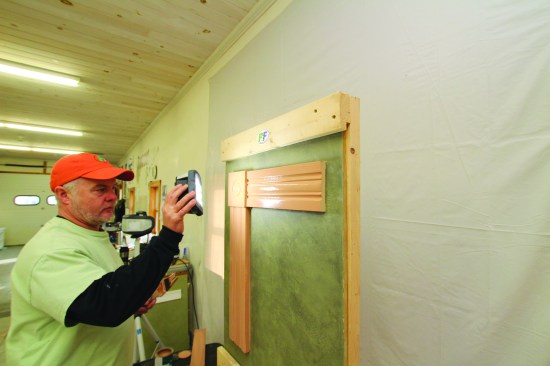
The next thing that sanding takes care of is mill glaze, which is the sheen left on the wood surface from planing and shaping. The surface of the wood can get burnished by sharp cutters, and that burnishing, or glaze, has to be removed so that the primer adheres properly. This glazing varies with the grain in a board and might not be readily visible, so you may need to sight down the trim with a work light. Sanding off the glaze prepares the surface of the wood for the primer.
The third thing I try to do when sanding is break the hard, sharp edges of the trim or the profile. Paint will adhere much better to an edge that has been rounded off slightly.
Finally, I sand down any roughness or raised grain in the wood that might have come from the milling process. Trim features such as rosettes are notorious for having rough areas where milling has exposed the end grain.
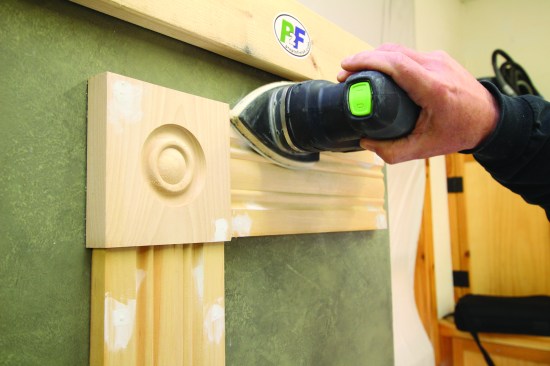
Hand Sanding vs. Power Sanding
A question that I am often asked is whether I prefer machine sanding over hand sanding, but this is not an either–or question. Power sanding is definitely quicker and more thorough for flat areas of trim. Linear profile sanders can get into some of the grooves in the profile on straight runs of trim. But the best part of machine sanding is dust collection. The vacuum system on the Festool sanders I use eliminates 95% of the dust.
Hand sanding creates a lot of dust, but it’s necessary for details that a power sander can’t manage, such as curved profile parts or the circular features of a rosette. I recommend using hand abrasives to break the sharp edges of the trim, at least until you become confident with using a machine sander. For hand sanding, I use Festool Granat paper that has padded backing. The grit is flexible enough that you can fold the paper to a sharp crease for sanding sharp lines. I use this paper for much of my sanding between coats of paint.
One crucial thing to remember—whether sanding by machine or by hand—is to use progressively finer grits of sandpaper when building finishes. You don’t need to use every grit from 40 to 400, but in a three-coat system for interior work, I generally begin with 120 or 150, then progress to 240, and end with 320.
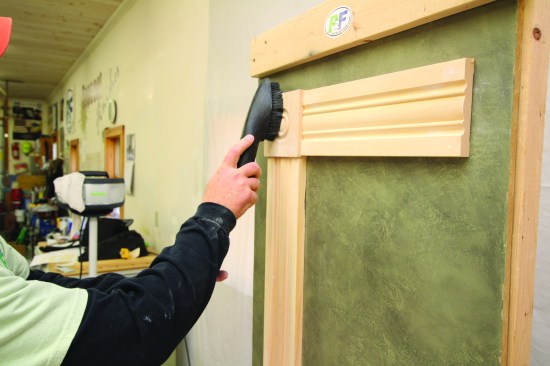
Final Dusting Before Primer
Dust is always one of our biggest enemies when we’re painting trim, so I go over every surface of the trim carefully with a soft brush attachment on my vacuum. I make sure to clean deeply into every groove in the profile with the brush bristles.
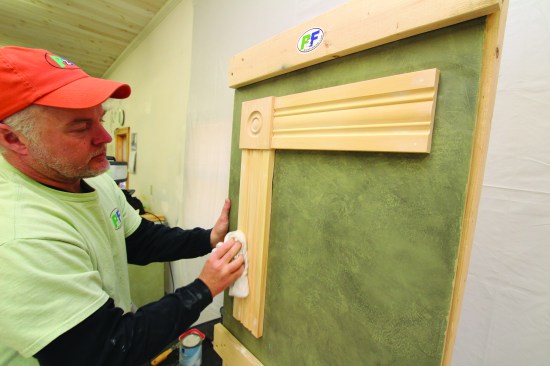
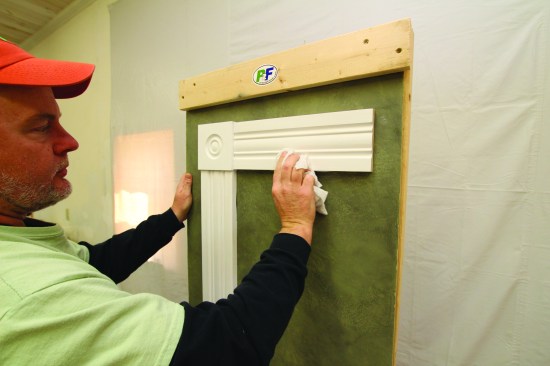
I do a final wipe-down of the trim with a damp rag. I like to use a lightweight, lint-free rag. I dip it into clean water and then wring it out thoroughly. You want it damp enough to help pick up the rest of the surface dust without getting the surface wet, which would raise the grain.
There are tack cloths on the market, but I caution against using them. Wiping down a surface with a tack cloth can leave residue from the oils or wax that are used to make the cloth sticky. That residue will affect how the layers of paint adhere to the surface as well creating variations in the sheen of the paint.

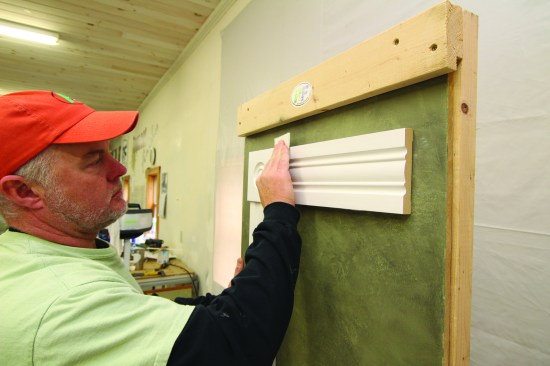
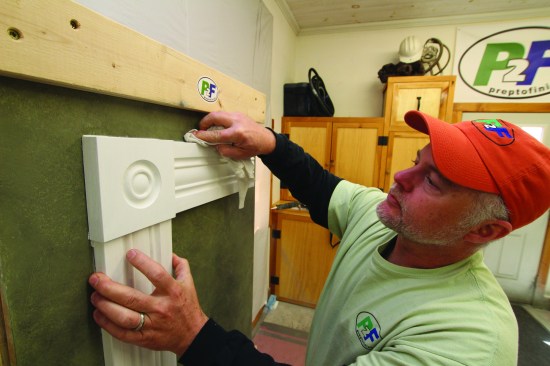
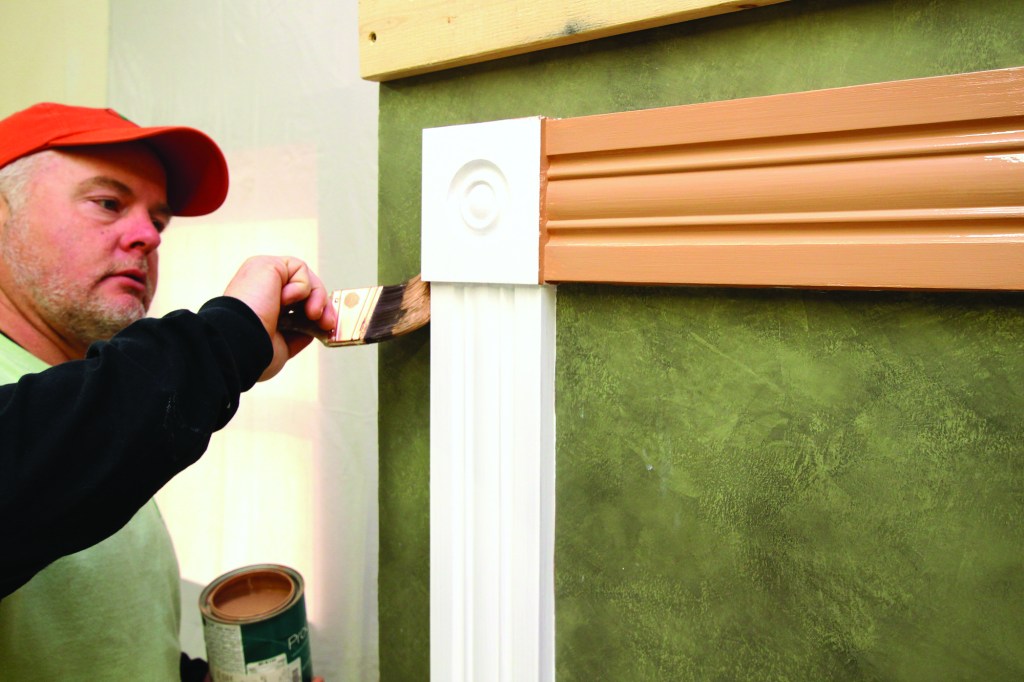
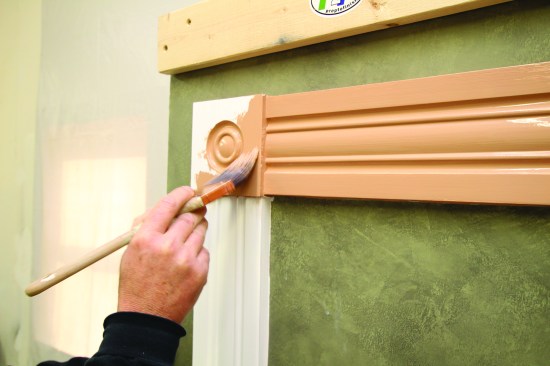
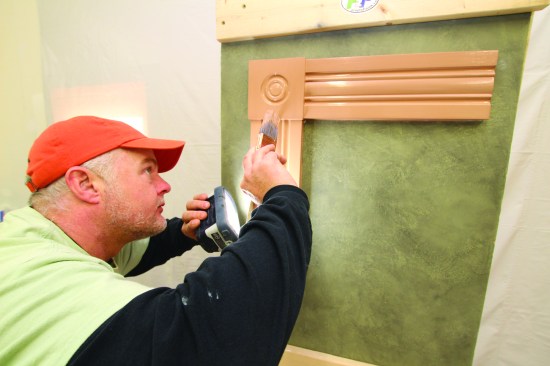
Then he brushes the bottom edge and the face.
Brushing in a Logical Progression
Primer is an essential foundation for the entire paint system. It is usually dead flat with no sheen, so there is no danger of it flashing through the finish coats if you apply it correctly. Better primers are formulated to provide superior adhesion and to hide all the work—filling and sanding—that has happened up to that point. I have tried a few of the all-in-one (primer and finish) paint products on the market, but in my experience, there is no substitute for the three-coat system: a coat of primer followed by two coats of finish paint.
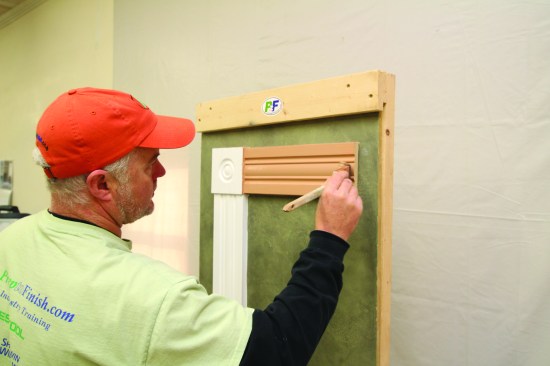
When painting windows and doors, I try to work from the top down and from the jamb or stop bead out. So on installed trim, the first surface that I brush is the top edge of the head casing, cutting in carefully along the joint between the casing and the wall surface. I apply a liberal coat of primer, but not so heavy that it drips or runs. Then I do the bottom edge.
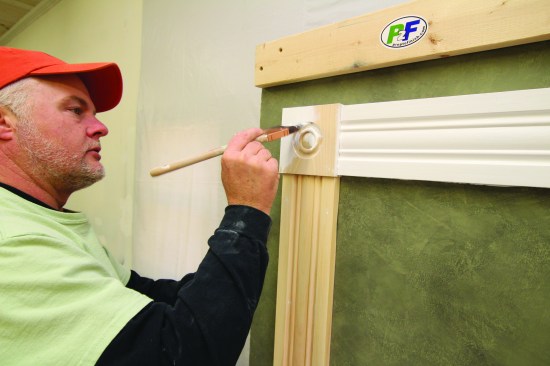
Next, I brush the face of the head casing, starting at the edge of the rosette and pulling the brush toward the center of the casing. The idea is to break the trim package into each component and isolate the faces for brushing. This is easier than trying to brush both edges and the face of a piece at the same time.
When the head casing is done, I move to the rosette in the corner of the casing. I repeat the same sequence, painting the edges of the rosette and then the face. I brush the circular detail carefully, making sure that I apply a solid coat to all edges of every circular facet. From there, I repeat the steps on the jamb casing below the rosette. Had this been a full casing, I would have turned to the rosette and jamb casing on the opposite side before painting the sill and apron—again generally applying the paint in a top-down direction.
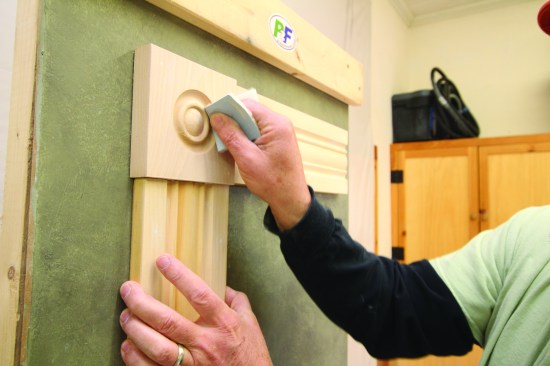
Scuff Sanding the Primer
No matter what type of primer you use, it is going to feel like it has raised the grain a little bit on the wood, so scuff sanding the primer is a must. Give the primer adequate time to dry, and then hand-sand the trim, starting with a finer-grit (180) paper before moving up to 240. Develop a light touch when sanding the primer to avoid breaking through the paint to bare wood. If that happens, you will need to sand down the entire area again and reprime it to prevent the subsequent coats from flashing where you broke through.
Get into the habit of carefully inspecting all the surfaces with a work light to make sure that they are consistently smooth and even. I use a hand-held LED light; it is bright and casts a neutral color, but it doesn’t get too hot to handle, like other types of work lights. I’m particularly on the lookout for filled holes that might have dimpled slightly. I hit any spots like that with a light dab of filler before sanding them down.
Before going any further, I run over the surface thoroughly with a vacuum and brush to remove as much dust as possible. And as before, I give every surface of the trim a final wipe down using a clean damp cloth.
Caulking
There is always some debate on the proper time to caulk, but in my experience, you should always caulk after the primer and before the finish coats. If you caulk over bare wood (before priming), the wood can suck the moisture out of the caulk and cause it to crack. On the other hand, you want to bury the caulk in as many coats of paint as possible, so the best time to caulk is after priming.
I always insist on using a high-quality acrylic-latex caulk. (We like DAP Alex Plus, a good all-purpose acrylic latex plus silicone.) Always let the caulking dry completely before painting over it. Painting over uncured caulk is a sure-fire recipe for cracked caulk.
Keep a wet rag in your hand when caulking. Snip the nozzle on the tube to open a tiny hole in the tip (less than 1/8-inch diameter). As with applying paint, I try to work from the top down. I begin with a bead of caulk along the top edge of the trim and wipe the joint immediately with a wet finger, removing most of the caulk. From there, I wrap the damp cloth around my finger and go back over the joint a couple of times. Each pass cleans the wall and the surface of the trim a bit more until all the excess residue is gone. When I’m satisfied with the caulked joint, I rinse my rag thoroughly in clean water before going to the next joint.
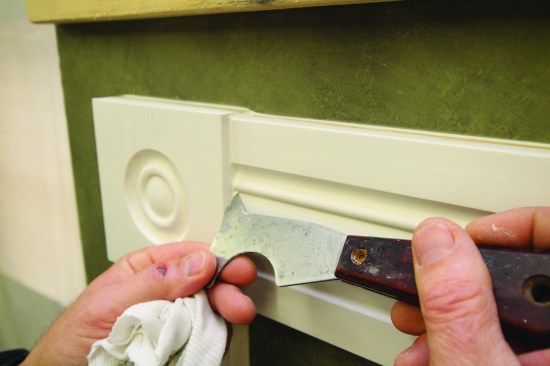
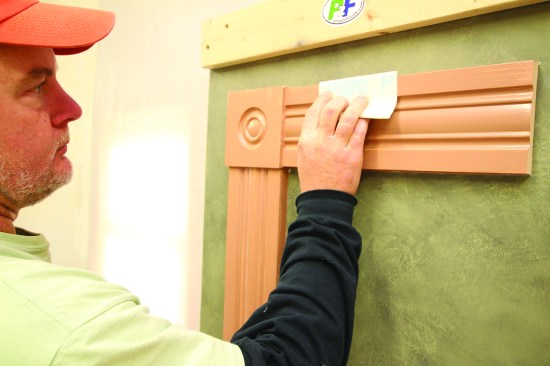
For the mock-up in the photos, I continued to work around the perimeter of the trim, using the same procedure with my finger and the damp cloth. Using the 5-in-1 tool, I go back and clean up the outside corner of the rosette where the two lines of caulking meet. When the inside and outside edges are caulked and clean, I caulk the joint where the casing meets the rosette. This caulk joint follows the profile of the casing, so it’s a little trickier.
I apply the bead of caulk and wipe easily-accessible areas with my finger. Then I use the square corner on the blade of my 5-in-1 tool as a miniature putty knife to tool the bead neatly along the profile of the molding. For the narrowest grooves, I flip the tool over and tool the joint with the pointed end of the blade. When all the joints have been caulked, I inspect every surface carefully with a work light. When white caulk is used over white primer, small ridges of residue might not show up until the light casts a shadow.
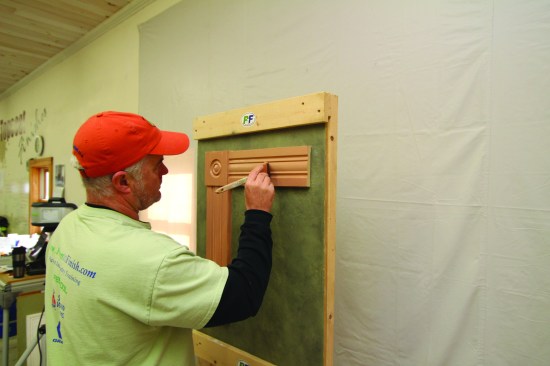
Working in the same deliberate sequence as before, the author ap…
Progressively Thinner Finish Coats
The finish coats of paint should not be as thick as the primer coat. Each coat in a three-coat system should be slightly thinner than the previous coat. For the finish coats, I like the paint itself to be less viscous than the primer. Finish paint should drip readily off the stir stick.
For all coats of paint, it’s important to use a professional-quality brush. My go-to brush for painting trim is a 2-inch, medium-stiff angled-bristle brush (see “Paintbrushes,” Mar/15). After a thorough stirring, I’m ready to start applying the finish coats. If you are working out of a can of paint that is not new, be sure to strain the paint.
As you apply each layer of paint, get in the habit of loading the brush properly. Dip the brush about halfway up the bristles. Then tap each side of the brush against the side of the can to load the brush. This action forces paint into the voids between the bristles and allows you to carry more paint from the can to the trim. Dipping and scraping just puts paint on the outside of the brush, which is a much less efficient delivery system.
Finish Paint Adds the Sheen
I apply the finish coats of paint in the same sequence as the primer, starting at the top edge of the head casing and working one section of trim at a time. I brush on the paint in the same direction as the grain of the trim.
Because the primer was dead flat and then sanded, there should be no sheen at all on the trim before finish paint goes on. As I apply the paint, I use the sheen of the wet finish paint as the guiding factor to make sure I have even coverage. In other words, I look more at the sheen or the shininess of the wet paint than I do at any change of color from one coat to the next. This way I can ensure that there are no gaps, or holidays.
There is a limited working time when applying paint. After completing one or two sections of trim, I grab my light and sight across the areas of wet paint. As I sight down a section of trim, I am specifically looking for areas where the sheen is not consistent.
Here is where loading the brush properly and getting paint on the trim efficiently comes into play. It’s imperative to sight down the trim and correct any problem areas while the paint is still wet, and if you have applied the paint quickly and efficiently, then you stand a greater chance of inspecting and correcting the surface before the paint starts to tack up. If you wait too long and try to correct a problem after the paint begins to dry, you will end up creating a mess and you will have to redo earlier steps in the process to fix it.
Scuff Sand Between Coats
Be sure to let the paint dry completely before you go any further. Be aware that temperature and humidity can affect how quickly paint will dry. As with the primer coat, the first finish coat should be sanded before the next coat goes on. For this step, I use 320 grit or finer, with a very light touch.
The coat of finish paint is thin, and the object here is to just dull the sheen, which gives the surface a final smoothing and preps the surface for better adhesion for the final coat. As with the previous steps, I vacuum the surface with a soft brush, followed by a wipe down with a damp rag. I also sight down the surface one last time before reopening the can of finish paint.
The Final Coat
The last coat of finish paint that we brush on is even thinner than the first coat, so it is likely to dry more quickly than the first coat. For that reason, I pay even closer attention to getting the paint on the trim efficiently—it’s the final lay down for the painter and the surface that the clients will be looking at every day.
Again, I work a top-down sequence, beginning with the head casing and then working in deliberate fashion on the jamb casings. As with the earlier coats of paint, I sight down the finished sections while the paint is still wet, making absolutely sure that the sheen is consistent on all surfaces and that the brush work is straight. This all but guarantees that when the final coat of paint dries, the surface of the trim will be seamless and smooth with a consistent amount of gloss in all areas.
Photos by Tim Healey