


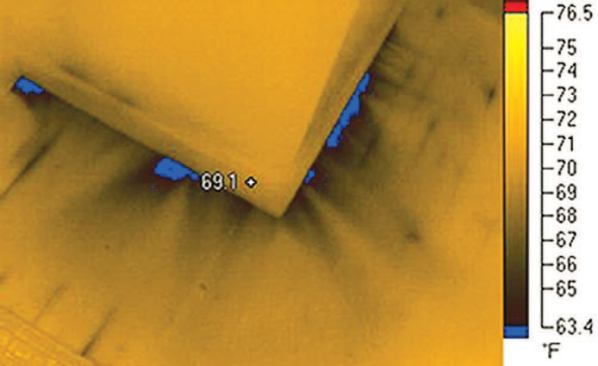
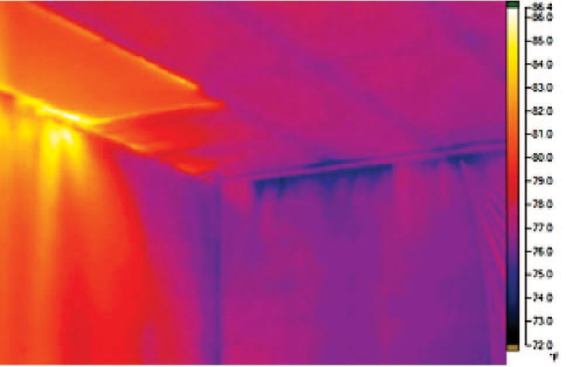


Under the right conditions, thermal images clearly show insulati…
Performing an Inspection
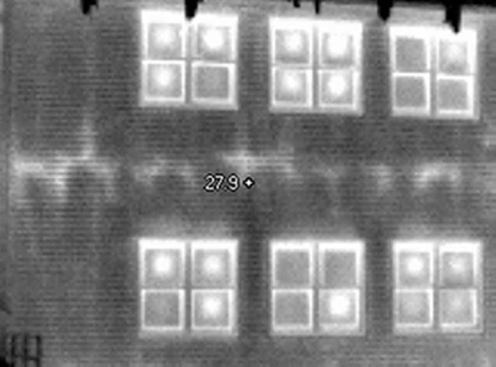
When I arrive at the site of an inspection, I typically start by scanning the structure from the outside, if there’s no sun and enough delta-T for that to work. If I can see the framing, I’ll often be able to see any missing insulation as well. A quick scan from the outside can also reveal problems related to damaged or deteriorating multipane glazing.
If temperature conditions let you work from the exterior, you can usually quickly get an overall sense of the building. In some cases – when conditions are good – it’s possible to conduct an entire inspection from the exterior. But a more detailed assessment will ordinarily require imaging from inside, which is slower because it involves working around furniture, partitions, and other obstructions. I work methodically from room to room and note any problem areas as I encounter them, manipulating the indoor temperature as needed.
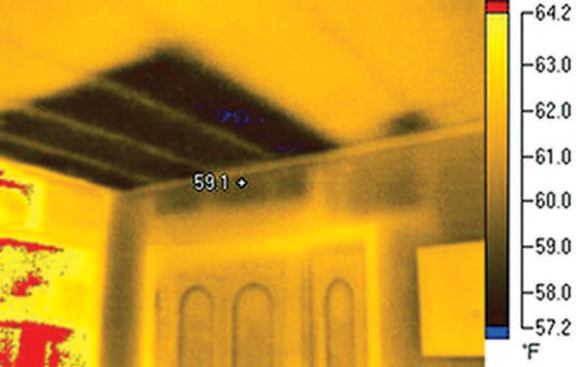
Finding air leaks. Insulation problems can easily be seen at ambient pressure, but air leaks show up much more effectively – and uniformly – if you can depressurize the building. We prefer to use a blower door for this, because we also want to be able to calculate the air infiltration volume; in a pinch, though, any large fan – even a whole-house fan or kitchen exhaust fan – can be used, often with acceptable or even good results.
As soon as the home has been depressurized (before doing so, make sure it won’t cause backdrafting of any combustion appliances), it’s easy to see air leaks from inside. Most leaks will show up quickly, but in areas where air is being tempered by a “plenum” (such as a knee-wall cavity) they may not become evident for up to 20 or 30 minutes.
John Snell is founder of The Snell Group in Barre, Vt., which provides thermography training and support.
Incorporating IR Into Your Business
Developing proficiency with an infrared camera can benefit a builder or remodeler in a variety of ways, leading to happier customers and higher profits. When you’re bidding on a remodeling job, for example, you can use good IR imagery to locate existing insulation and framing members. That can mean more accurate estimates and better, smarter bids. After insulation and air-sealing measures are complete, you can verify placement and performance and document both, reducing comfort-related callbacks. The resulting images will have value for the life of the building. They can be given to the homeowner as a value-added upgrade, or sold as an additional service.
I encourage energy auditors to include thermography as an extra-cost add-on or as value added; either way it can give you an advantage in a competitive market. Since IR will allow you to do your audit more quickly and effectively, you may choose simply to pass along those savings. You wouldn’t do an audit without a stepladder, and you shouldn’t do one without an imager.
For most general contractors, the best way to make IR pay is to roll it into your existing scope of services, rather than offering it as a stand-alone. As a stand-alone you’d be competing with others who specialize in home-energy audits, typically for about $200 to $500. It’s very tough to compete at that price.
If you’re an insulator or a GC who does your own insulation work, you will definitely want to integrate this service. If you learn to use the system effectively, you can expect to pay for it in the first dozen jobs. If you sub out your insulation work, the payback may be slower. But again, rolling it into your existing work processes will provide the greatest return, by providing quality control and allowing you to stand out from competitors who aren’t similarly equipped.