Smooth walls require a flawless drywall installation – or at least one that appears flawless before the paint goes on. Achieving a near-perfect finish takes time at each stage of the drywall-hanging process; like most stages of construction, problems compound if not avoided early on. How do you hang a sheet of drywall quickly and efficiently, while making the next step easier? Once the drywall is up and the mud is applied, how do you spot imperfections and defects – and correct them – before the paint flies?
There are three steps to hanging drywall that can make the process efficient while yielding the professional results you want: 1) hang drywall quickly 2) spot flaws early in the taping process and 3) manage dust as you sand.
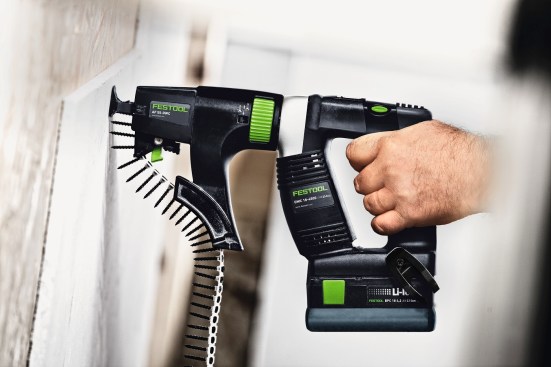
1. Hang drywall quickly – While some drywall contractors can load a manual feed screw gun with blazing speed, auto feed screw guns can offer a very fast, more controlled and consistent approach. For fastening, consider using an auto feed, cordless driver with depth adjustment. You’ll not only speed up the hanging process, but you’ll set fasteners at a consistent depth every time. What’s more, without a cord, there’s no trip hazard while working on ladders or off stilts, so it’s safer as well.

2. Spot Flaws with Light – Light hits walls at different angles, so it’s often difficult to see small imperfections before the final coat of mud and paint are applied. Actually being able to see the surface means that you will be able to spot and correct any imperfections while you’re sanding/finishing and before you leave the jobsite. A good light raked across the finish surface at the right angle allows you to see imperfections that natural light and fixed overhead lighting won’t pick up. These imperfections, if left alone, will only show once paint is applied – and then it’s too late to fix. The best approach is to use a light to inspect the finished drywall surface after sanding – you’ll be surprised at what you find and will be able to correct any flaws before paint is applied.

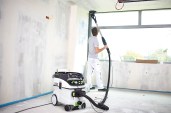
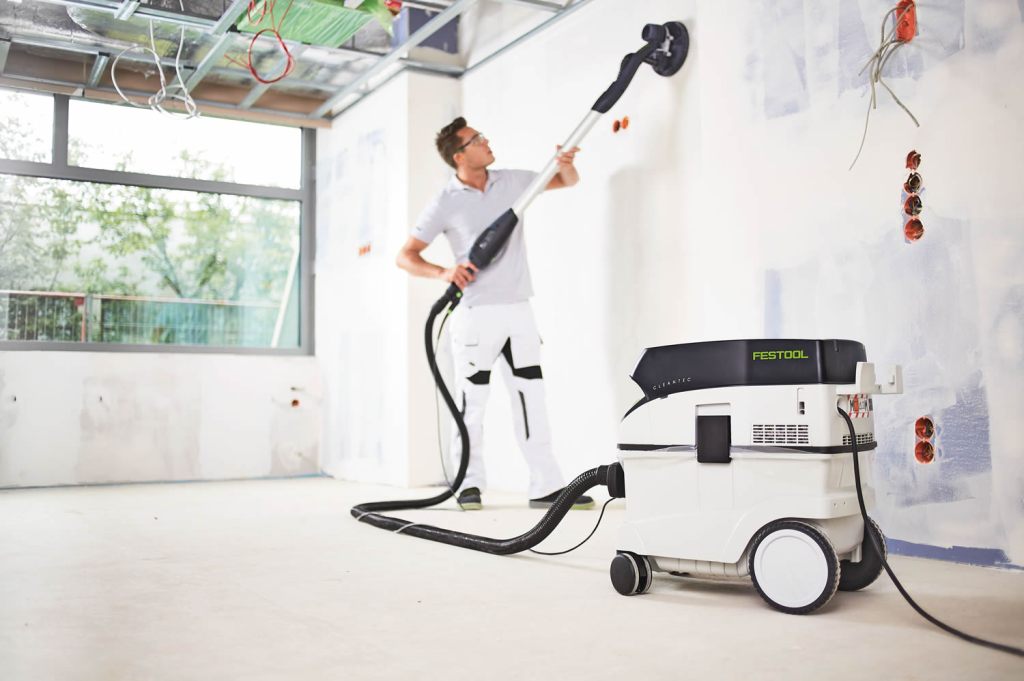
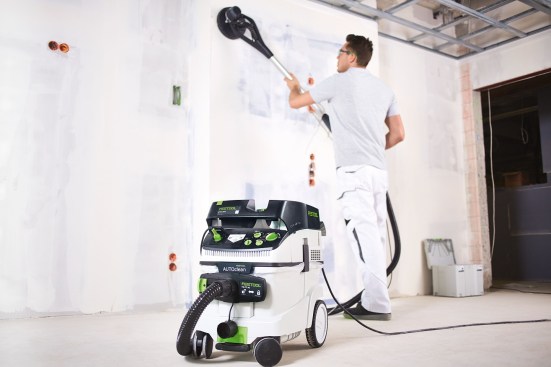
3. Manage dust as you sand – yes, it IS possible to both reduce all of that dust AND improve your finish results at the same time. Because of the fine nature of drywall dust, once it’s airborne it can take a long time before it finally settles on the surfaces around you. What’s more, it’s the kind of dust that finds its way into cabinets and even areas that have been protected with plastic. The solution? Reduce the amount of drywall dust that you create while you’re actually sanding. You can do this by using a drywall sander attached to a dust extractor. Connecting a drywall sander to a tool-actuated dust extractors means that you’ll capture over 90% of drywall dust before it becomes air-born.
While reducing drywall dust as you work is probably the most important thing you can do for a cleaner jobsite, the tips above, when taken together, will help make for a more efficient process when hanging drywall, and will yield a better final finish.