More About Scribing
Scribing Basics
Scribing Wood to Stone
Scribing Cabinets
Scribing the Final Floorboard
Lessons in Scribing
Fitting Post to Stone, Teriyaki Style
In a perfect world, every surface of a house is straight and either level or plumb, but in reality, that is seldom the case. Studs can twist, pushing drywall out of whack, and houses settle, leaving walls out of plumb and floors out of level. Even new work, such as hardwood flooring, isn’t always straight and flat. Yet finish carpenters are expected to install their work straight, level, and plumb. The key to doing this successfully is scribing, or transferring any unevenness to the finished material so that it fits perfectly.
A second common application for scribing is fitting a cabinet to a wall when the wall is not perfectly plumb.
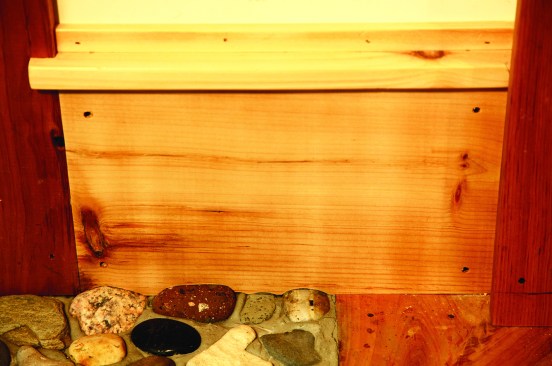
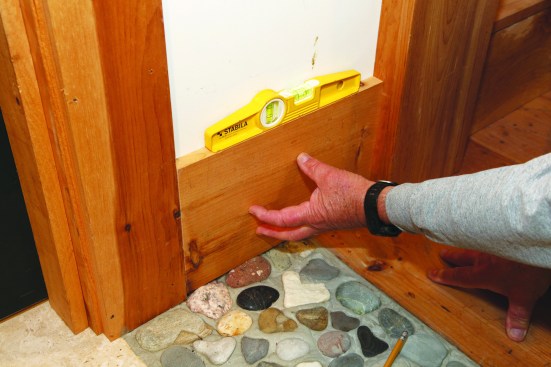
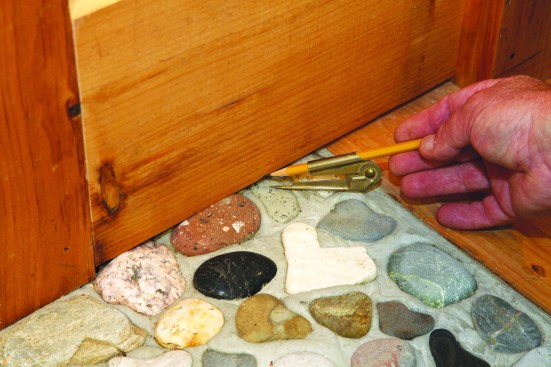
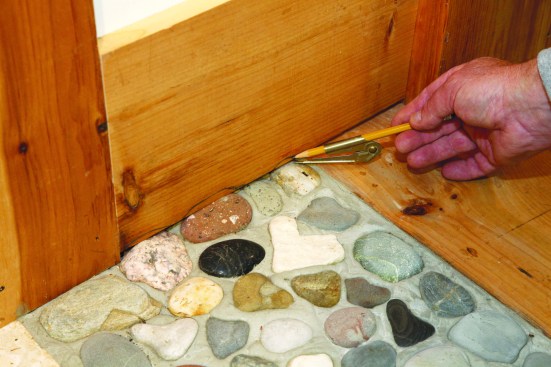
Another place for a scribe is fitting trim to an uneven surface. Here a section of baseboard has been scribed to the beach stones in the floor. Read further to find out how this scribe was done.
For most finish carpenters, scribing is something that they do as a matter of course—often several times a day. Examples of tasks where scribing is often needed include fitting baseboard to an uneven floor, fitting the bottom of a door to an uneven or out-of-square sill, and fitting a cabinet against a wall. Scribing trim to a beach-stone fireplace or to round pebble floor tile can be challenging, but it’s also a way to showcase your talents as a craftsperson.
Tolerances. The guiding premise for scribing is how close the fit has to be. With paint-grade trim work I’ve done, 1/16 inch or less was fine. Once the wood is primed, a bead of painter’s caulk can make a joint disappear. But I’ve also worked in boat shops where the tolerances were less than the thickness of paper.
Location is another factor for tolerances. A baseboard that is scribed to a hardwood floor might be visible only to the clients’ dogs and cats, while a cap rail on wall paneling that is closer to eye level might require a much tighter fit.
When working with a crew, be sure that the manager has made it clear what tolerances are expected—and be aware that those tolerances may vary depending on the client or where in a house you are working. Your boss may be OK with you spending an hour to scribe cherry baseboard in a formal dining room, but the baseboard in the closet of a child’s room is probably not as critical and should be installed more quickly. If you are working for yourself, working to acceptable tolerances can be the difference between a profitable or unprofitable project.

Before scribing cabinets to the wall, the tops should be level and in plane with the tops of the other base cabinets. The face needs to be parallel with the other cabinet faces so that when the scribe is cut, the faces will be in plane as well.
Setting up the scribe. There are many variables when deciding how much material to remove and from where. The first is whether the object being scribed needs to be level or plumb. A good example of this is an end cabinet where it returns into a wall. Except in rare cases, kitchen cabinets are always installed with the faces of the cabinets plumb and the tops of the cabinets level side-to-side, and with the faces and tops in plane with those of the other cabinets in the same row. After the rest of the cabinets in the line are installed, the end cabinet is leveled in place, with the top in plane with the others.
With the cabinet as close as possible to its final position, set the scribe to the amount that you have to remove so the cabinet face will line up with the other cabinets. That is the amount you need to mark along the back edge of the filler piece of the cabinet.
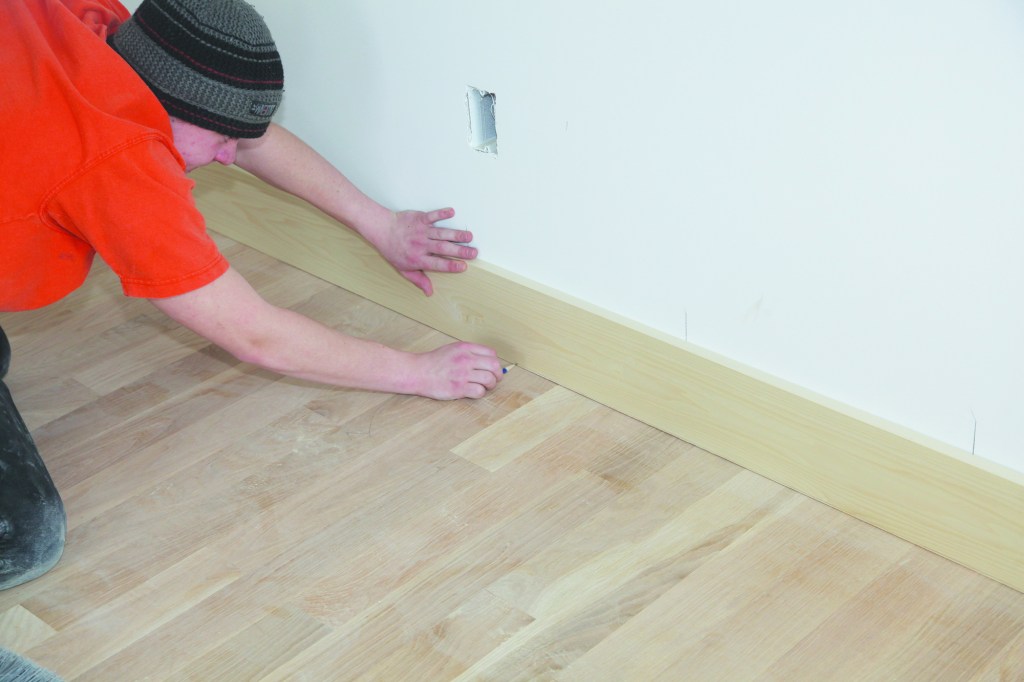
When baseboard is scribed to a floor, it usually looks better if the baseboard is kept generally parallel to the flooring surface rather than perfectly level. If there is a hump in one spot, raise an end to make the gaps on either side of the hump roughly equal before scribing. Otherwise, you may end up taking too much off of one end, making the baseboard look tapered. Keeping baseboard generally parallel with the floor will make it easier to keep adjacent sections aligned.
Horizontal pieces like a cap rail on wall paneling should be set up so that the overhang is close to even. If the paneling is relatively straight but the wall is not, set the rail stock on top of the paneling with a consistent overhang. When you scribe the cap to the wall, the overhang or reveal along the edge will be even and consistent.
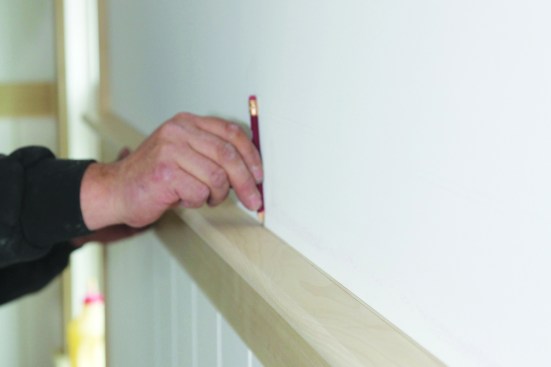
For small, straight line gaps, make the scribe using a pencil that rides on the surface that you are fitting to.
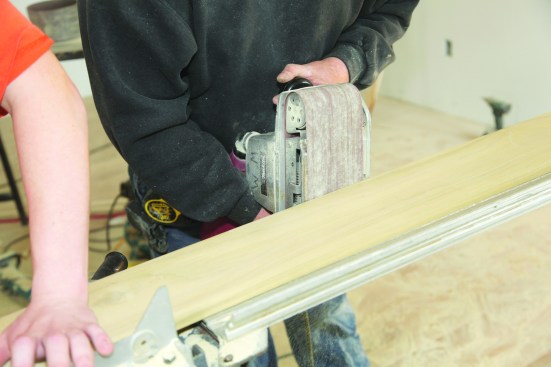
For small straight scribes, remove waste with a belt sander. A hand plane can also be used. Add a slight back bevel to the cut to make fine-tuning go more quickly.
Pencil scribing. When scribing, I try to remove as little material as possible, and there are usually sections of the board from which I don’t remove any material. After setting up the scribe, I find the largest gap that needs to be bridged to create a tight fit. If that gap is less than 1/4 inch, and I am scribing to a flat surface such as a floor or a wall, the quickest and easiest way to scribe is to place a sharp pencil on the flat surface and let the point of the pencil ride on the material. Keep the pencil square to the work, and mark the entire length of the board being fit. Avoid pressing too hard on the pencil; the point can dig in and follow the grain rather than drawing a line parallel to the surface irregularity.
Removing the waste from a pencil scribe can be done with whatever tool you are most comfortable using. A common way of removing waste for a small scribe is using a belt sander. Clamp the board to a workbench and lightly sand the edge, taking care to keep the sander moving side-to-side to avoid gouging the edge. To remove material from a straight edge such as a baseboard, I prefer to use a sharp block plane, which is easier for me to control.
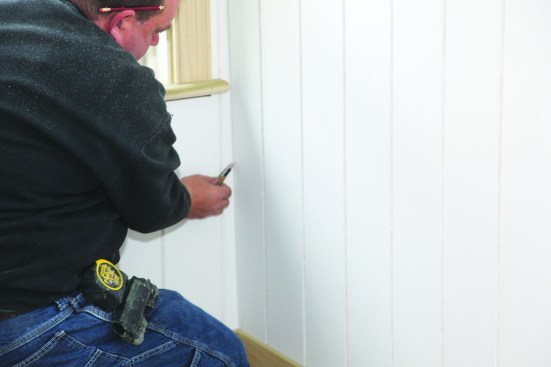
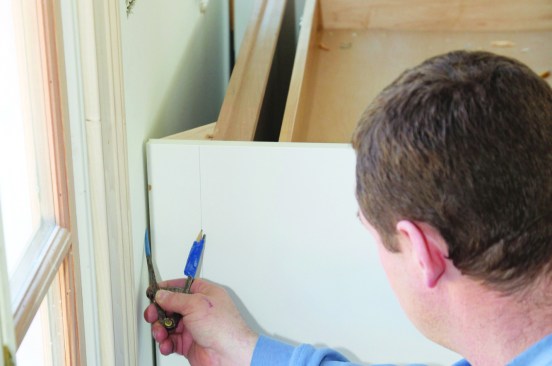
When scribing material to close a wider gap such as at the end of this wall paneling, use a compass scribe that can be opened to the desired width.
Compass scribing. When I’m scribing gaps larger than 1/4 inch, such as where sections of paneling meet in a corner, my tool of choice is a compass scribe—basically a compass with a hard point on one side and a place to insert a sharp pencil on the other. You can find one at just about any hardware store or lumberyard for under $5. Before I begin to scribe, I slide the pencil into the sleeve so that the pencil point is even with the hard point on the other side.
To set the compass width, put the hard point against the irregular surface, and close the pencil side to the largest gap. Then run the compass down the entire length of the board. For an accurate scribe, be sure to keep the open compass scribe perpendicular to the irregular surface, while keeping the points of the compass in line with the surface you are scribing.
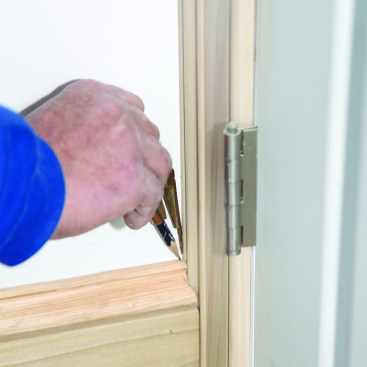
A compass scribe lets you transfer the door casing detail onto the end of the base cap. When cut, the base cap will fit into the contours of the casing.
Advanced scribing. Many times I need to scribe to a very uneven or irregular surface. A common example is scribing the end of base-cap trim to blend seamlessly into the profile of door trim.
Another example, mentioned earlier, is scribing trim to a stone fireplace or to a pebble floor. For those cases, the hard point of the compass scribe lets you precisely follow the contours of the irregular surface.
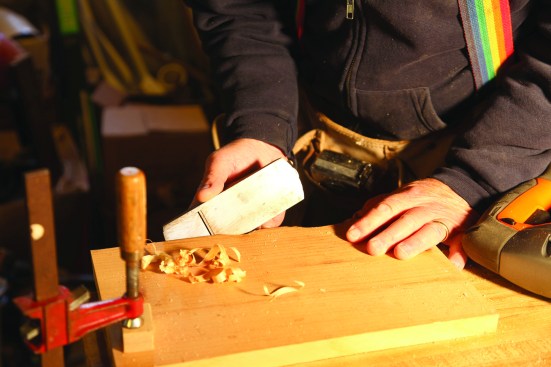
In the slideshow, I show how I scribed a length of baseboard to a natural stone accent section of a tile entry. After cutting the baseboard to length, I set it in place and checked it for level, just letting the bottom edge touch the highest stone. Next, I set my compass scribe to the maximum distance that the baseboard needed to drop once it was scribed to fit, and I marked the profile of the stone. Because the scribe has to match the profile of the stone directly below the visible edge of the baseboard, I angled the compass to the face of the baseboard so that the hard point followed the stones and the spaces below.
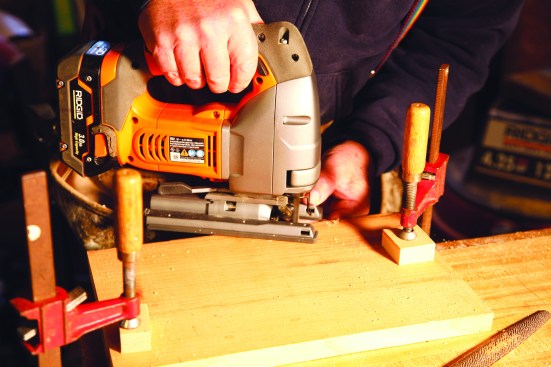
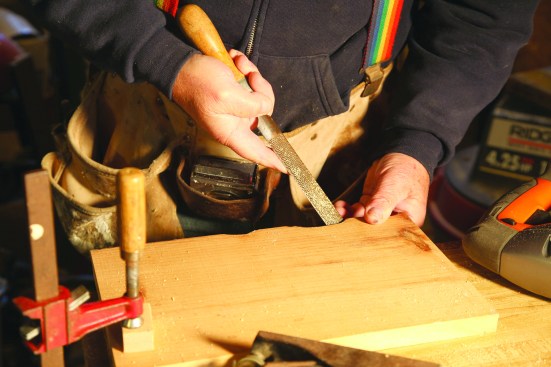
When I had finished marking my initial scribe, I rough cut close to the line with a jigsaw, following up with a coarse rasp. Part of the baseboard rested on wood flooring, and I used a block plane to cut that section to the scribe line.
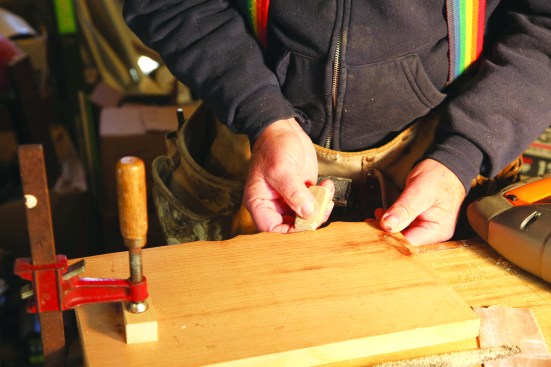
Scribe in degrees. As I cut to the line with the rasp and the plane, I angled the tools to create a back bevel (only the outside edge of the wood needs to contact the stone). I also make a habit of erasing any leftover pencil lines. I am rarely lucky enough that the piece fits perfectly on the first try, and erasing the lines gives me a fresh surface to fine-tune the scribe. For this particular scribe, I went back twice to tweak the fit, each time using a smaller scribe gap.
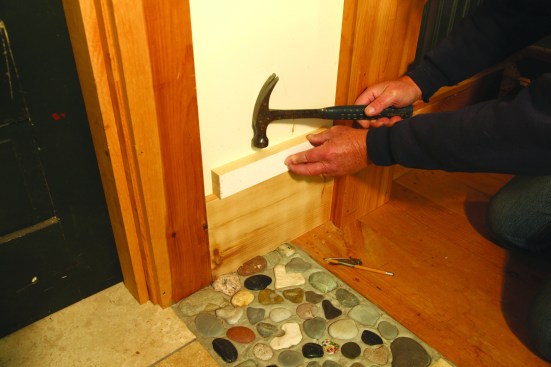
When I was happy with the fit, I set the piece in place and gave it a gentle tap down to let it nestle against the stones before fastening the baseboard. For this project, I left the wood natural and unfinished with exposed fasteners. If the piece was to be painted, I would have applied a primer coat and at least one finish coat before installing it.
Photos by Roe Osborn