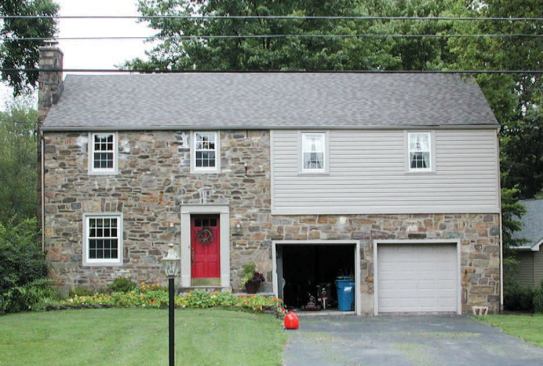
Before: An earlier master-bedroom addition above the garage was …
Supporting a Stone Facade
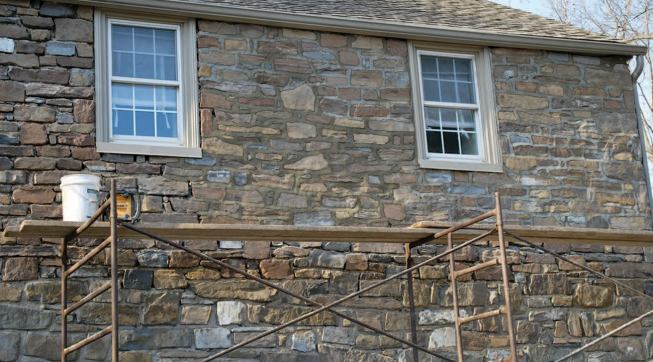
This job was simpler than the brick addition, but we still had to work around structural masonry – stone, in this case. The two-story house, built in the 1940s, had structural stone walls on the front facade and stick-framed vinyl-sided walls on the sides and rear. When the previous owners added a second-story master bedroom above the single-story attached garage, they unfortunately sided the front of the addition with vinyl. Not surprisingly, the new owners wanted to replace the vinyl with stone. And rather than stone veneer, they wanted matching 12-inch-thick structural stone, so they could replicate the deep window sills across the front.
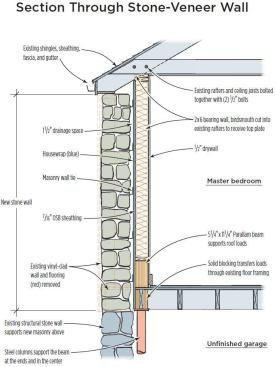
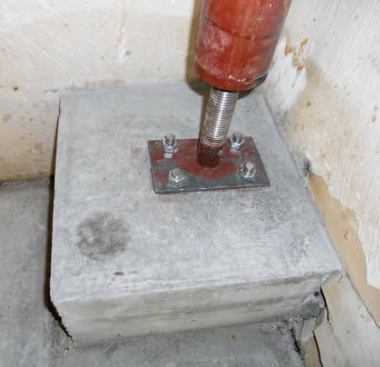
A review by our structural engineer revealed a problem: The lintels above the garage doors were not capable of carrying the weight of the additional stone plus the roof load. Reinforcing the lintels would mean stripping the existing stone down to the garage door heads and installing heavy pieces of steel. The homeowners didn’t like that option, so we came up with a different plan: We would use the existing structural stone wall to carry the weight of the new masonry above, but support the roof on a new 2×6 wall built inside. To get the roof load safely to the existing foundation, the wall would be framed on a 5 1/4-inch-by-11 1/4-inch Parallam beam set on top of the bedroom floor, supported at each end and in the middle with steel columns.
Parallam Insert
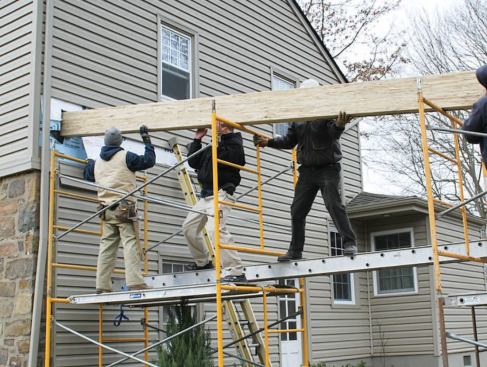
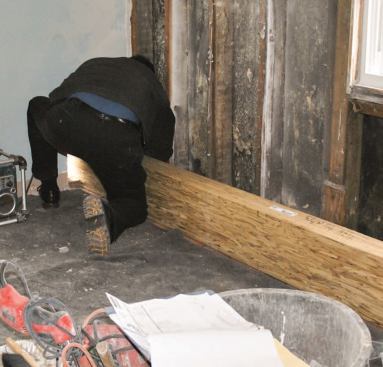
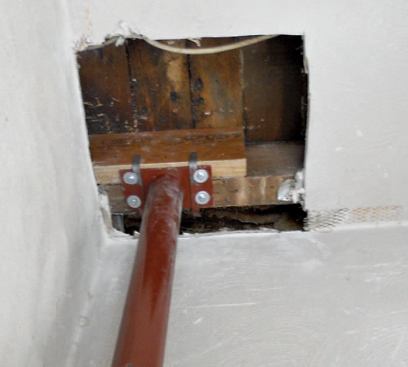
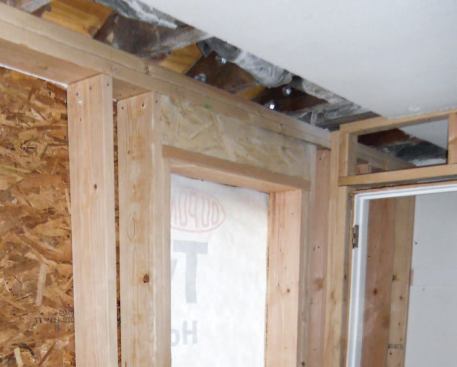
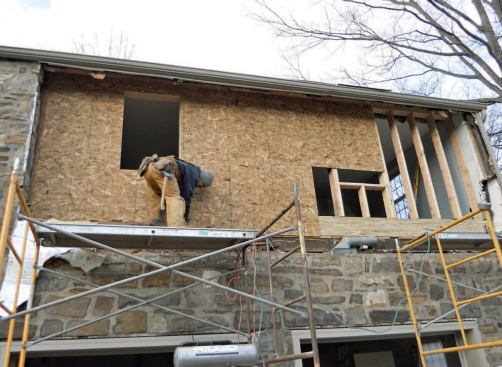
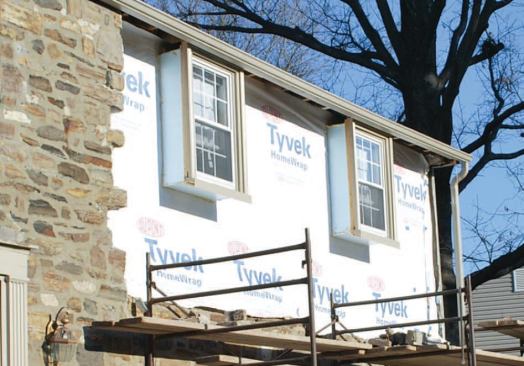
The plan was to build the studwall and provide support before removing the existing vinyl-sided wall. We first removed a strip of the oak flooring, then slid the beam into place through an opening cut in the gable wall. Next, before building the new wall, we fastened the ceiling joists and rafters together with pairs of 1/2-inch through-bolts so the roof couldn’t spread when we removed the existing support. We cut birdsmouths in the rafter tails to accept the top plate of the new wall, which we then framed. With the roof now safely supported, we tore out the existing vinyl-clad wall, then sheathed the new 2×6 wall. The clients wanted to re-use the existing windows, so we re-installed them on 3/4-inch plywood jamb extensions projecting out from the new wall.
Like many old stone walls, this one had been built without vapor barriers, weep holes, or special flashings. Yet despite recent winters with lots of rain and snow, it had not developed any moisture problems – partly because the stone was pointed to create a smooth water-shedding surface, according to our stonemason.
Knowing this, we were comfortable relying on a layer of housewrap, tucked behind the existing stone at the sides and the base, as a secondary watershed. In the very unlikely event that water does reach the Tyvek, it will be able to drip down to the base of the wall through the 1 1/2-inch drainage space and into the unfinished garage.
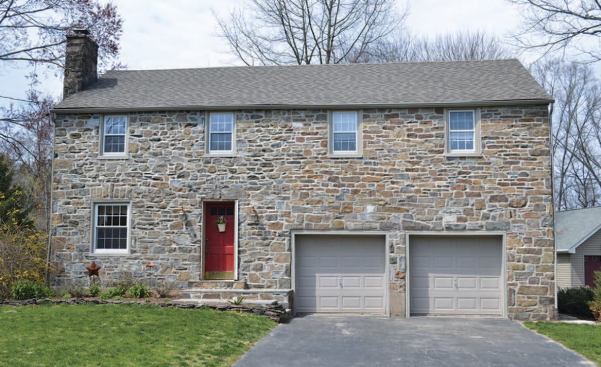
Our part of this project took two workers 3 1/2 weeks. Total job cost was around $40,000 – $12,000 for the stone and $28,000 for our work. The clients were pleased with the outcome, and the new stone will blend with the old even better as the surface weathers.
Dennis Gehman is president of Gehman Custom Remodeling in Harleysville, Pa.