New Footings and Beams
While the perimeter footings were sound, demolition revealed tha…
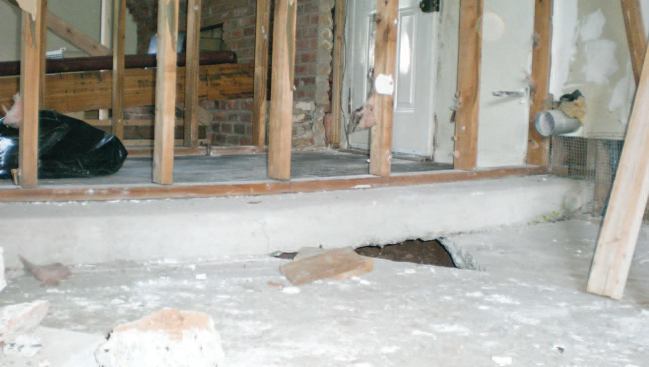
The unsupported garage slab obviously needed to be replaced, and the second-story loads would have to be to be shifted to suitable footings. We considered trying to save the family-room floor slab, but ultimately decided to remove it, too. The homeowners reported that the space was cold in the winter, so we suspected that the heating pipes beneath the slab had been damaged, and perhaps the drainage and water-supply pipes as well.
After exploring several options, we decided to break up and remove the existing slabs and excavate the loose fill beneath. Once we reached undisturbed soil, we’d pour a strip footing and build a new foundation wall at the back of the garage. We’d then fill the garage area with clean compacted gravel and pour a new slab. On the other side of the new foundation wall, beneath the laundry room and family room, we’d leave a crawlspace and frame a new floor system above (see illustration on page 3 of the PDF ).
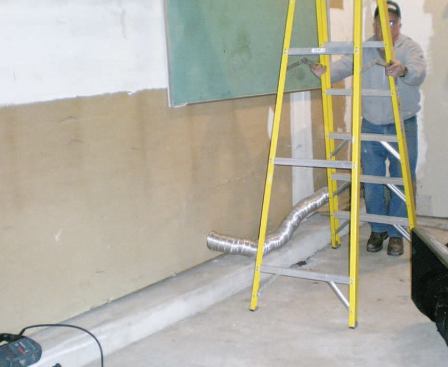
Working in an occupied house while performing a major renovation can be a hassle for everyone. In this project, the kitchen in the main part of the house opened directly onto the family room. To prevent the demolition and excavation from spilling into the kitchen, we first framed a wall between the rooms and sheathed it with OSB (see slideshow). Portable ventilation fans in a sliding-glass door opening at the rear of the family room and in the laundry room helped control exhaust fumes from the equipment used during excavation.
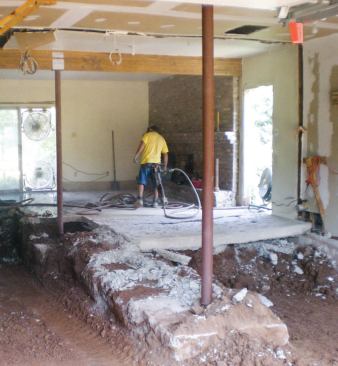
Steel in the right place. The first order of business, before we could begin excavating, was to get the second-story loads onto proper footings. We started with the front eaves wall. The fact that the original carrying beam was in the wrong location worked in our favor, since it allowed us to put the new beam in place without having to remove the old one.
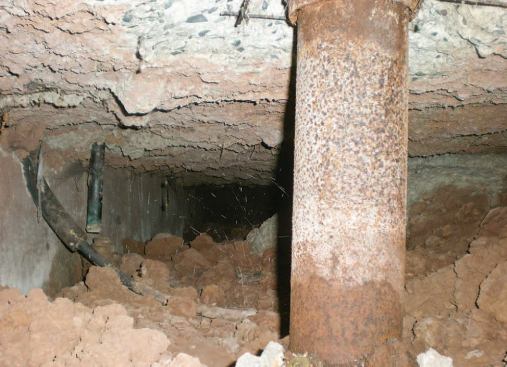
We thought about going with a steel I-beam beefy enough to span the entire 20-foot width of the garage, but the large beam required would have been too difficult to jockey into position. Instead, we chose a beam big enough to support just the dead load over the full span. Once it was in place, supported by steel columns at each end, the excavation contractor cut through the existing slab and hand-dug a hole for a footing at midspan, finally reaching undisturbed soil 54 inches below the slab. After pouring the concrete, we placed a new steel column that broke the span in half so the new I-beam could safely carry the combined live and dead loads.
With the front of the second floor supported, we turned our attention to the bearing wall between the laundry room and family room. We felt that cutting through the slab to install a continuous footing would be too risky, because it would leave the second-floor joists without adequate support while the work progressed. Instead, we built a temporary support wall parallel to the existing wall, about 2 feet away. Like the original wall, the temporary wall rested directly on the sagging slab, but it was nailed to a heavy pressure-treated plate to distribute the load as uniformly as possible. We then removed the old wall, cut through the slab and poured a new footing, and supported the floor loads with a pair of glulam beams that butted together over a new column at midspan. We considered using another full-length steel beam, but decided, given the relatively confined space, that it would be much more difficult to maneuver than a pair of glulams. Also, the glulams were easier to integrate into the wood frame walls at each end.
Once the second floor was fully supported, the temporary wall was dismantled and we began to remove the slab so we could excavate the unconsolidated soil underneath.