Insulating With Cellulose and Rigid Foam
Repairs to an 80-year-old house included dense-pack cellulose in…
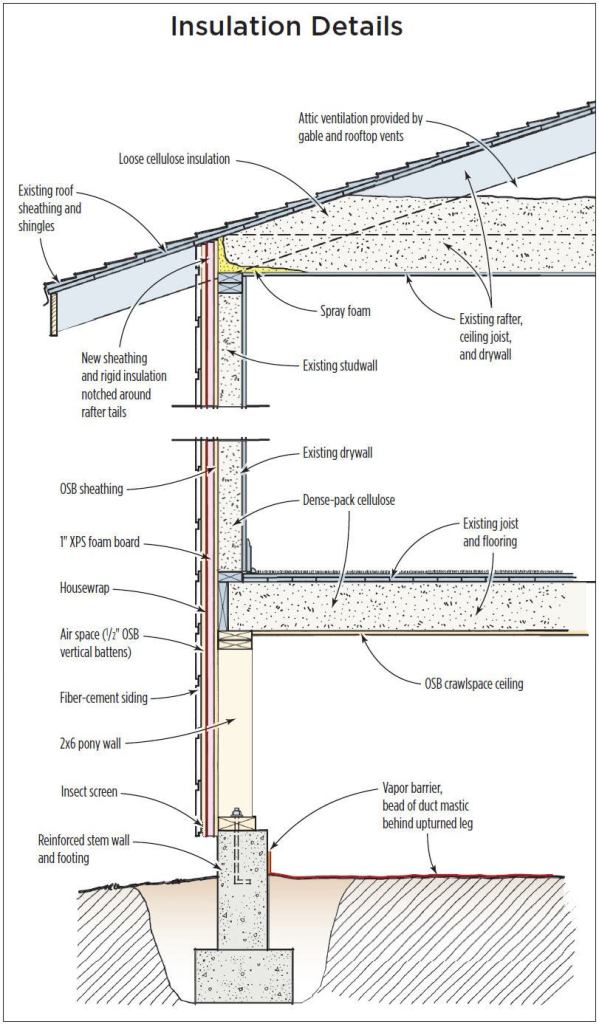
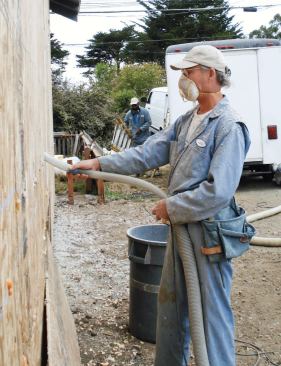
Dense-pack cellulose insulation is typically blown in from inside, through holes cut in a mesh fabric that has been stapled to open framing. The fabric holds the insulation in the cavities, allowing it to be packed to a density of approximately 3.5 pounds per cubic foot. At this density, it has an R-value of about 3.4 per inch. Once the insulation is in, drywall is installed in the usual manner.
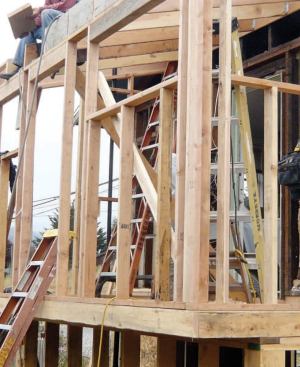
Inside out and outside in. Our insulation contractor used that conventional method on the walls and ceiling of the newly framed back porch. In areas where the drywall was already up he worked from outside, blowing cellulose through holes drilled in the sheathing. Early in the process, however, we found that the pressure exerted during installation could be enough to push the drywall off the studs. To prevent this from happening, we screwed temporary battens across the inside face of the wall. After the stud bays were filled, we patched the holes in the sheathing by inserting wood plugs and sealing them with duct mastic and mesh drywall tape.
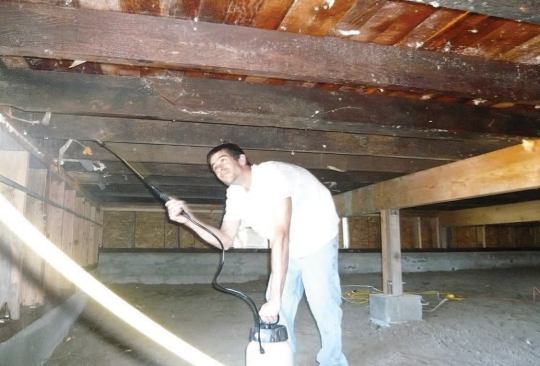
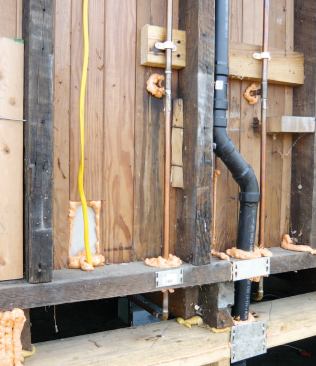
Floor and attic. Instead of blowing insulation through the subfloor or the crawlspace ceiling, the insulation sub worked through holes bored in the blocking that served as a rim joist. To ensure that the cellulose reached the far end of the framing cavity, it was blown in through a long piece of PVC plumbing pipe attached to the end of the hose. The insulator started with the pipe all the way in and slowly withdrew it as the joist bay filled with insulation.
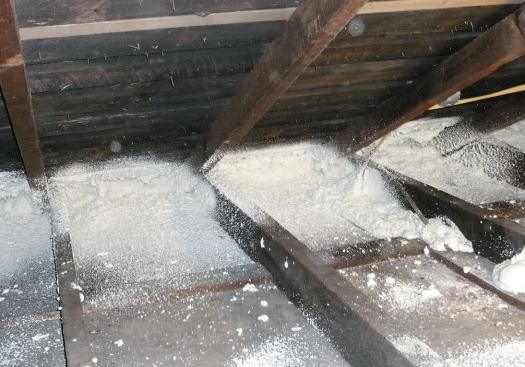
The attic was insulated to R-40 with blown-in cellulose. There was no need to install insulation baffles because the existing roof had no ridge or soffit vents. Ventilation was furnished by flat roof vents and a pair of gable vents.
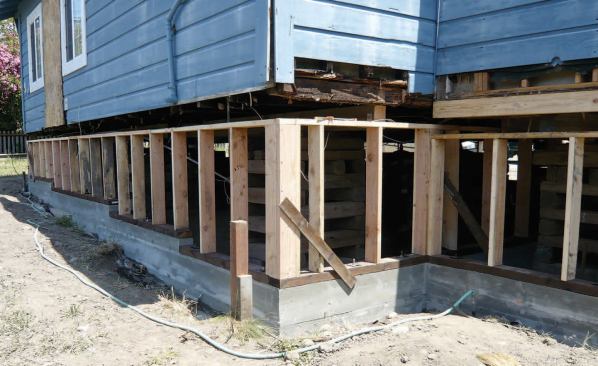
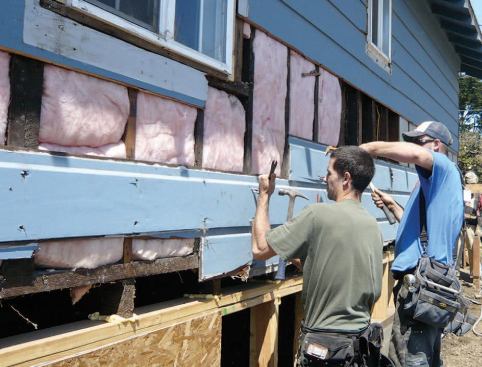
An exterior thermal break. To provide a thermal break and an additional R-5 of insulation value, we covered the wall sheathing with one-inch XPS foam board, which was notched around the rafter tails. We cut the front porch free from the building and moved it temporarily away from the wall so the foam could be applied behind it without interruption. In framing the rear laundry room, we cut the rafters flush with the top plate so there would be no breaks through the foam. An overhang with short decorative rafter tails was later fastened to the wall from the outside.
Rain-Screen Siding
To increase the durability of the wall assembly, we installed the exterior finish rain-screen style — that is, over a ventilated air space. This allows any moisture that gets behind the siding to drain to the bottom of the wall and promotes rapid drying of the back of the siding itself. We began by nailing spacers ripped from scraps of OSB over the foam at the perimeter of the openings and fastening the windows to them. Next, we covered the foam with housewrap, taking care to lap it over the window flanges and spacers. The remaining spacers went on over the housewrap at the stud locations, with window-screen material stretched across the open ends to keep insects from entering the air space. We completed the exterior by reattaching the front porch and nailing the casings, corner boards, and siding over the spacer strips.