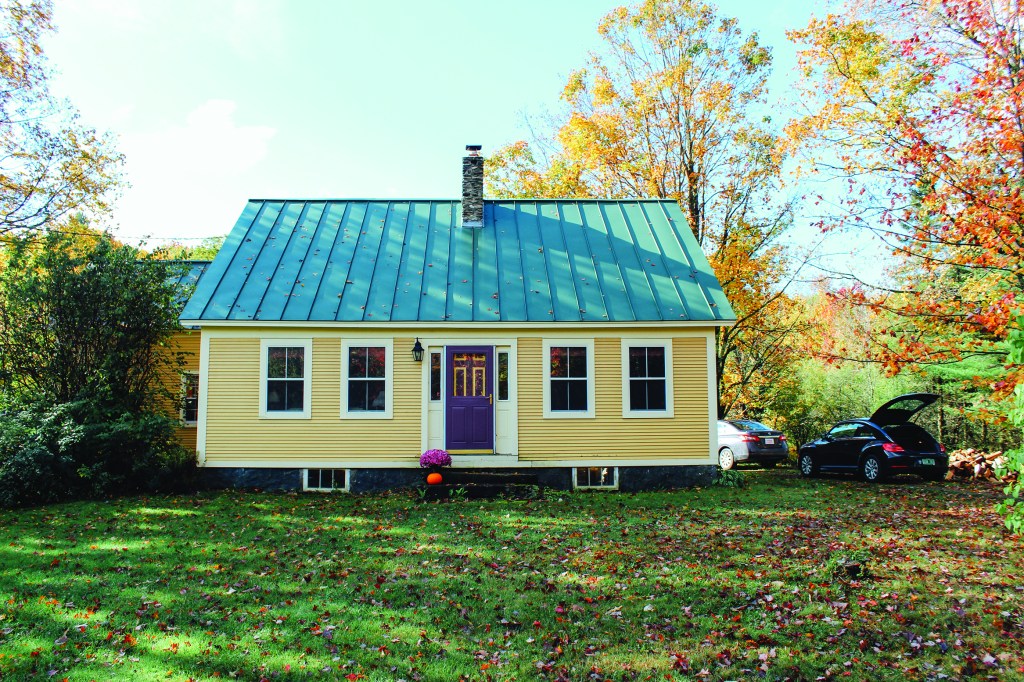
In 2013, my company, Caleb Contracting, performed an energy audit on an old (circa 1797) Cape-style home in Northern Vermont.
The homeowner contacted us because she wanted to live a more sustainable, greener lifestyle—starting with her home. During our walk through, she complained of cold floors along the exterior walls and, tangentially, problems with mice. In the basement, we could see gaps in the fieldstone foundation where cold air (and mice) entered at grade. Also visible were past attempts to air-seal the crumbly stone wall with spray foam.
After our initial meeting, I sent her an audit report with my recommendations (covering air-sealing strategies, photovoltaic panels, heat-pump DHW heaters, and mini-split equipment) and checked in with her from time to time to see if she wanted to proceed with the energy upgrades.
Since that time, the client had a PV panel array installed (it’s tied to the grid and powers her electric car), but she held off on implementing our air-sealing and HVAC suggestions until last summer. On reconvening, we agreed to tackle air-sealing the troublesome foundation first (holding off on the more troublesome attic, for now). On the HVAC front, she agreed to install a new heat-pump DHW heater in the basement and mini-split HVAC equipment, which would run, in part, off her PV panel array. A mason was hired to rebuild the fieldstone wall.
Air-Sealing the Box Sill
Using foam to air-seal the box sill would have been easiest, from a labor standpoint. However, the homeowner wanted to avoid using foam products, for environmental reasons. To be honest, I was more concerned about introducing an impermeable material to an old, time-tested building assembly. I didn’t want to close off the drying potential to the interior of the home’s wood-framed box sill (which was close to grade and prone to long periods of dampness). That had the potential to damage a 220-year-old gem of a house.
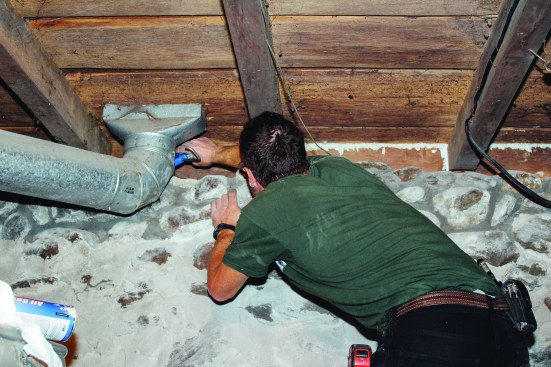
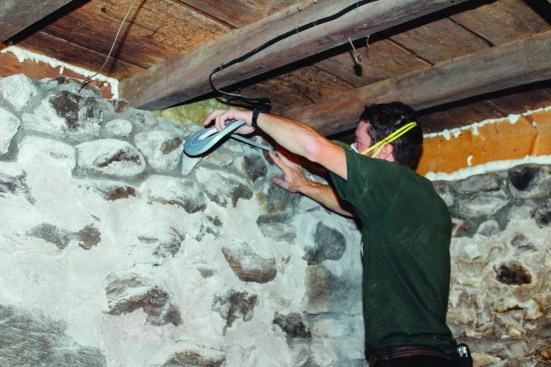
A combination of sealant and spray foam air-sealed the gaps between framing members.
So with my Siga rep, Marc Coviello, we came up with a vapor-open solution. We would air-seal the framing with sealant; install 4 to 6 inches of Roxul ComfortBoard insulation into the joist bays; and then cover the foundation-to-floor-framing transition with an air-barrier membrane, sealing it as well as possible to the stone and framing with an assortment of Siga tapes.
Our project manager, Matt Burstein, and my son, Daniel, did the installation work. They first sealed the gaps between the hand-hewn framing members around the basement’s perimeter. On gaps less than 1/4 inch wide, they applied DAP Dynaflex 230 sealant, tooling it with their fingers as needed. On wider gaps, we compromised and used Touch ‘n Seal All Season spray foam. Gaps between the existing sill beam and the repaired stone wall were sealed with sealant and spray foam as needed.
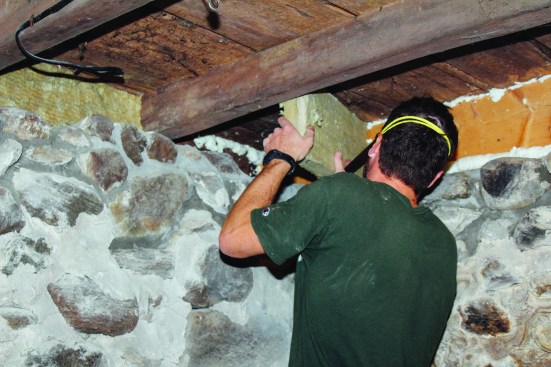
Layers of Roxul insulation were easy to cut and snug into tight joist bays …
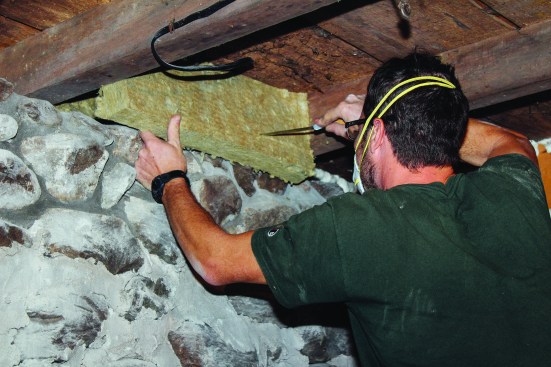
… and around the irregular fieldstone and handhewn framing.
Insulation. Next, we packed out the box sills with layers of Roxul ComfortBoard to the face of the stone wall. The Roxul, as opposed to rigid foam board or even fiberglass batts, worked great in this application. The ComfortBoard is more malleable than rigid foam—an asset when insulating tight spots—and unlike fiberglass, it can be firmly compressed into place without a loss in R-value. In addition, it’s water repellent and doesn’t promote mold growth, and mice do not like it. Working around the irregular stone and hand-hewn framing shapes, we easily scribed and cut the Roxul into place. We filled in small voids with strips of the material.
Siga Primur Roll tape bonded the new air-barrier membrane to the repaired fieldstone wall. First, the tape was pressed firmly to the stone.
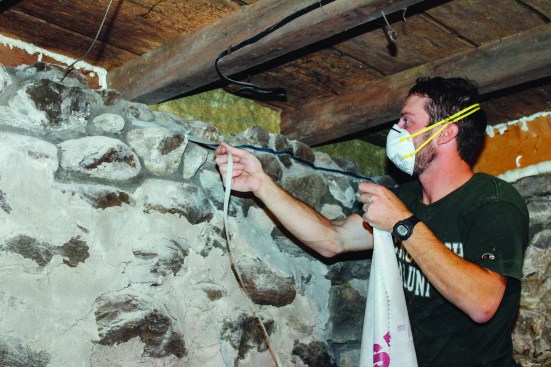
Removing the release tape exposed the tape’s outer, sticky side.
Tapes. To seal the air-barrier membrane to the existing framing and stone, we used a few different tapes from Siga. We applied double-sided Siga Twinet tape for most of the air-sealing of membrane to wood, while using Siga Rissan 60 tape to seal tricky spots, such as at wiring and mechanical penetrations. For the trickier stone connection, we used Siga Primur Roll, which is a fairly new product. It’s basically a thick, uniform caulking bead on a roll. We applied it along the top of the wall, rolling it out and pressing it into place before pulling the release paper and applying the air barrier.
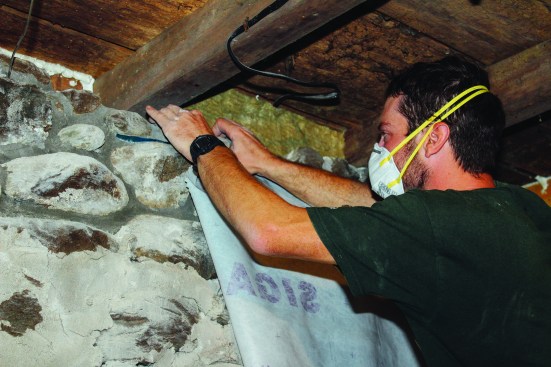
The air-barrier membrane was then pressed firmly to the tape.
Next, the membrane was folded up and tailored to fit around framing and mechanicals.
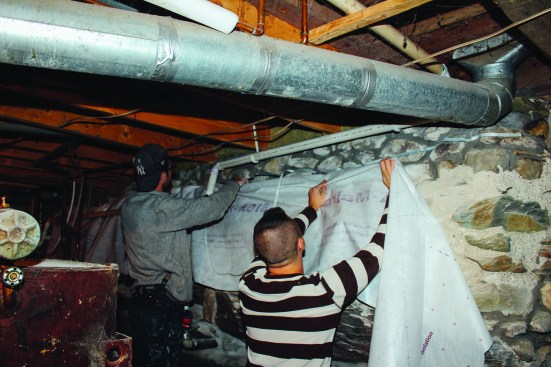
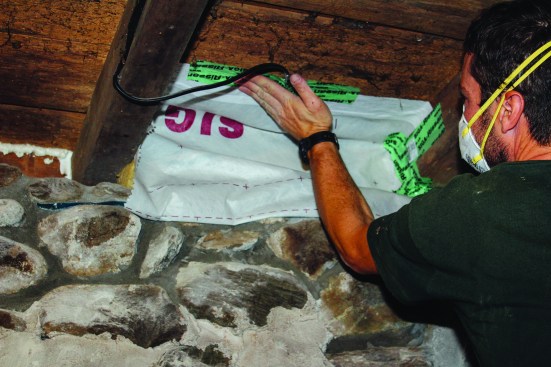
Using long lengths of membrane reduced the number of seams.
Air-barrier membrane. For the air barrier, we chose Siga’s Majrex membrane. It’s a sturdy, airtight membrane that’s vapor-open in one direction only. In this case, it would allow moisture to travel from the insulated joist bays into the basement space while preventing moisture intake from the interior. We installed the membrane with its vapor-open side facing against the stone and folded the membrane up, tailoring it around the floor framing and mechanicals and sealing it with the double-sided tape and Rissan 60 tape, as needed.
All photos by Tim Healey.