Brian Butler
I’m a Boston-area contractor who specializes in energy-efficient construction and remodeling. My company recently completed an energy retrofit and remodel of my own house in Medford, Mass., undertaken as part of a pilot program administered by the regional electric and gas company National Grid. To demonstrate the feasibility of reducing energy use in existing structures by 50 percent or more, the utility provided partial funding for this and several other deep-energy retrofit projects in Rhode Island and Massachusetts.
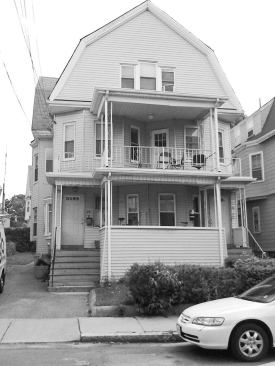
The house is a two-family Dutch colonial built in 1908. It has two apartments totaling about 3,200 square feet. Though previous owners had replaced the siding, its thermal performance was dismal. The wall cavities were uninsulated, as were most of the third-floor ceiling cavities. The gambrel rafters had some loose batts, and there was spotty cellulose in the attic ceiling. Space heating was provided by an overworked pair of natural-gas boilers and distributed by steam radiators, with domestic hot water from 50-percent-efficient standing-pilot tank-type heaters. Blower-door tests showed that both units leaked at around 3,500 cfm.
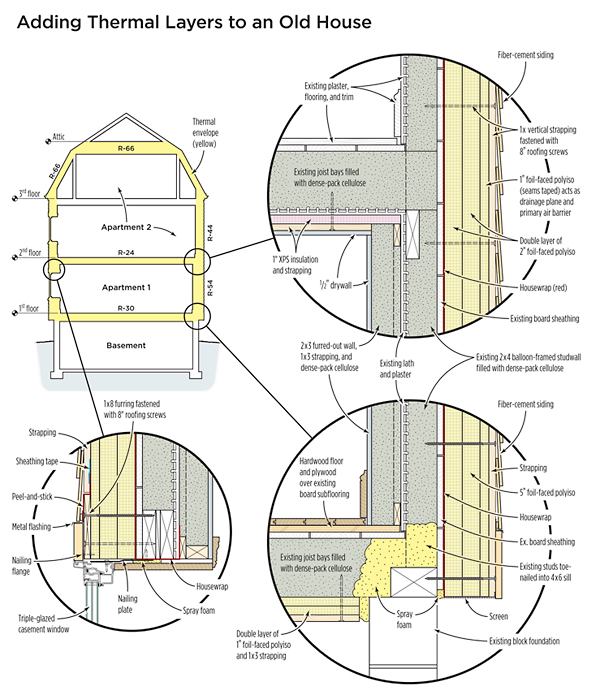
My plan for the renovation was to insulate the existing framing cavities, wrap the entire structure in rigid foam, replace the windows, and upgrade the mechanical systems. By moving into the upper unit while the work was going on, I could build out the interior walls in the lower unit, add more insulation inside and out, and try to achieve the highest level of air-sealing possible in an old house like this. The upstairs unit wouldn’t get the interior insulation or air-sealed drywall — which would result in slightly lower insulation values — but it would still make solid gains in overall efficiency.
To keep the look of the original house, I opted for an “outie” window configuration that would leave the plane of the glazing more or less in line with the siding.
Exterior Insulation
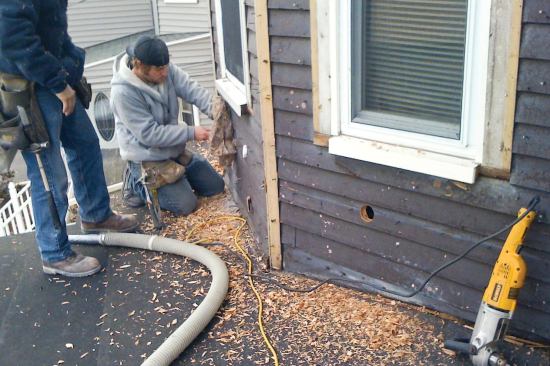
The first step was to have a cellulose contractor dense-pack the uninsulated 2×4 wall cavities from the exterior (see slideshow). Then, after stripping off several layers of existing siding, we covered the 7/8-inch board sheathing with a carefully lapped and taped layer of HardieWrap weather barrier. To head off air infiltration between the framing members in the window openings, we also lined the rough openings with strips of HardieWrap, which we sealed to the housewrap outside and to the interior plaster on the inside.
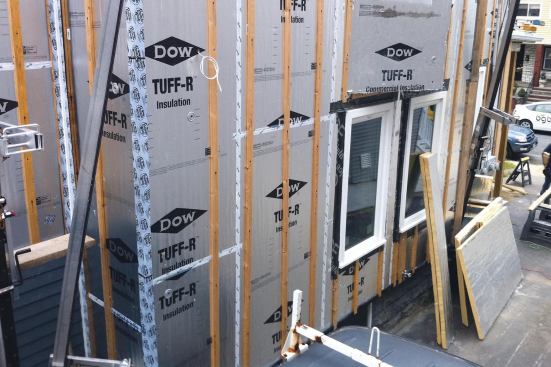
Next came two layers of 2-inch foil-faced polyiso board and a single layer of 1-inch, with the seams between layers staggered and sealed with Dow Weathermate tape. We used as few screws as possible for the first two layers, but screwed the top layer to the sheathing with a roofing cap at each corner. Finally, to provide a ventilated nailing base for the fiber-cement siding and to better secure the foam, we fastened vertical 1×3 strapping through all three layers and into the studs with 8-inch-long roofing screws.
The outer layer of foil facing serves as the drainage plane and a primary air barrier; the housewrap, now buried under 5 inches of rigid foam, acts as a secondary air barrier.