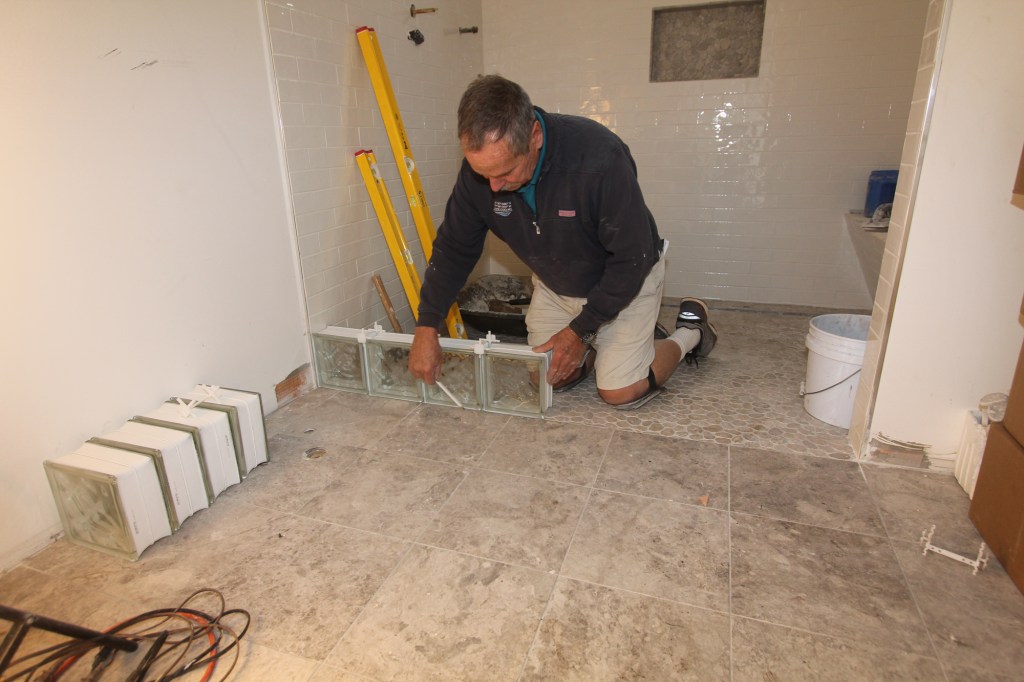
Install the First Blocks
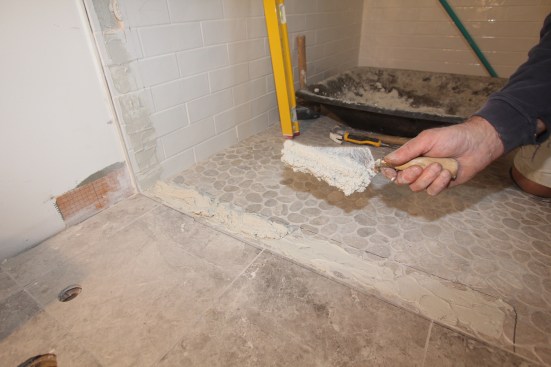
Because glass block is nonporous and does not absorb moisture, the author uses a premixed mortar specially formulated for installing glass block that contains lime and sand. He spreads a thick layer of the mortar on the floor layout.
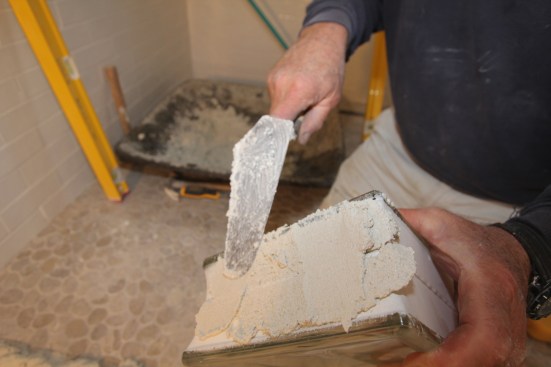
After spreading the mortar on the floor tile, he butters the two sides of the 8×8 block with mortar.
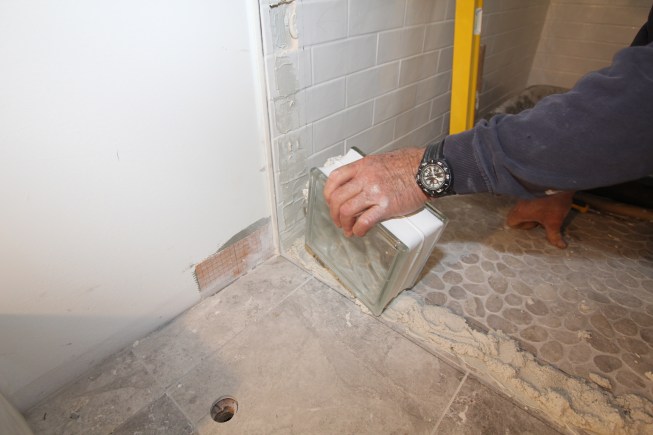
To keep the mortar from sliding off the edge of the block, the author holds the block at an angle as he begins to install it.
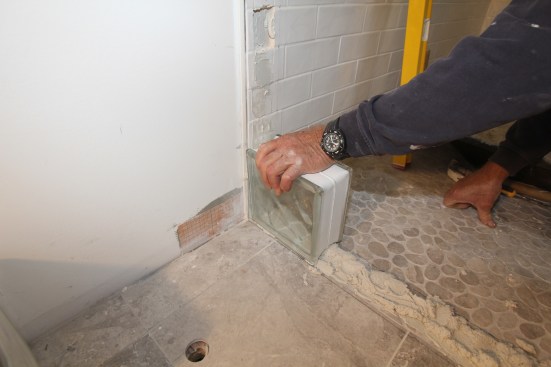
He then sets the block in place using a rolling motion, pressing it into the mortar on the floor as well as on the wall.
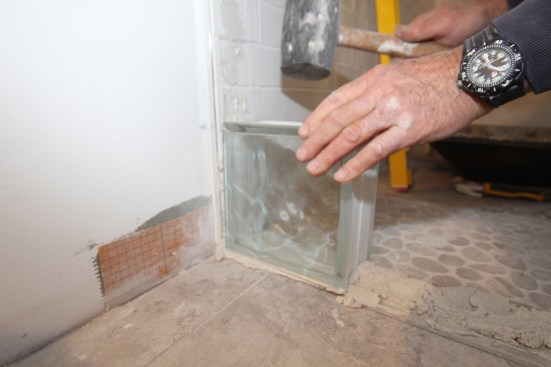
After placing each block, he gives it a tap with a rubber mallet to insure complete adhesion. Glass block is quite heavy, so the author installs only a few courses at a time, allowing the mortar to set up overnight before starting the next set of courses. When scheduling glass-block projects, he tries to coordinate the installation with other nearby projects that he can jump to while waiting for the mortar to cure.
Checking After the First Course
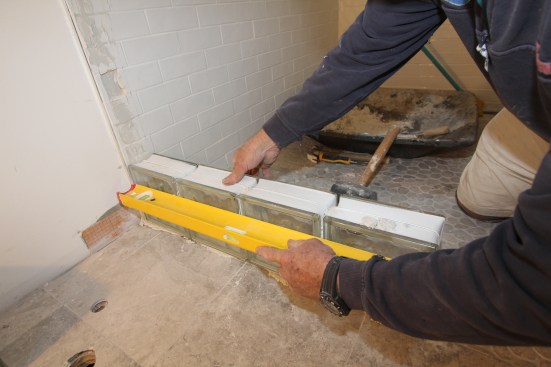
The author continues installing the glass block for the first course, buttering each block and tapping it into place. When the course is finished, he checks to make sure the blocks are in plane and on the layout lines on the floor.
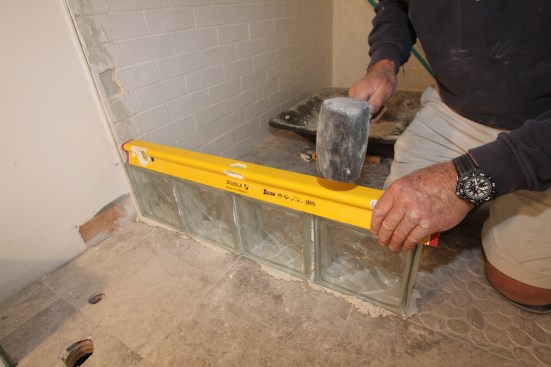
Next, he checks to make sure the course is level along its length, tapping it down as needed.
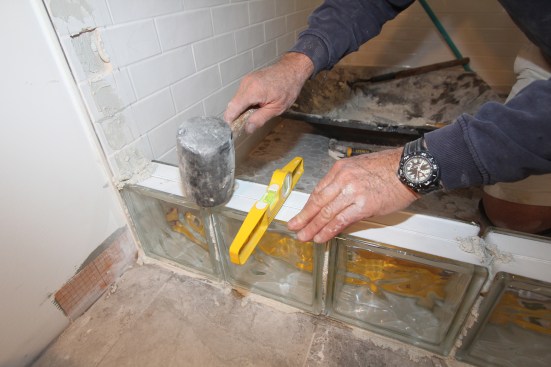
The third and final check for each course is leveling across the block, again tapping the block into line if necessary.