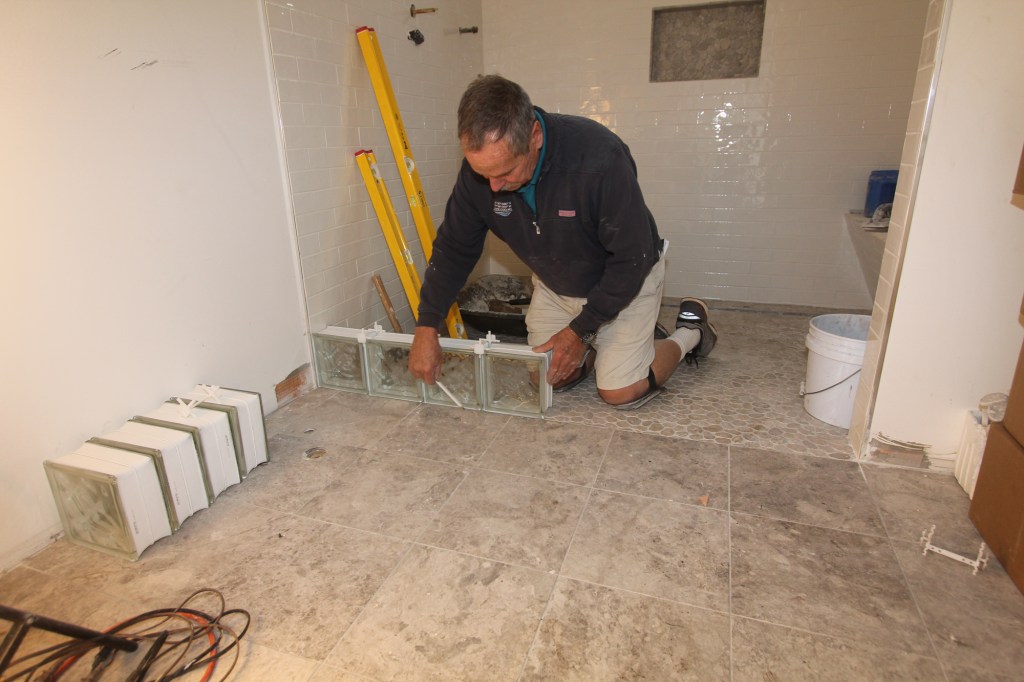
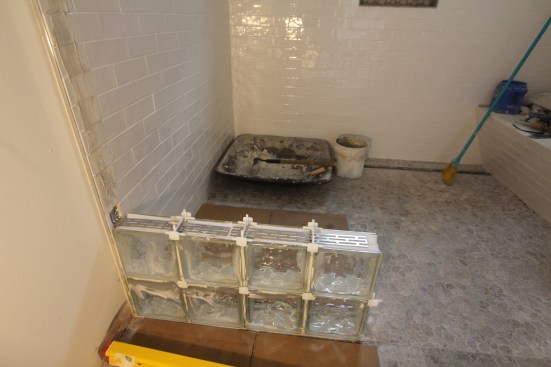
Spacers for the Second Course
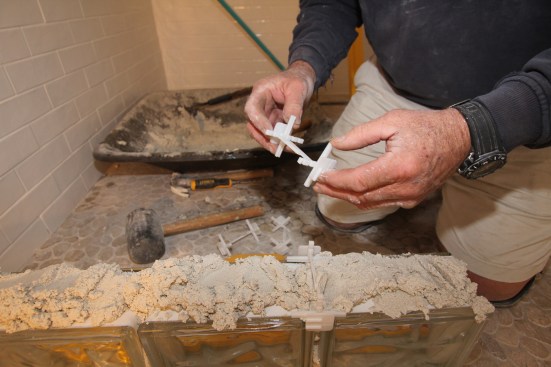
The author spreads a layer of the glass-block mortar on top of the first course and inserts plastic spacers that adjust to the width of the block—in this case, 4 inches. These spacers keep the horizontal and vertical joints at the recommended 1/4-inch width. (The square plastic guides come off after each section cures.)
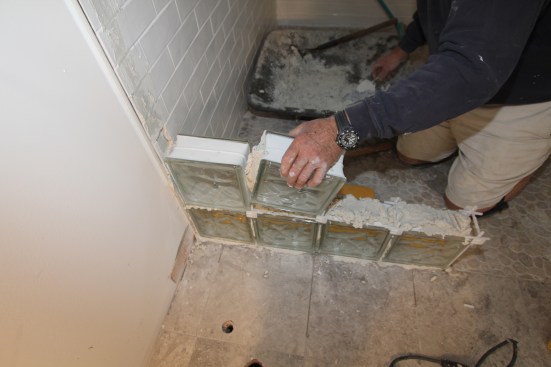
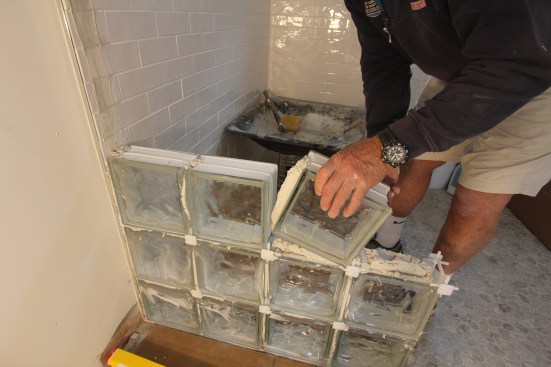
He then installs the glass blocks for the next course, setting the blocks tight onto the spacers.
After installing the final block for each course, he taps it over with a mallet to take out any extra slack from between the blocks.
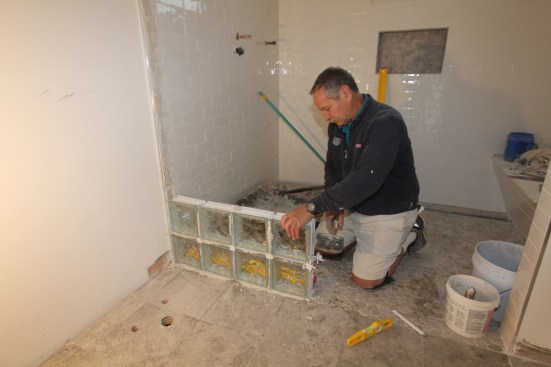
Installing Reinforcement
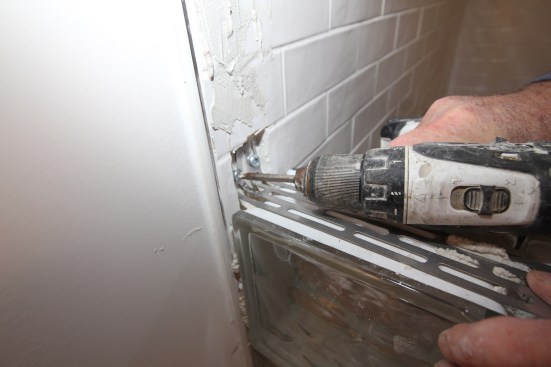
After two courses are done, the author installs a stainless steel panel anchor (which comes in 16-inch lengths) to tie the glass block to the bathroom wall framing. After bending one end of the anchor into an L-shape, he inserts that end into the pocket cut into the tile earlier, and he screws the panel anchor directly to the wall framing.
With the rest of the anchor resting on the block, he inserts the spacers for the next course.
The Next Two Courses
The author spreads mortar over the reinforcement anchors and installs the third and fourth courses.
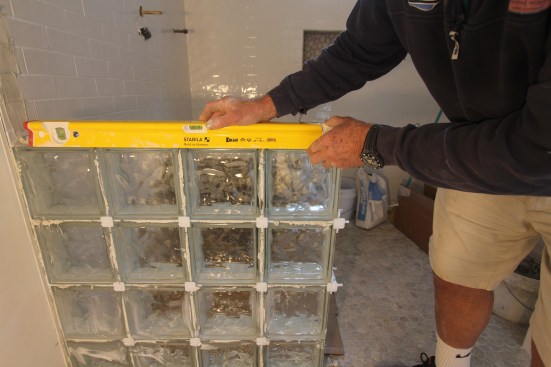
When those courses are installed, the author rechecks the glass block for level.
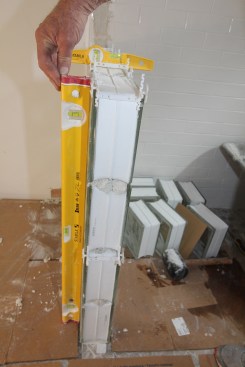
As before, he also checks the wall for plumb, making sure the block is also level across its width.
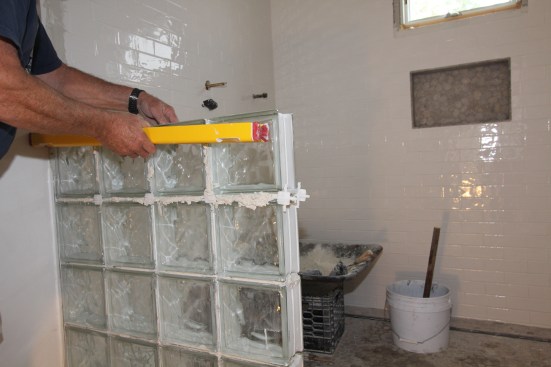
And he checks to make sure the courses are in plane. At this point, he scrapes the excess mortar out of the joints and lets the first four courses of the wall sit overnight to allow the mortar to cure.