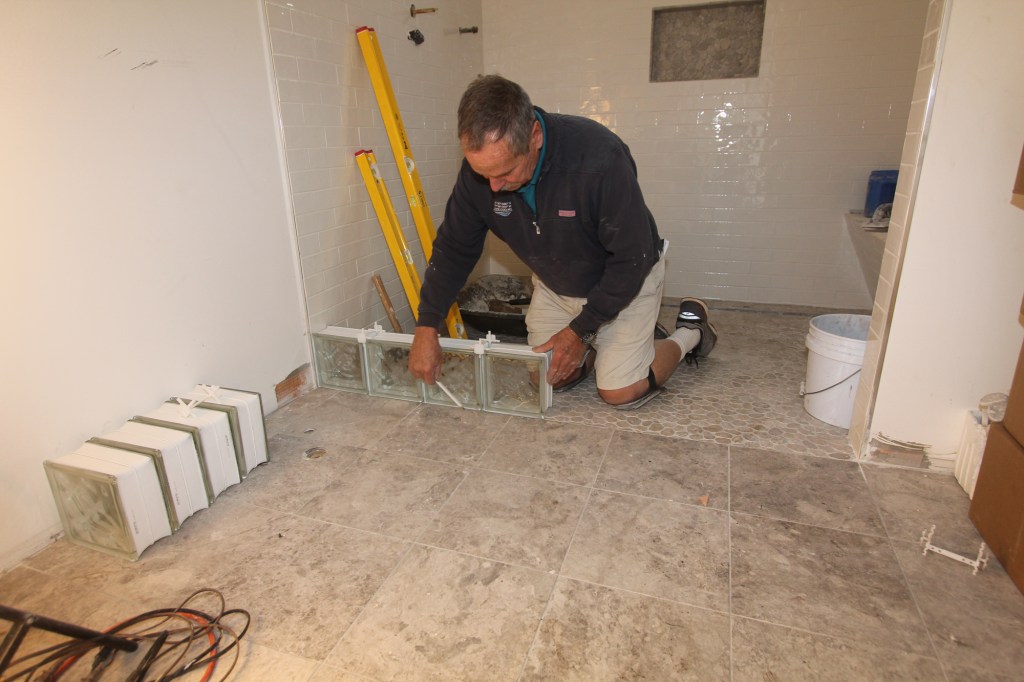
Day 2
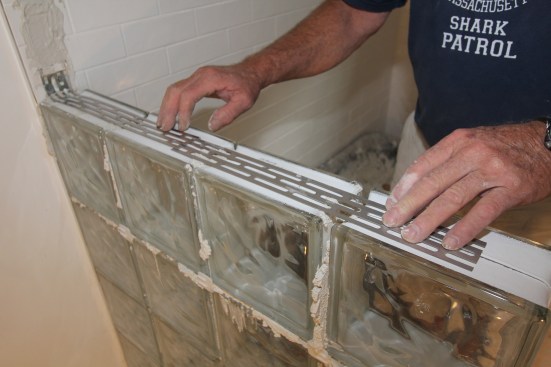
After letting the mortar for the first four courses cure overnight, the author begins the next day by breaking off the plastic tabs that hold the spacers in place. He then attaches another panel anchor to the bathroom wall for reinforcement.
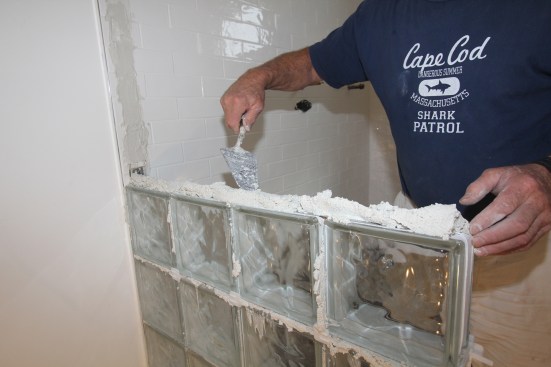
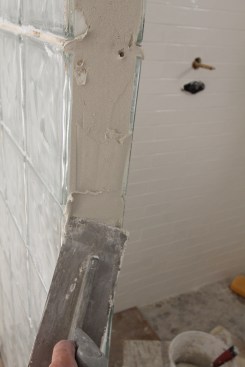
As before, he spreads a layer of mortar over the panel anchor …

… and then adds spacers for the next course.
With four courses of the block wall completely solid, he is confident to continue installing the next few courses.
Continue Checking Courses
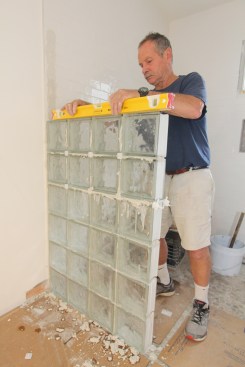
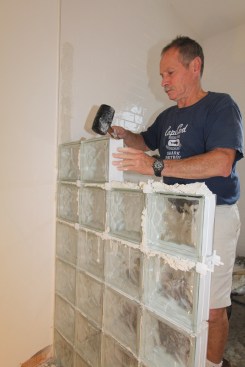
After installing next two courses the author stops again to check the glass-block wall for level.
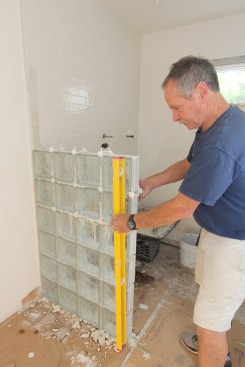
As before, he also checks the wall for plumb …
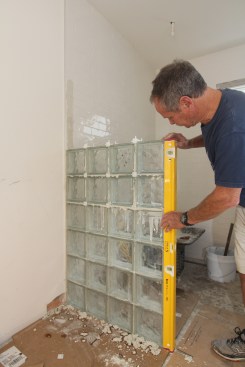
… and he checks the outside edge of the wall for straightness and plumb. He continues to add panel anchors every two courses for the entire height of the wall.
Finish Installing the Block
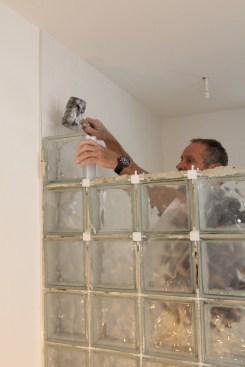
On the third day, the author installs the last few courses of glass block.
Spreading the installation out over three days lets the mortar for each section fully cure before he adds more courses to the wall. After letting the final courses cure for 24 hours, he coats the edges of the glass-block wall with a layer of modified thinset as a base for the limestone cap that he will install to finish the edge of the glass block wall.