Panel Installation

Top of the tray ceiling. The “field” panel layout was centered in the 11-foot-long-by-3-foot-wide tray ceiling (the 2-foot-square panels trimmed down to accommodate the non-modular opening). Starting at one end and working in one direction, lengthwise, I installed the panels (above left). I aligned them to a snapped line in the middle of the tray, centering their ¼-inch-wide nailing flange on the line. The trimmed panel edges were butted to the vertical sides of the tray, which were later covered by crown molding.
I fastened the lapped panels off along the edges 6 inches on-center and at the corners with 1-1/4 inch-long by 18-gauge brad nails, pinching the lapped panel layers together. The tin tiles lay pretty flat with just the perimeter nailing, so I decided not to nail off the panel centers (I didn’t want to create any weird waves or oil canning by fastening off the centers).
Sides of the tray. For the 12-inch-deep tray, the 2-foot-square panels were cut in half, and their nailing flanges were trimmed off the bottom to fit the space exactly. Installing the half-sheets of tin, I aligned them to the bottom edge of the opening, using a snapped line in the middle vertical perimeter of the tray ceiling as an additional guide (above right).
For both the top and side panel installation, the panels are fairly self-indexing (interlocking along the edges) but are not perfect. You still have to be aware about keeping them square and inline as you progress.
Fastening the Side Panels

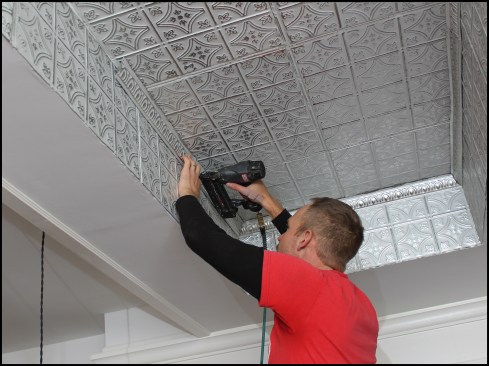
I used the same on-center fastening for the side tin, fastening along the edges 6 inches on-center with 1-1/4-inch-long by 18-gauge brad nails. The top edge of the side panel will be hidden by the crown molding, so I used a closer on-center spacing along the top (photo, above).
Setting the depth. Prior to starting, I did some tests on scrap material to help zero in on the right fastening depth for the brad nailer; I was striving for the heads of the brad nails to be sitting on the surface of the tin.

Where needed, I used a hammer to drive home brads standing proud of the tin; I occasionally hand-nailed brads to supplement the tin’s attachment, taking extra care not to damage the embossing or finish with the hammer (photo, above).
Crown Molding

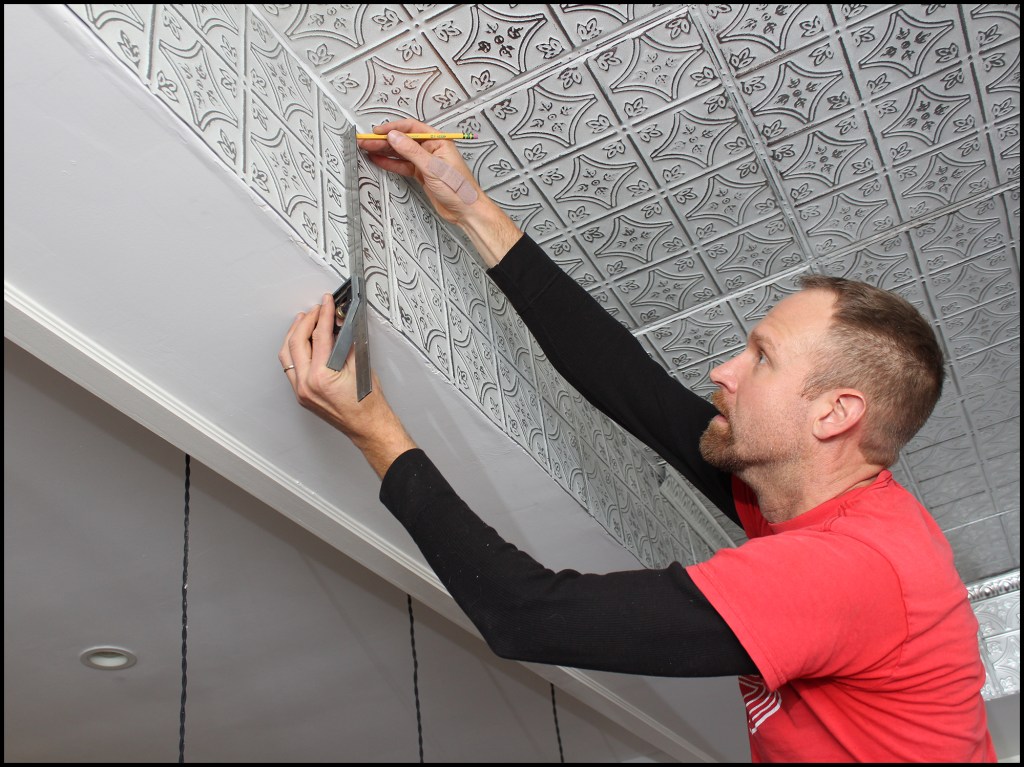
The homeowner selected tin crown embossed with an egg-and-dart pattern with the artisan silver washed white finish to match the panels. The 2-1/2-inch-wide crown with a 1-7/8-inch projection height (above left) served as an accent transition between the tray field and perimeter veneer. It came in 4-foot lengths from the manufacturer. Because the molding was flexible, I used a combination square to mark the height (above right).
Starting in one corner, I ran the crown molding. I placed the bottom edge of the crown to my marked lines and fastened as needed to properly set the molding (photo, above). I slightly lapped abutting pieces of crown.
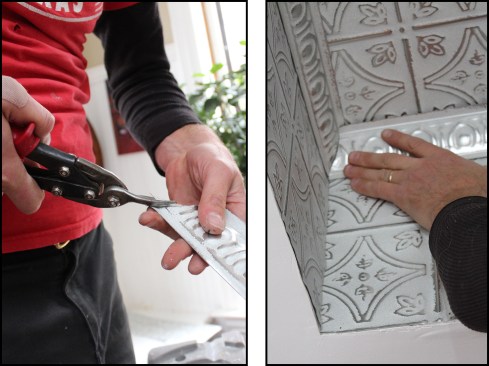
Corners were coped much like wood molding, with snips cutting the curve of the cope, to create seamless inside corners.