Flat Molding (and Finishing Up)

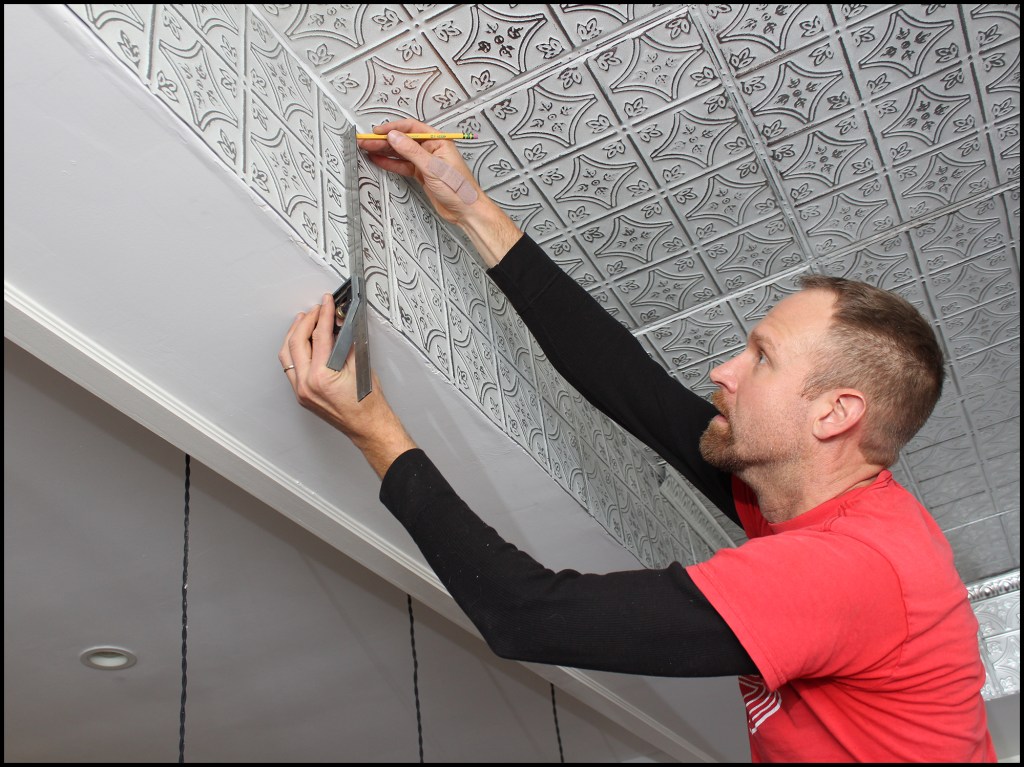
To finish the bottom edge of the tray ceiling where it returned onto the main ceiling, we selected a 1-1/2-wide flat molding with the same white finish. I installed the embossed molding, making sure to hit solid nailing while fastening (above left). I used a combination square to mark the width of the molding as an additional guide (above right).
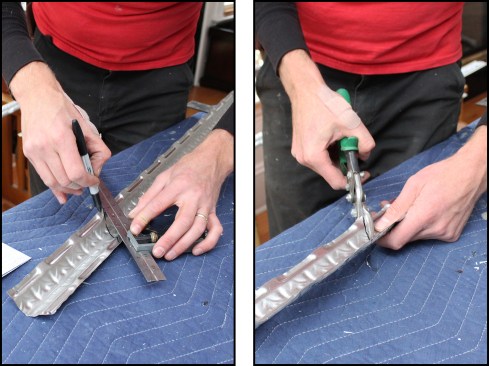
Miter cuts were needed for flat, picture-frame trim (photos, above). Like the crown, the flat molding came in 4-foot lengths, and abutting pieces were slightly lapped.
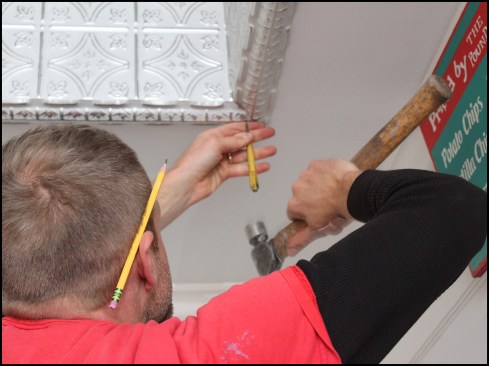
As needed, I used a nail set to drive all the fasteners to a proper depth without denting the tin.
Finishing up. The manufacturer supplies white-headed “cone” nails as a final bonus to finish off the ceiling, but I opted not to use them. Also, the manufacturer recommends caulk joints in the ceiling tile and molding, as well as touching up the brad nail heads with paint as required. Again, I chose not to do this.
Task Lighting
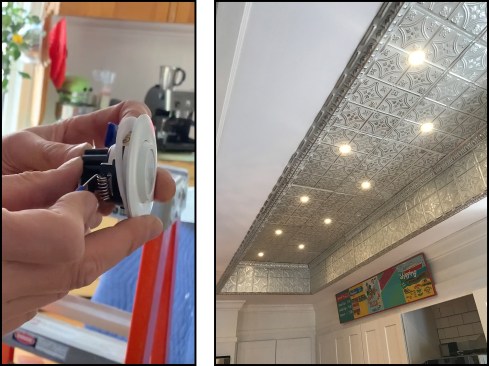
After finishing the tin installation, the lighting was installed to complete the tray ceiling. My electrical sub and I cut 2-1/8-inch-diameter holes for the dimmable 2-inch-diameter LED lights in place, avoiding lapped tin seams when locating them. The LED lights came with spring-loaded clips to hold them in place (above left). We installed the lighting in an offset pattern, supplying ample lighting to the kitchen’s “galley” area (above right).

The washed white finish gave the tin ceiling the feeling it had been there a while (photo, above), though it added a couple of months to the lead time. We ordered a couple of extra panels and trim profiles as cheap insurance. The material costs were around $1,100, and it took about a day for me to install the tin.
Photos by Tim Healey, Nate Plasha, and Daria Bishop