Installing the Drain
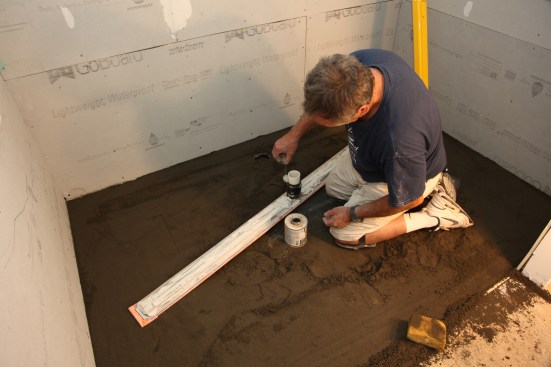
With the screed guides finished along the walls, I turned to installing the linear drain, which is set into the mortar bed. For the drain to be at the proper level for the tile, I had to dig out a shallow trench in the mortar for the drain housing to fit into.

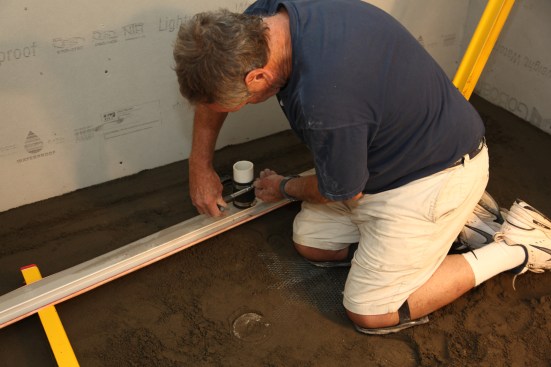
I dry-fit the drain and did a final precheck to make sure I had the proper slope. This is the final chance for adjustment before installing the drain permanently.
I also did a final tightening of the pipe clamps around the flexible coupling that connected the drain. These clamps would have to stay tight to keep the drain waterproof for the life of the shower.
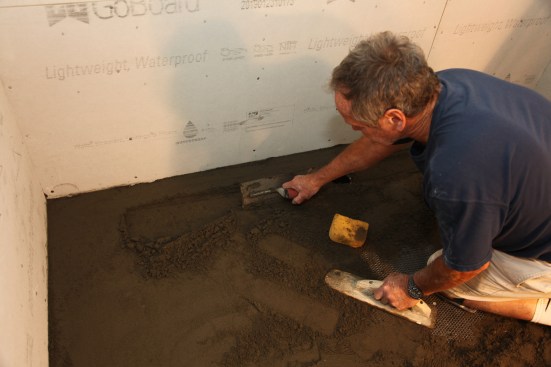
A layer of non-modified thinset bridged the space between the drain and the mortar bed. Before gluing the drain in place, I buttered the underside of the drain housing. The thinset mortar would give the drain full support once it was installed.
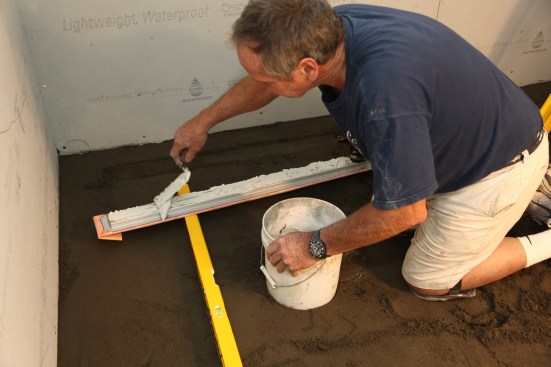
Finally, the drain was ready to go in. After cleaning both sides, I spread glue around the fitting in the hole and around the pipe connected to the drain. I then pressed the drain into place and let the glue set.
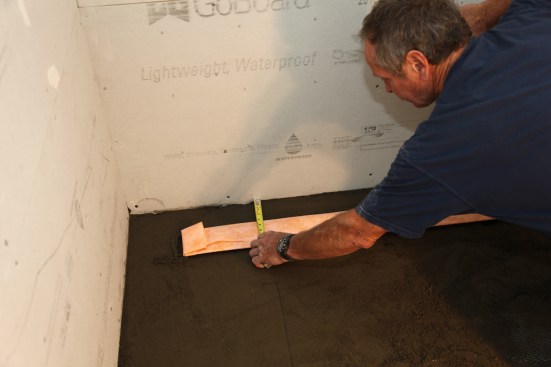
For aesthetics and to simplify the floor tile installation, I measured to make sure the drain was perfectly parallel to the back wall.
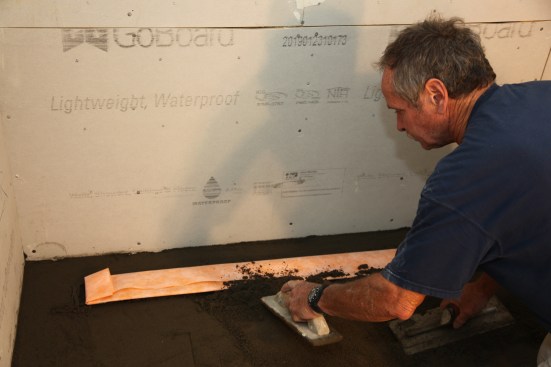
To complete the integration of the drain into the mud base, I packed mortar around the drain. It’s important to fill any voids around the drain to give the floor tile maximum support.
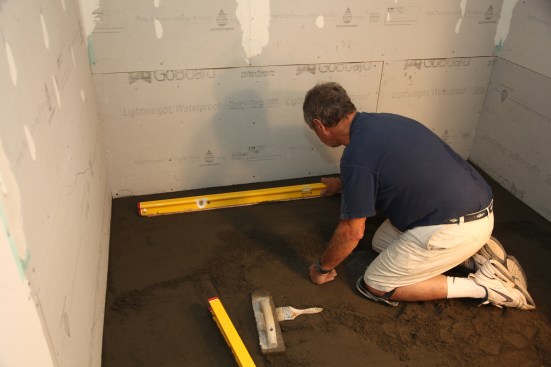
With the mortar packed around the drain, I gave the unit a final side-to-side check for level. With the mortar yet to cure, there was still time to do micro adjustments if necessary.