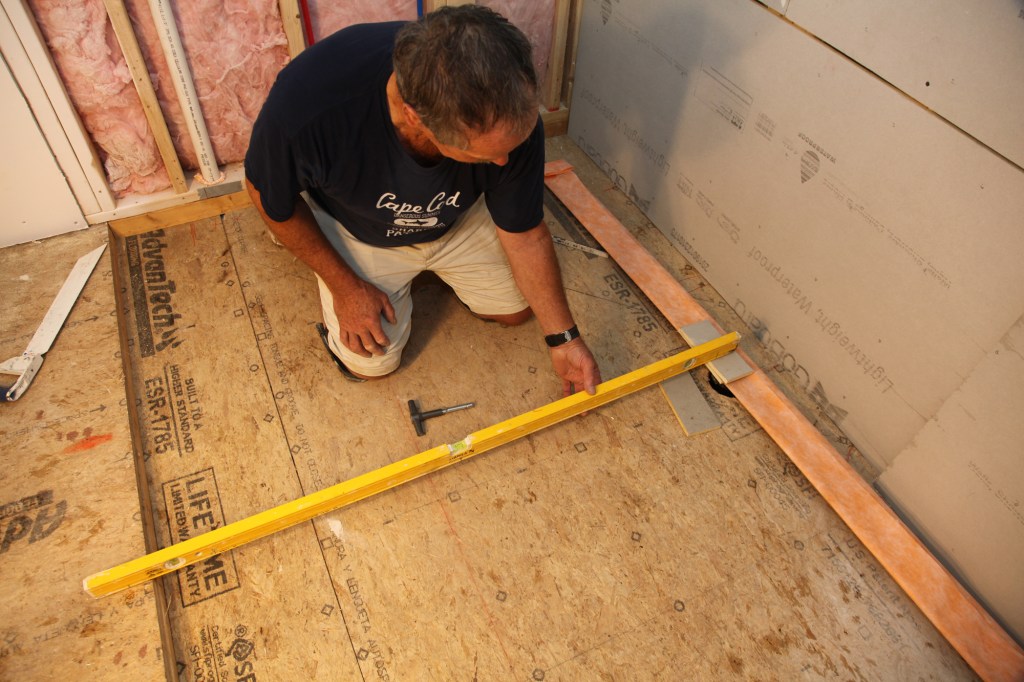
Starting the Mud Base

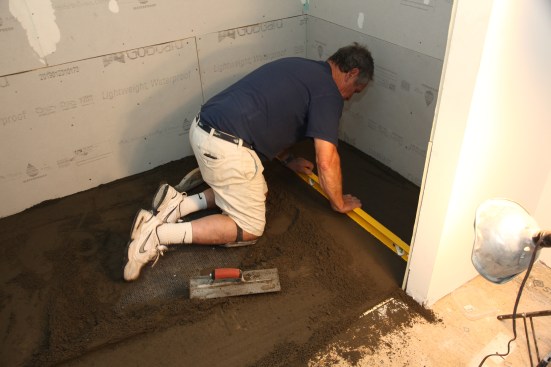
I created the sloped floor of the shower with a layer of dry-pack mortar (four parts sand to one part portland cement with just enough water so that the mix compacts in my hand). After dumping a few buckets of mortar in the shower, I began packing an even layer over the floor.
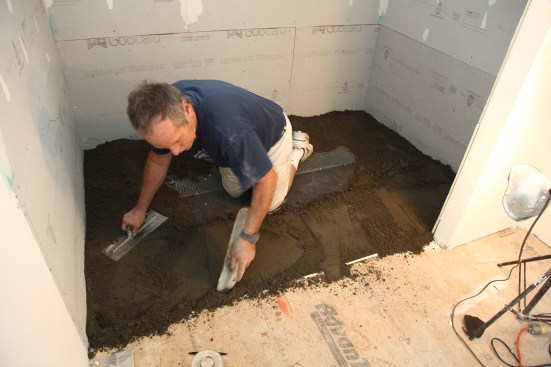
The first task is establishing screed guides or areas along each of the walls to pack and screed the mortar to. I took care to fill any voids around the edges of the floor, and along the edge of the threshold, I used a wooden float trowel to pack the mortar.
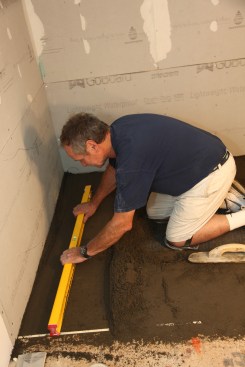
From dry-fitting the drain, I knew how much to slope the mud layer toward the back of the shower. I packed and screeded the mortar along the wall adjacent to the threshold, and sloped the mortar down to the drain.
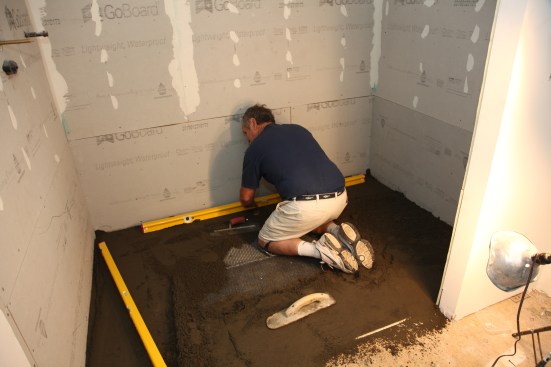
After plugging the drain hole to keep mortar out of it, I packed and screeded the base along the back wall. I kept the surface of the mud level across the back of the shower.
The fourth and final wall came next, sloping back up to the level of the threshold. With the screed guides established on all four sides, I was ready to install the drain and do my final screeding.