
To prevent wicking, we held the wall shingles off the roof shingles 1/2 inch. Again, 2-by shingle guide strips were hung from thin aluminum flashing tabs, tacked with stainless staples above the exposure line (photo, above left). A tight spot between dormers proved challenging to shingle, but the resulting finish work was pretty striking (photo, above right).
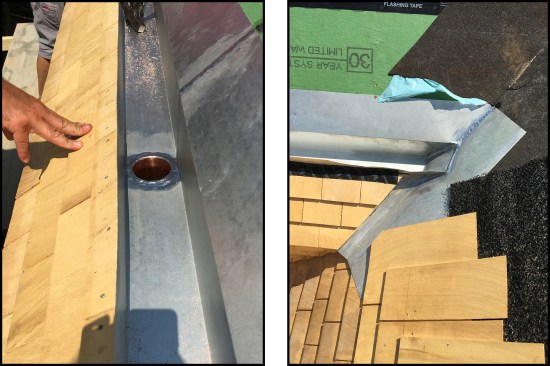
All flashing was zinc-coated copper, custom fabricated by specialty-sub, Airtech Energy Systems and Copper Design, Inc., including the built-in gutter liner (photo, above left). The built-in gutters we installed at the front and rear of the home discharge via concealed leader drains built into the exterior walls and into a drywell on site. All seams and outlet tubes were soldered. Here at a tricky valley-gutter juncture, the valley flashing was incorporated into the gutter flashing itself (photo, above right).
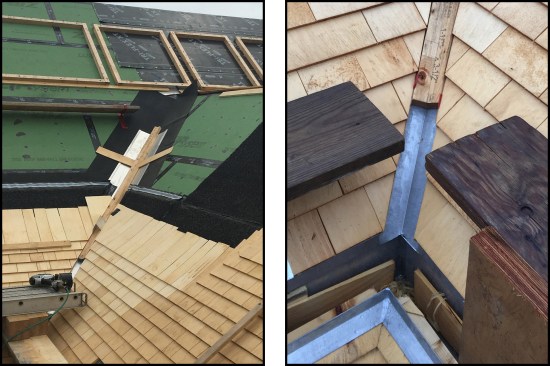
Valleys were flashed with ice barrier membrane and the zinc-coated copper (photo, above left). We set temporary V-shaped spacers in the valley to act as a guide strip (photo, above left). The spacers were 2x4s ripped to a bevel, then joined back together. Although care was taken to gap the shingles 1/8 inch on either side, removing the spacers still proved somewhat tricky after the shingles got wet and swelled up.
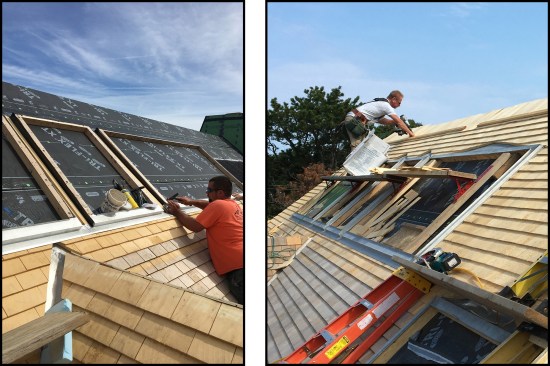
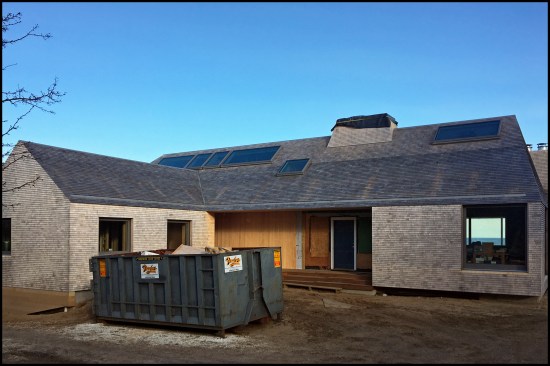
The custom skylights were long-lead items; the large, venting units came from Germany and took four months to arrive on site. To keep to the production schedule, we lined up the skylight curbs with the framed openings below, and left the sheathing and roof underlayment intact to keep the weather out until the skylights’ arrival (photo, above left). Then we cut the sheathing out from below and installed the units, flashing the curbs with zinc-coated copper and peel-and-stick membrane flashing (photo, above right). The ridge was later finished off with lengths of Alaskan yellow cedar bevel siding, then capped with zinc-coated copper.
There was simply nothing fast about the job; space here doesn’t allow inclusion of all the complications we encountered. I’d liken it to something between weaving a monster basket and installing scales on a really big fish.
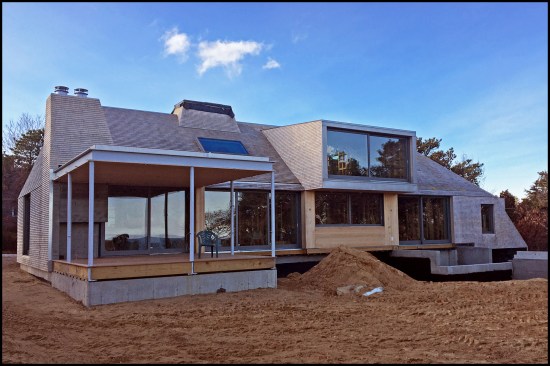
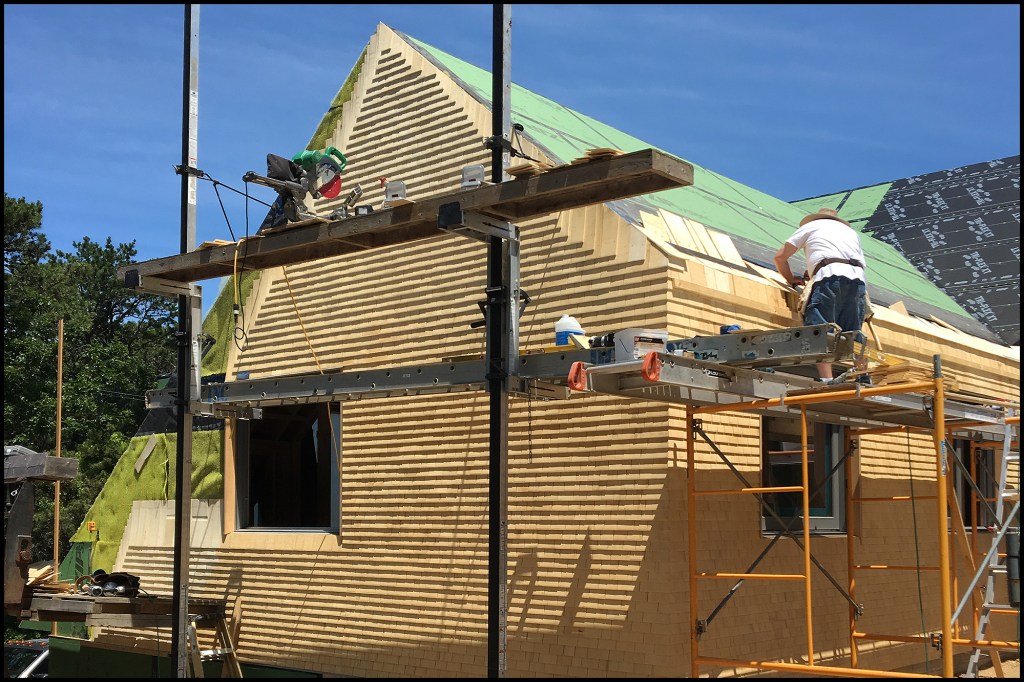
It took more than three months complete from base to ridge, covering about 60 square in all, with a crew of six to eight talented carpenters. Would any of us care to do it again? Well, I think this was my last roof, and one to remember.
Photos by Dave Holbrook