
Eddie Martindale
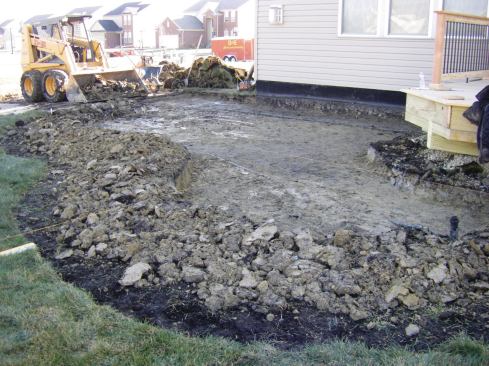
Every paver installation starts with excavating down to stable s…
Eddie Martindale
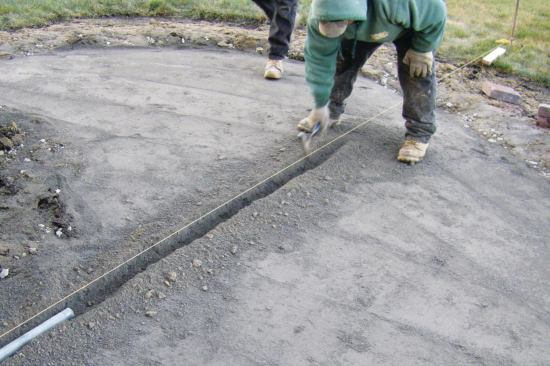
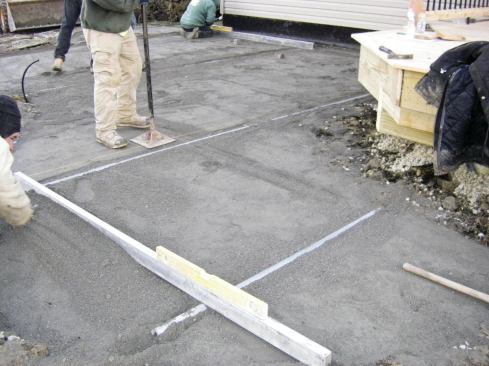
Most projects begin with marking the edges and laying a soldier …
Laying Pavers
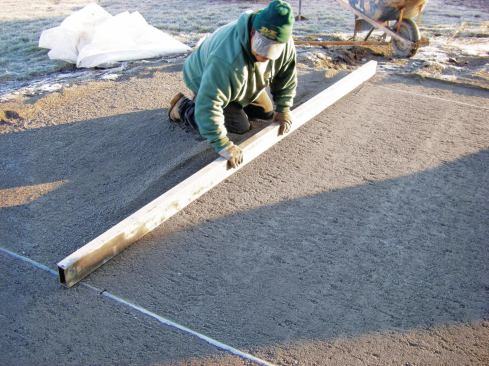
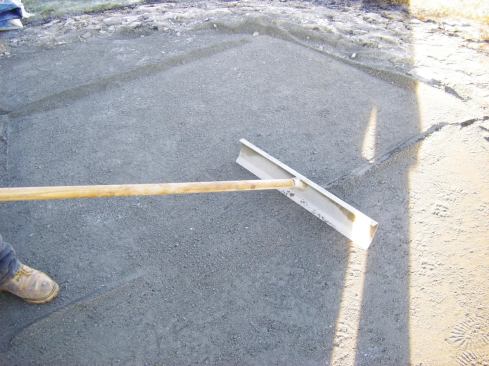
The smaller units of brick or pavers — whose thickness is uniform, typically in the 2- to 3-inch range — are much easier to install when the base is mirror-smooth. Their consistent thickness also makes them easier to lay than stone, whose thickness often varies.
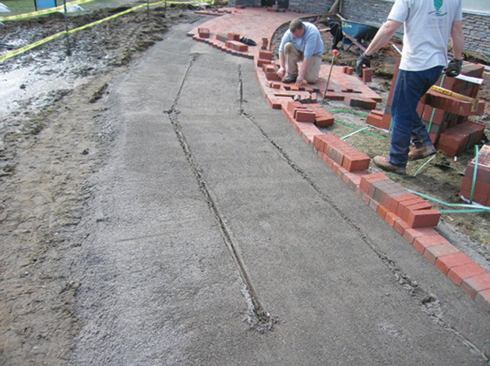
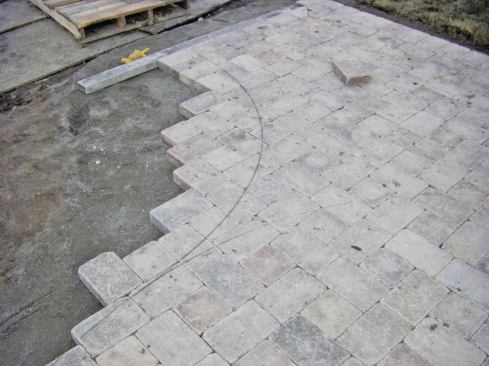
The first course is typically a soldier course, where the long dimension of the bricks or pavers runs perpendicular to the direction of the field pavers. We start by marking the edge of the first course with spray paint.
With a curve, I set the center point of the radius and use a long tape measure like a compass to find the edge. Once the outer soldier course is laid, I step back to see how it really looks, and make any necessary adjustments. I never depend only on my paper design. Rarely does the final installation look exactly like the plan.
Curves are tricky. For example, if you are laying a running bond — where successive courses are offset by a half-brick — the joints on a curve will start to line up. You need to be constantly on the lookout for this, and when the joints are within an inch or so of being aligned, cut the next brick to restore the half-brick seam pattern. Otherwise, when you stand up and admire your work after laying most of the brick, you’ll realize that the pattern is awful.
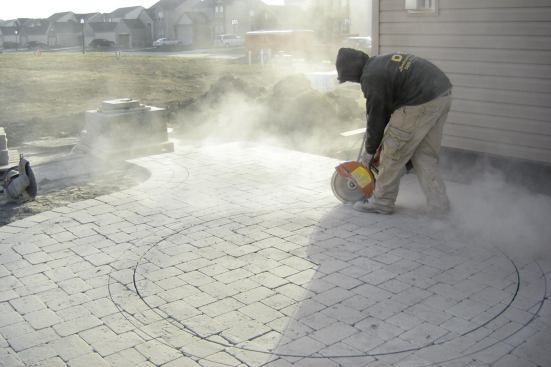
Once the borders are laid, the field paver installation goes quickly. To be as efficient as possible I typically leave all cuts to the end, and always use a wet saw to minimize dust. Depending on the installation, I use either a hand-held cutoff saw or a tub saw. If there are a bunch of assembly-line cuts, a tub saw is the way to go. In other cases, to avoid a lot of foot traffic through the bedding layer, it makes sense to cut right next to where the brick is to be installed. For this, I’ll lay a small piece of plywood on the adjacent pavers and use it as a “cutting board” to cut pavers with a hand-held saw.
Some cuts are made in place. For example, if I’m cutting a curved detail into a patio, I’ll lay the pavers to extend beyond where the curve will be, then use a cutoff saw to make a clean, consistent cut. For an inlay, I will lay all of the field tile, then cut out the inlay pattern.
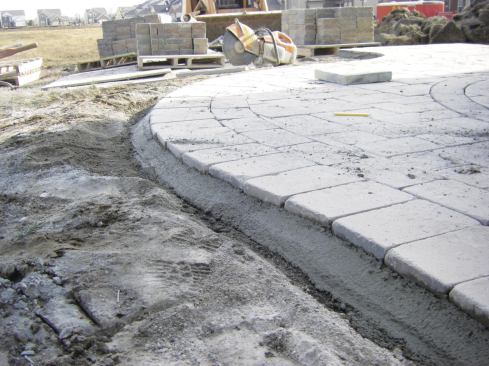
Once the cuts are done, I install an edge restraint, but I don’t use the prefabricated kind. A number of manufacturers sell brick-edge restraint; it’s typically plastic (although aluminum ones are now available, too) and is installed alongside the paving with 10- or 12-inch spikes. Unfortunately, I’ve found these products rise with the freeze-thaw cycle and do not go back down.
Instead, once the paving installation is done, I use a straight trowel to remove the sand from beyond the outer paver course, exposing the over-extended crusher-run base. Then I trowel a monolithic triangular-shaped mass of mortar along the paving, carrying it about an inch up the sides of the pavers and down to the base at a 45-degree angle. The entire border is eventually hidden by mulch or top-dressed with soil and grass seed.
This edging bonds to the paving and moves with it during freeze-thaw cycles, then settles back down once the frost is out of the ground. I’ve done it this way for over 30 years with no issues.
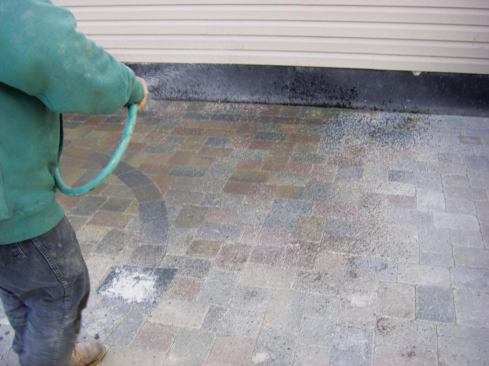
Filling the Cracks
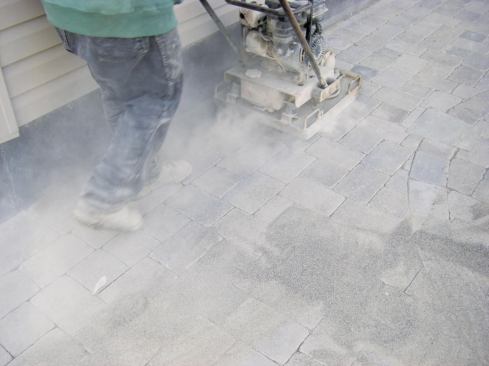
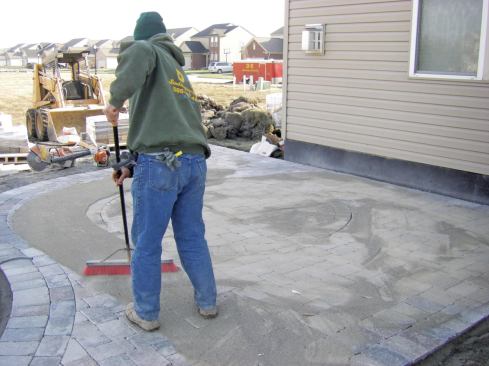
The final step is sweeping sand across the surface to fill in the areas between the bricks or pavers. Polymeric sands, a great improvement over ordinary sand, have become very popular over the last few years. They look like sand but once misted with water, they set up like a flexible mortar that minimizes washout, ants, and weed growth. Poly sand must be swept in when the pavers are bone dry or it will stick to the surface. I use it on concrete pavers only, though, because it leaves a bit of a haze that’s not readily apparent on concrete but shows up like a sore thumb on clay brick and natural stone. On those products, I sweep in mason sand.
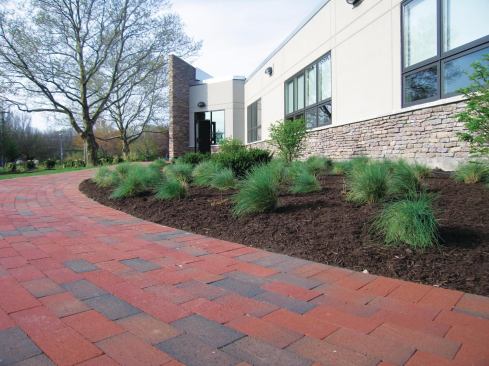
There are myriad paving products available, and which one you end up working with will depend on the site, the design, and the client’s wishes. But the installation is not subjective: Do it right and it will last for generations.
Eddie Martindale is a partner in D & E Landscaping in Richmond, Mich. www.delandscape.com