


Dave Holbrook
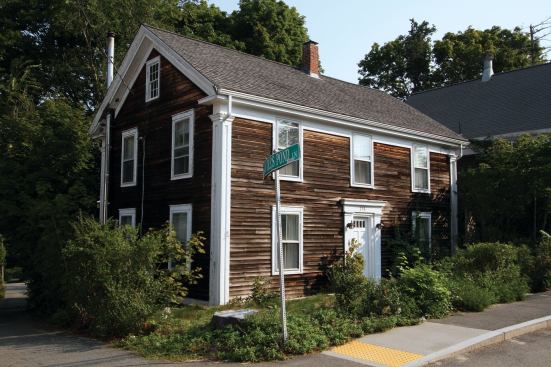
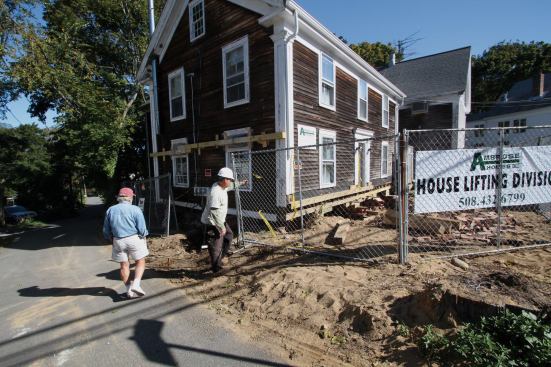
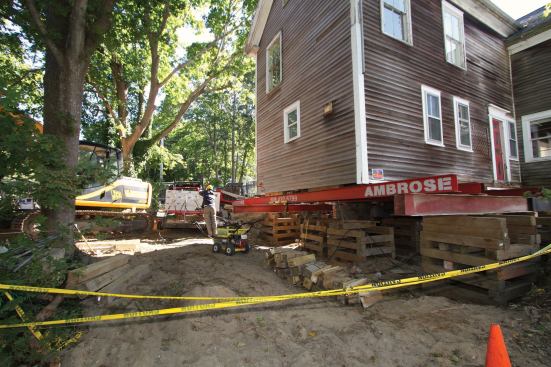
The house was built on a lot that sloped immediately down from s…
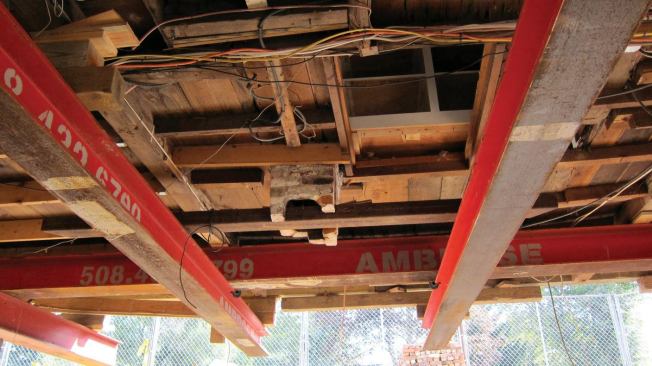
In the front of the house, the joists ran the full width of the building, supported by two intermediate carrying beams that divided the floor system into three sections. To support this part of the house, we inserted two crossing beams, which would eventually rest on top of the two main 50-footers. Because of the tight conditions on the site and the need to work around a brick chimney in the center of the basement, moving these beams into position required a series of maneuvers. To place the first beam, which would run behind the chimney, we slid it in diagonally on top of the 50-foot main beam from the front left corner, then see-sawed it back and forth until it was perpendicular to the main beam and parallel to the front sill. The second beam went in a bit more easily, in front of the chimney.
We then hung two additional beams at a right angles to the crossing beams, aligned directly under the two floor timbers. To hang these beams, we used special heavy-duty Wilton C-clamps capable of supporting 15,000 pounds each. We snugged blocking between their flanges and the underside of the floor timbers to make a solid connection.
To pick up the chimney load, we punched a hole through the brick and flue tile and slid a scrap of tube steel through it. The standard alternating brick courses transferred the stresses and effectively held the chimney intact with no further reinforcement.
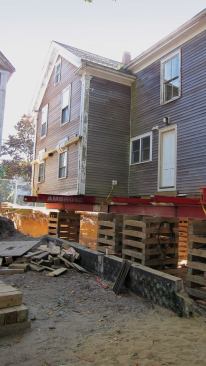
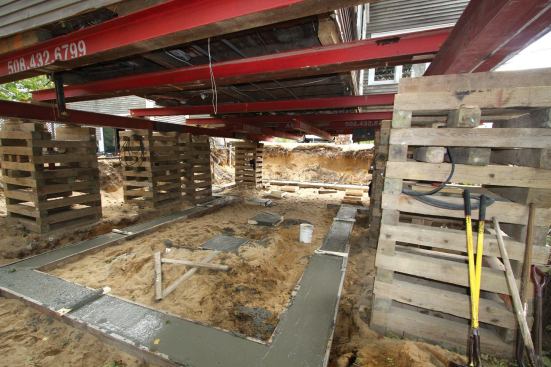
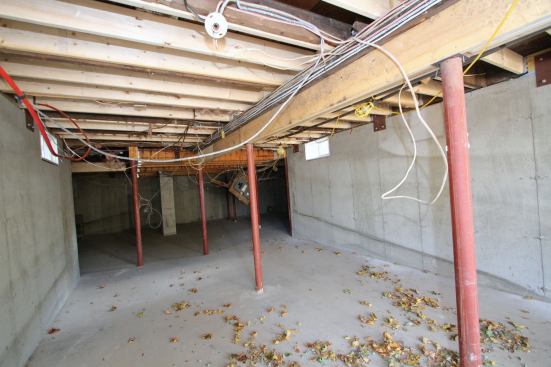
With all the needles placed, we brought in the nine-point hydraulic jacking system, which we had recently purchased used and had completely refurbished. A central manifold controls all nine jacks, which are driven by a single main piston. We set eight of these jacks under the main beams and lifted them just enough to transfer the building load off the foundation. Once we were sure that the entire structure was safely supported, we jacked it another 3 feet or so—high enough to get our skid steer underneath to complete the excavation. The maximum throw of the jacks is about 14 inches, so we had to reset them three or four times. Each reset involved blocking solid between the cribbing and the steel beams, resetting the jack, lifting, then blocking again.
Digging Down
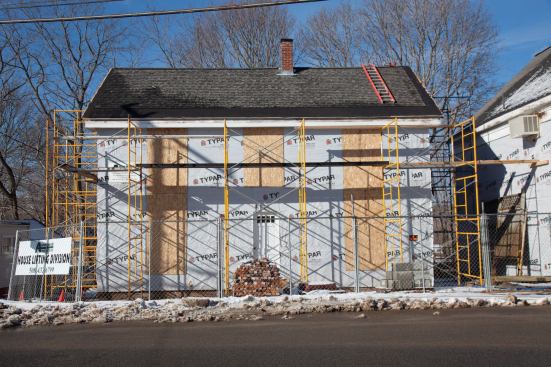
Our goal was to set the building at a final elevation that would be 9 inches higher than it had been; this grazed the maximum ridge height allowed by the local zoning ordinance. At the same time, we wanted to provide enough headroom to allow us to set 8-foot form panels on top of new concrete footings. All these factors taken together meant that we needed to dig down about 12 inches.
At the rear addition, this posed no real challenge because the cribbing stacks stood outside the walls and out of our way. We dug down, deposited the fill in the staging area, and loaded it by excavator into our dump truck for removal from the site.
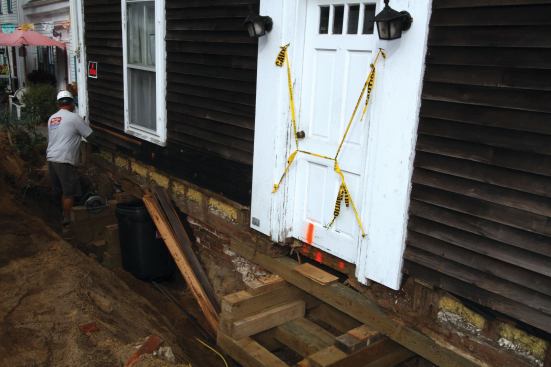
The front of the house was a different story because the cribbing was near where we needed to excavate for the footings. We dug as close to each stack as we could, set a new stack next to it, and transferred the beam load. Then we pulled out the original stack of cribbing and dug down to final grade. In all, we spent three days excavating—the sand and gravel soil made the digging easy, but resetting the cribbing took some time, as did pulling the fill out from under the house and loading it for removal.
Foundation
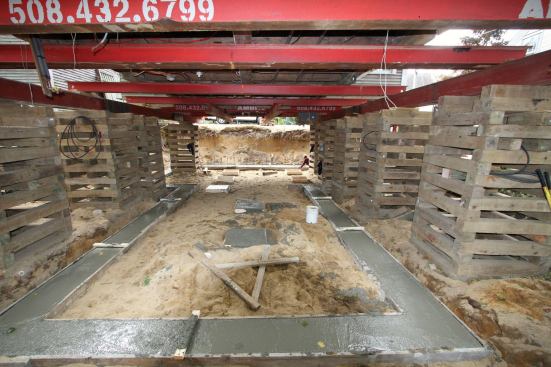
To locate the footings, we used a vertical laser to pinpoint the building corners, then offset the forms by 4 inches. We added 8-inch-thick pads for intermediate Lally columns and for the chimney. For all but the front wall, we poured standard 8-inch walls on 16- by 8-inch footings. With the grade falling steadily away front to back, this provided sufficient support for the structure.
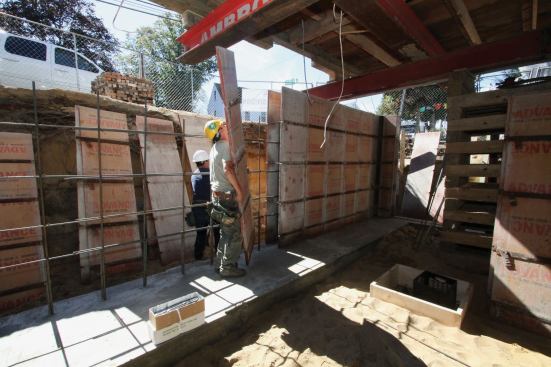
Because the front of the building was not far from the road bed, it called for a foundation that also functioned as a rugged retaining wall (see “Retaining Wall Detail”). Here, we formed a 4-foot-wide spread footing reinforced with #5 rebar set on chairs. After placing the concrete, we set #5 pins at 18-inch intervals to engage the 10-inch-thick wall. For reinforcement, we wired vertical and horizontal #5 bars in a uniform 18-inch grid and laid a final piece of rebar across the topmost form ties. We wanted to preserve the historical appearance of the foundation where it faced the street, so we formed in a ledge to support veneer brick across the front and part of one side. As was the case with all of the walls, we boxed pockets in the forms to allow room for the I-beams to project through when we lowered the building. These pockets were a little wider in the front section to make it easier to snake the steel crossing beams out from under the house.
In most places, we were able to chute the concrete directly into the footing forms, but we couldn’t use that method to pour the walls—the steel beams, the blocking, and the building itself presented too many obstacles. Instead, we hired a concrete pumping service and, for maximum maneuverability, specified a 2-inch delivery hose. This smaller diameter called for smaller 3/8-inch aggregate, so to ensure an optimal bond, we called for a high-strength 4,000 psi mix.
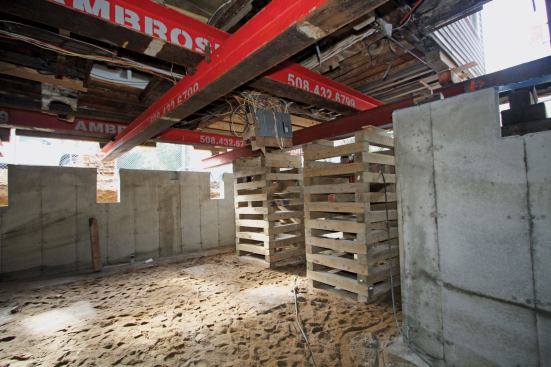
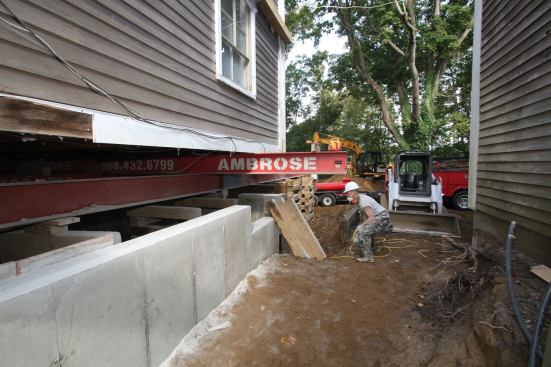
After stripping the forms, we gently lowered the building onto its new bearings. We pulled out the beams—including the welded-up 50-footers (which are already in use on another job)—one at a time, and then filled in the beam pockets with concrete block.
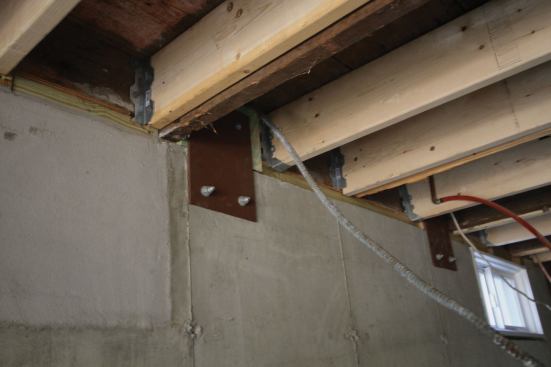
Before pulling the beam supporting the decommissioned chimney, we built a concrete-block pier to carry it. To tie the building to the foundation, we had a steel supplier cut and punch bolt holes in 1/4-inch steel plates, which we prime-painted and lagged to the foundation using a Simpson SET-XP epoxy anchoring system.
There was a considerable amount of re-framing needed to reinforce the old floor system, which we did mostly by sistering in new joists and piggy-backing some others. With a 4-inch concrete slab poured over a moisture barrier, the basement is complete, and we’ve turned our attention to helping the building face the next 200 years.
Fred Ambrose is president ofAmbrose Homes, in Cape Cod. His son, Ezra, supervises field operations.