Installing kitchens is one of these things that some people love, and others hate. In its most basic sense, it’s just screwing boxes to the wall. But it’s a challenge if your bag of tricks doesn’t have a few items in there along with a good set of tools. I’m not here to tell you how to level cabinets [see Chris’s outstanding two-parter on how to install shiplap here]. Instead I’ll get into some techniques using some great tools to make the job easier, faster, and more accurate.
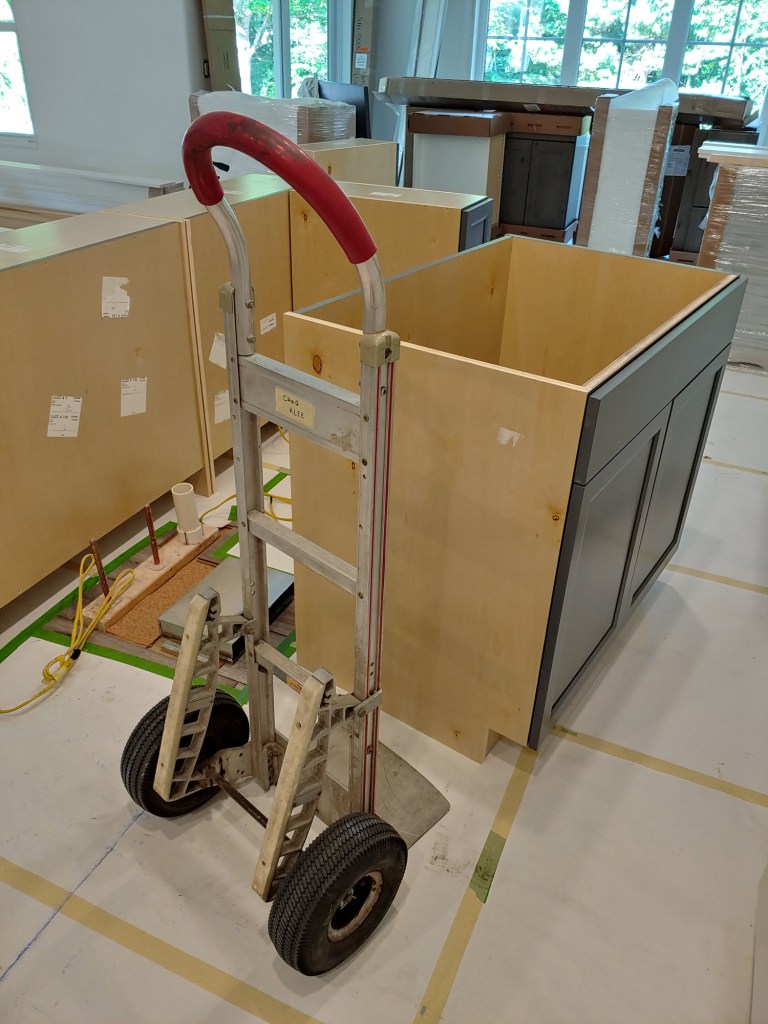
First, I use a dolly cart (aka hand truck) with soft rubber tires. I can wheel cabinets around and not end up with a sore back every day. I have an older aluminum one and I can definitely say it has earned its place in the tool trailer. There are other carts designed specifically for moving cabinets around, but this works fine for me. Smarter, not harder.
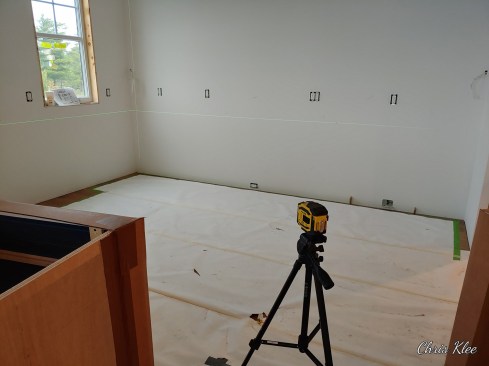
When starting a layout, I like to use a laser to gauge points around the room, mainly the high and low points in the floor. A Stabila green laser on a good stand with a telescoping gooseneck, like this Bosch tripod, makes it easy to get a good level line at cabinet height.
For lines, I like to mark a few points then snap a chalk line on bigger areas. I will still use my spirit levels to double-check as I go along but the laser speeds it up.
Bases First, That’s Right
I always do the base cabinets first because the base location often drives where my uppers are located.
When doing the base cabinets, you have to determine if you’re going with your low point (cutting the cabinets) or your high point (shimming them all up). This is where the laser is really handy. My criteria for making this decision is this: I want the ends of the runs to sit on the floor, not shimmed.
If that’s the high point of the floor, then I just shim the rest and the toe kick covers it all. If it’s not, then I scribe all the boxes to fit. It’s a lot of work, but worth it when it all comes out right. To scribe them, I shim them up level then use my FastCap AccuScribe to mark the difference between the line I snapped during layout and the cabinet. Then just scribe along the floor.
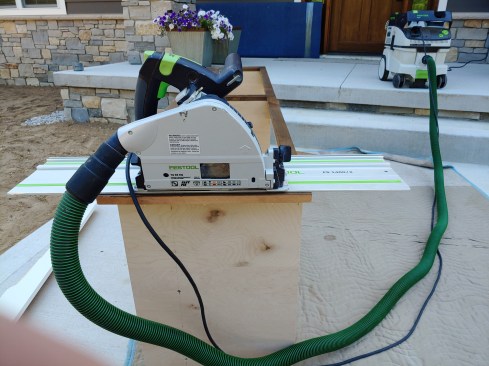
If there are multiple cabinets in a run where the sides are all covered, then you can cut a little extra and shim it back up as needed. This makes it go a little faster and can be done with a track saw, like the Festool TS-55. A cordless version of this saw is handy for cabinets and you can take the saw to the work.
Uppers Next
Because I do the bases first, I like to make a box to sit the upper cabinets on while installing them. It’s usually just some scrap plywood or whatever is handy, and 19 7/16 inches tall. This way, I can shim the cabinets up perfectly to the line. This works well because your base cabinets should already be level, which means your uppers will be by default. Once in a while, however, lower-end brands can be out of square, so shimming becomes necessary to get them right.
For securing them, I prefer a Torx-head cabinet screw. Many brands, like GRK, U2, Saber, and Spax, make good structural grade screws. I like a gold color, which blends in with the prefinished plywood finish of the cabinet insides. It’s important to use a good screw because drywall screws are not rated for this application, and cabinets can fall off walls if they have more weight than the screws can carry—or the backs pull through bugle-head-type screws.
As for securing cabinets to each other, I prefer to use trim-drive screws thru the face frames. The holes are smaller and less noticeable. I use Jorgenson cabinet clamps to get the face frames where I want them. They hold tight and are fast to use. For frameless cabinets, I use Kreg vise-grip-style clamps. I prefer the manual style, as I think they hold better than the automatic ones. Putting a little painter’s tape over the ends helps protect the finish.
I recently picked up the new style DeWalt squeeze clamp to retrofit a shelf into a cabinet without scratching it all up. I used the clamp in spreader mode to move the face frame apart slightly, then put the shelf in and released the clamp for a tight fit. I also used the clamps to lift the end of a cabinet run that needed straightening.
For setting island cabinets, if you have cans or a pendant you want centered on the island, the plumb bob feature on the Stabila laser works great. Once you have your centers marked, you can measure off to find the edges of your cabinets. Makes it quick and easy. Shoot up, mark the ceiling—even cut the hole if you’re ambitious, to help protect the counter later on.
In Part 2, I’ll touch on tips for trim, finishes, hardware, and jobsite fixes for the inevitable head scratchers it seems every kitchen I set has built into it somewhere.