Charles Wardell
The author demonstrates the weaving details that set his jo…
Layout and Exposure
Wood shingles are installed as a three-ply system, which means that the exposed portion of every shingle has two layers of shingle beneath it. The 18-inch Alaskan yellow shingles maintain this triple coverage with as much as a 5-1/2-inch course spacing, which is our most common exposure.
We typically ignore the exposure rating printed on the shingle bundles. For instance, the shingles used on this roof were rated for a 7-inch exposure because of their thickness. That’s only double coverage, which is acceptable if you put a strip of felt beneath each course. In our climate, we’re more comfortable with three layers of protection.
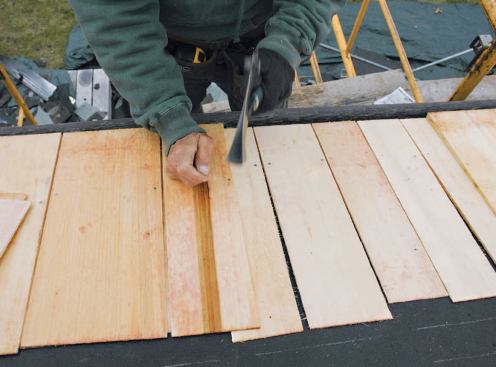
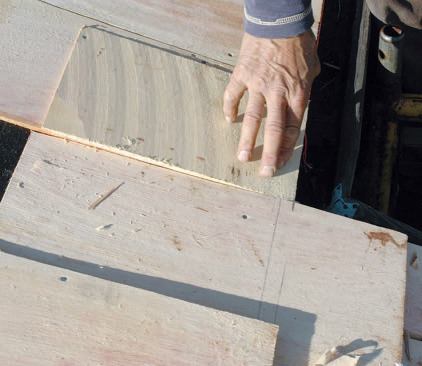
Shingles swell and shrink considerably with changes in moisture. To ensure that they don’t buckle when they swell or let water into the roof when they shrink, you need the proper gap between shingles, the right offset between courses, and the right nail placement (see slideshow) – details that I often see handled incorrectly. We leave about a 3/16-inch gap, or “keyway,” between shingles. (If the shingles are really wet – not just on the surface, but all the way through – we may install them so they touch.)
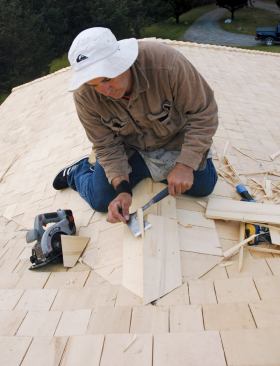
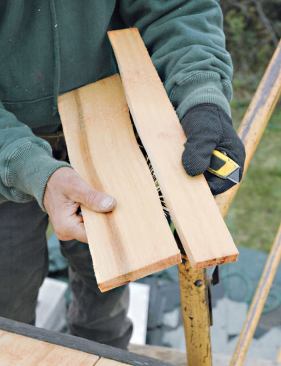
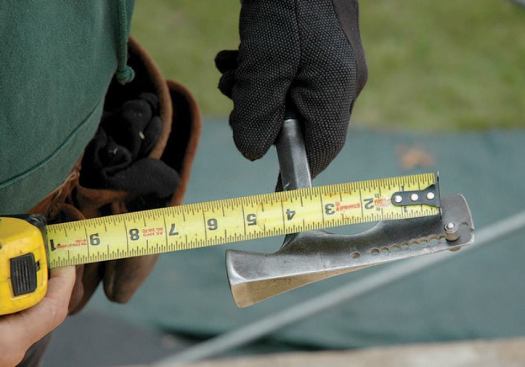
We use a minimum 2-inch offset between keyways in successive courses, and place nails an inch or two above the course line and about 3/4 inch from the edges of the shingle. When we install a really wide shingle – say, 9 inches or more – we score it vertically with a knife after it’s in place, nail on either side of the score, and treat the score like a keyway. Otherwise the shingle may split when it shrinks, leaving an unplanned gap.
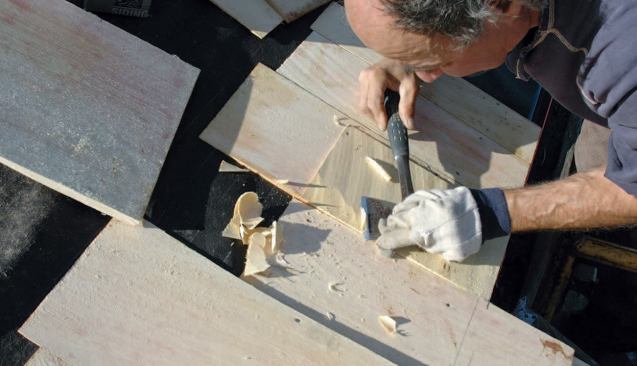
Nailing by Hand
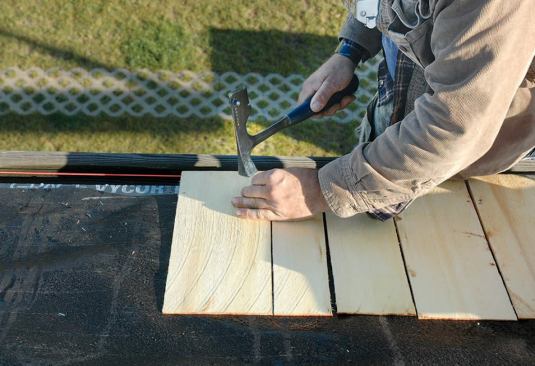
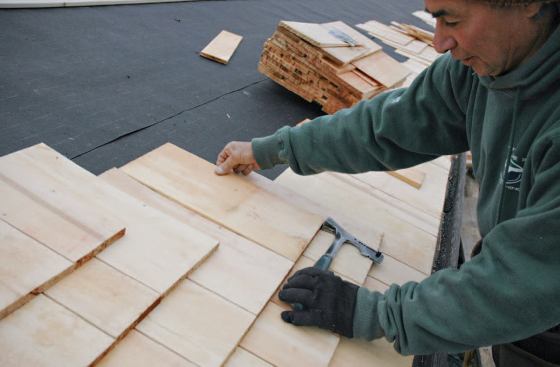
We don’t use nail guns; we hand-nail with a shingling hatchet and use stainless steel ring-shank nails. This may sound slower than pneumatic nailing, but it’s not. Rather than tacking a length of strapping to the roof to line up each course, we use the shingling hatchet’s gauge buttons. This speeds the work because one guy can install several courses at a time across the roof, just as if he were installing asphalt. Each carpenter can work vertically up a single section of the roof, which keeps crew members from tripping over one another.
I’ve also found that the guys do a better job when they’re hand-nailing. For instance, if the roof has board sheathing, as the older homes around here typically do, we always know if a nail misses the sheathing and ends up in one of the gaps.
Starters and Overhangs
The starters are generally installed with a 1-1/4-inch overhang; if there’s a gutter, we make the overhang deep enough to direct water to the center of the trough. At the rakes, we use a 1-inch overhang.
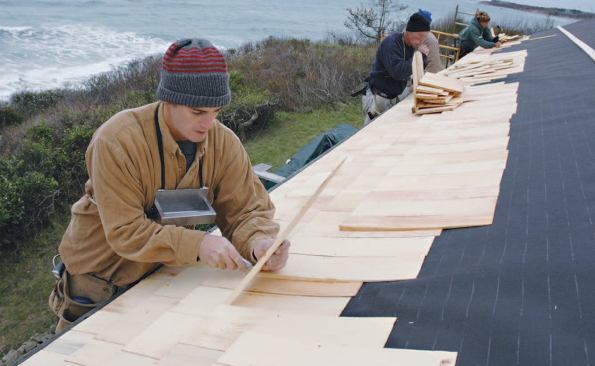
To align the bottom of the starter courses, we nail shingles near each end of the roof and stretch a string between them. We then bring the butts of the starter shingles up to the string so they don’t quite touch it. If the roof is long enough for the string to sag, we nail an additional support shingle near the center of the roof. The first course is nailed a bit lower than subsequent courses – about 5 or 6 inches up from the eaves.
To keep courses parallel to the ridge, we stop every 6 feet or so and measure to the ridge line. If the courses are running out of parallel, we snap lines for a couple of courses and install one course at a time until we’re back on track.
We also make sure that we don’t end up with a narrow course at the top, by adjusting the last five or six courses below the ridge cap so they’re roughly the same width.