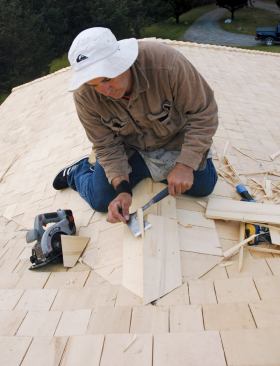
The author demonstrates the weaving details that set his jo…
The author demonstrates the weaving details that set his jobs apart and the production methods, such as using a shingler's hatchet, that help him keep his prices competitive.
Charles Wardell
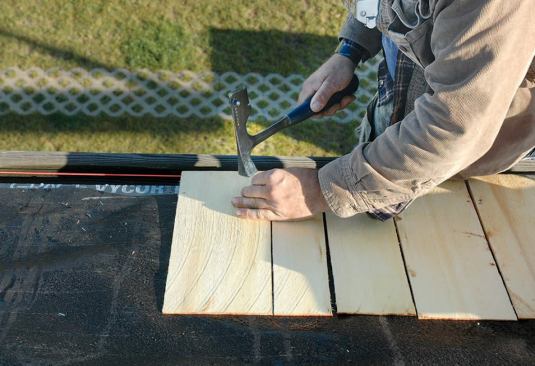
The first starter course is set to a string line.
Charles Wardell
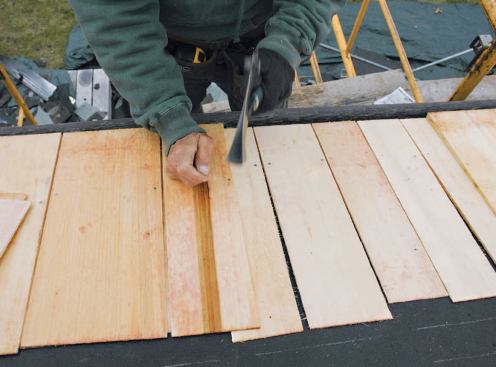
A second starter course is laid with minimum 2-inch offsets betw…
A second starter course is laid with minimum 2-inch offsets between keyways.
Charles Wardell
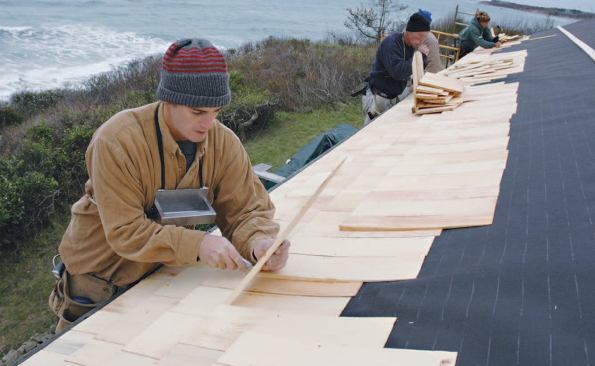
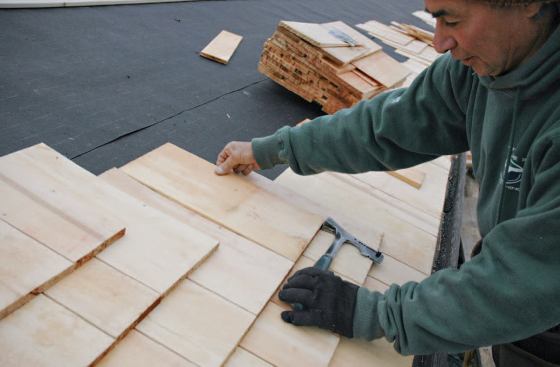
On a typical job, each carpenter works a section of the roof, wh…
On a typical job, each carpenter works a section of the roof, which helps avoid confusion; courses are checked regularly and adjusted as needed.
Charles Wardell
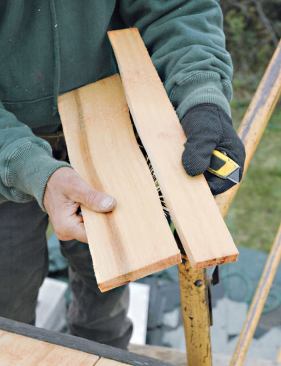
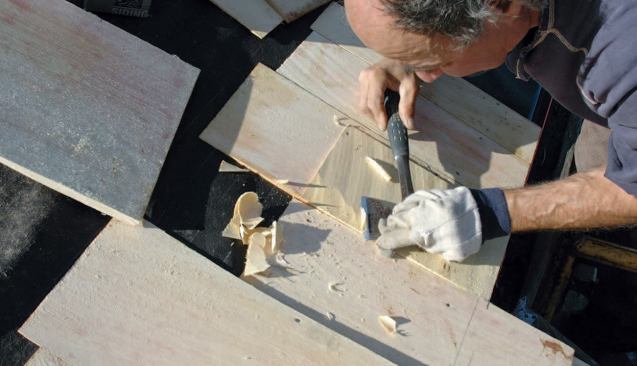
The Alaskan yellow cedar shingles shown here are thicker and den…
The Alaskan yellow cedar shingles shown here are thicker and denser than red cedar shingles and somewhat more difficult to split.
Charles Wardell
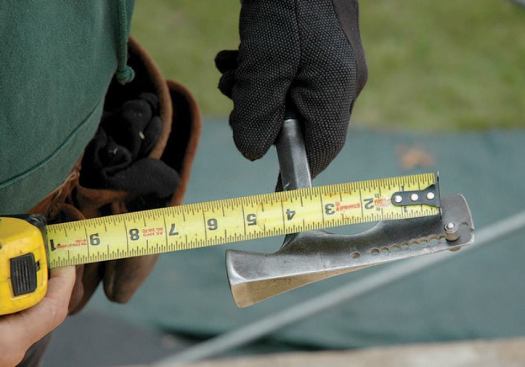
The author uses the gauge button on the shingling hatchet to lay…
The author uses the gauge button on the shingling hatchet to lay out courses. The hatchet comes with buttonholes every 1/2 inch; he heats the blade and uses a drill press to make additional holes at 1/4-inch increments, which is enough to handle any spacing variations.
Charles Wardell
The hatchet is much faster than wood strips for lining up course…
The hatchet is much faster than wood strips for lining up courses.
Charles Wardell
Charles Wardell
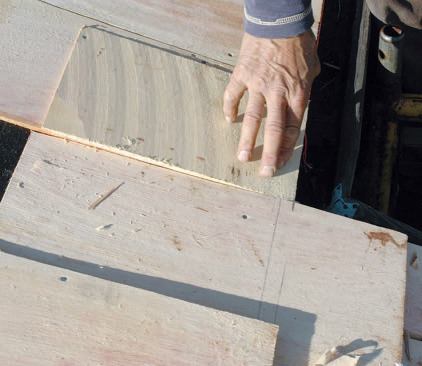
Moving Up the Hip
We mark and cut hip shingles to fit tight against the field shingles above, always splitting excess off with the shingling hatchet and, if necessary, finishing with a block plane. Sometimes filler pieces are needed to keep the shingle tight and flush to the course below; we add these shim shingles as needed and trim them as we go (see slideshow). After the top shingle in each pair has gotten its final planing, we use a single nail to pin the two opposing shingles together.